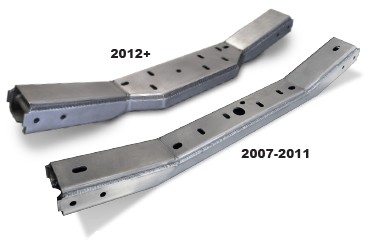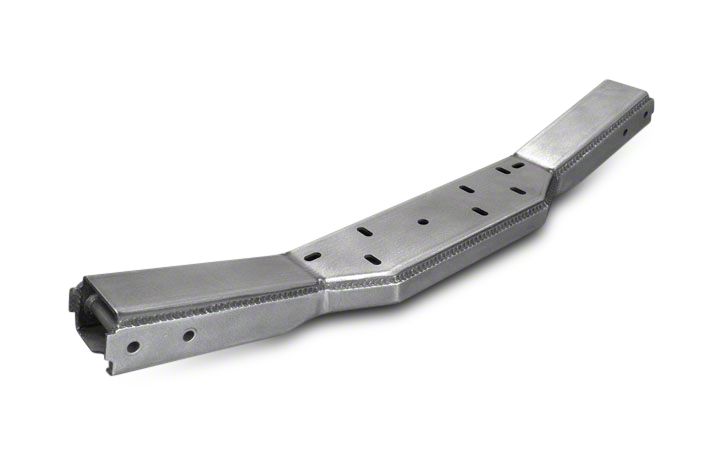

How to Install Poison Spyder Extreme Duty Trans-Mount Crossmember - Bare Steel on your 12-18 Jeep Wrangler JK; 2018 Jeep Wrangler JL
Shop Parts in this Guide

Thank you for purchasing a Poison Spyder Extreme Duty Trans-Mount Crossmember for your Jeep JK. Installation is fairly simple with the right tools and good mechanical abilities. If you are not confident in your mechanical skills, please seek the help of a professional to perform the installation. Please read through these entire instructions before proceeding with installation.
BEFORE YOU BEGIN
If the Poison Spyder Extreme Duty Crossmember was shipped to you in bare steel, it will need to be painted or powder coated prior to final installation. However, it is important to do an initial installation of the item BEFORE you paint or powder coat it. This will allow you to check for fitment and perform any minor adjustments to either the crossmember, the mounting brackets or any aftermarket skid plates you are attaching to it, without damaging your paint or powder coat finish. Poison Spyder Customs, Inc., is not responsible for any costs associated with paint or powder coat, or damage caused to your paint or powder coat during installation, or costs of painting or powder coating a defective or incorrect part. It is your responsibility to ensure fitment prior to incurring the expense of paint or powder coat.
INSTALLATION PROCEDURE
1. Park vehicle on a level surface and set the parking brake. You will want to wear eye protection beyond this point in time.
2. Remove any existing skid plates that attach to the stock crossmember, either stock or aftermarket. Save the attaching hardware as it will be re-used.
3. Position a floor jack underneath the transfer case and lift until the jack is just touching the underside of the transfer case. DO NOT lift the Jeep up by the transfer case!
4. Remove the bolts that attach the stock crossmember to the transmission. These are accessible through the access holes in the bottom of the crossmember. Save these bolts as they will be re-used.
5. Remove the bolts that attach the crossmember to the frame brackets at either end of the crossmember. Save these bolts as they will be re-used.
6. Remove the stock crossmember. Judicious application of a soft dead-blow hammer may be necessary to coax the crossmember out of the brackets.
7. Install the Poison Spyder Extreme Duty Crossmember in the same position the stock unit was removed from. Orient it so that the welded-in nuts (that the skid plates attach to) are positioned similar to the ones in the stock crossmember. Re-install the stock crossmember bolts that fasten the crossmember to the frame brackets.
8. Re-install the stock bolts that hold the transmission to the crossmember. You may need to raise or lower the jack (and transfer case) slightly to achieve proper fit and alignment.
9. Lower and remove the floor jack.
10. Re-install the stock or aftermarket skid plates that attached to the crossmember, using the original hardware.
Congratulations, you have completed installation of your JK Extreme Duty Crossmember


