

How to Install Poison Spyder Dana 30 Bombshell Diff Cover - Black (97-17 Wrangler JK) on your Jeep Wrangler
Installation Time
1.5 hours
Tools Required
- 1/2" combination wrench
- 1/2" socket
- 3/8" drive ratchet
- 3/8" extension (sort, approx. 4")
- Torque Wrench
- Oil Drain Pan
- Hammer
- Putty Knife
- Razor
- Brake Cleaner
- Wire Brush
- Green Scotchbrite Pad
- Teflon Tape
- Approx. 1.25 Quarts Mopar 80W-90 Gear Oil (or equivalent)
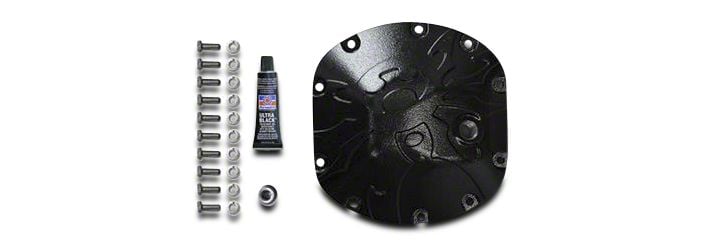
Shop Parts in this Guide
Note: If a specific torque value is not specified, then fasteners should be torqued hand tight.
Installation Instructions
1. Park vehicle and set parking brake and place oil drain pan under the differential.
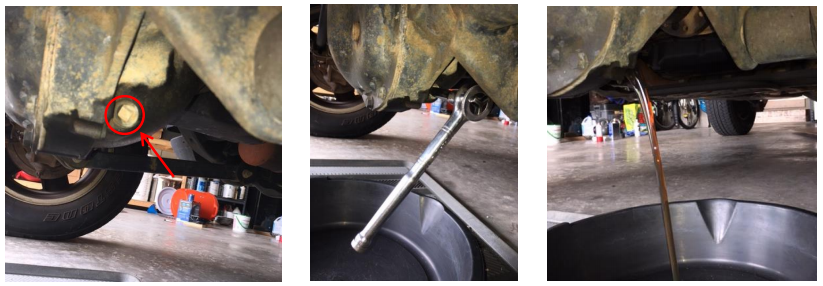
2. Using a short 3/8” drive extension, loosen the drain plug. Then remove the ratchet and use just the extension to remove the drain plug and allow all fluid to drain out.
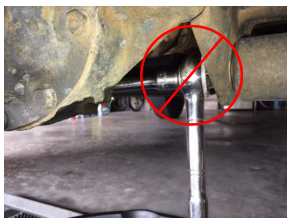
If you keep the ratchet on the extension while you loosen the plug, you may jam it into the lower control arm gusset, making the plug, extension and ratchet assembly impossible to remove without re-tightening the plug.
3. Using a 1/2” combination wrench or a 1/2” socket and driver, remove all (10) differential bolts.
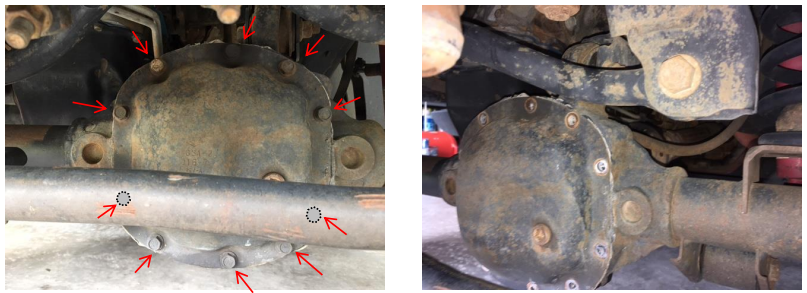
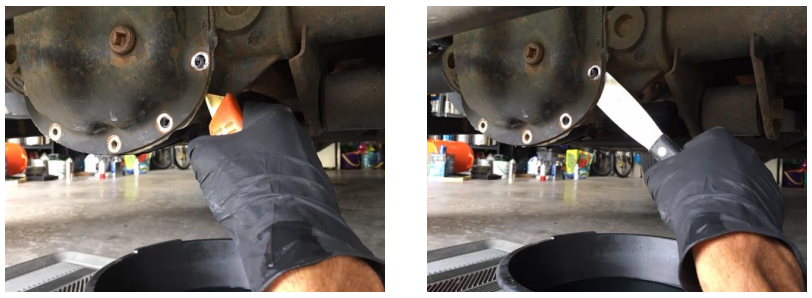
4. Use a razor to cut through a section of the gasket or RTV to begin breaking the seal. Once a small section is open, use a hammer to drive a putty knife between the cover and housing to break the seal. Work around the cover to remove it from the housing.
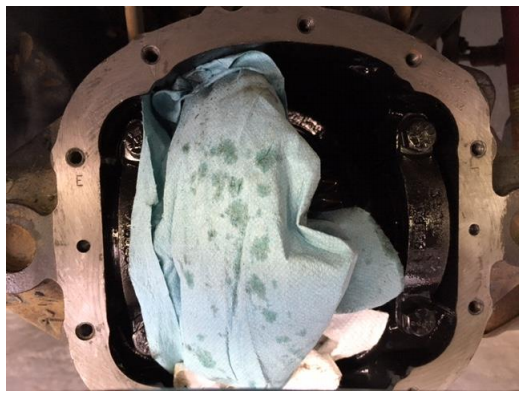
5. Cover gears to prevent foreign material from entering housing and use a razor and wire brush to remove all the old gasket / RTV.
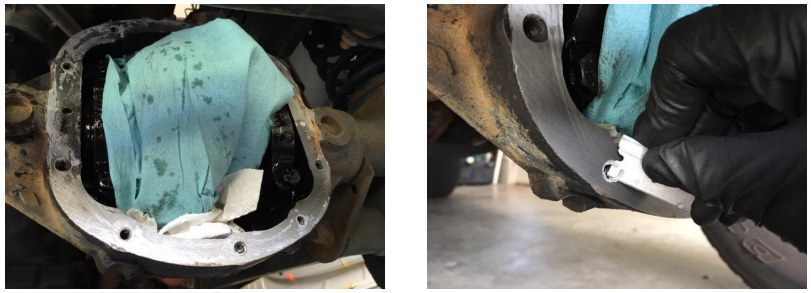
6. Perform a final cleaning of the seating surface with a green scotchbrite pad soaked in brake cleaner.
NOTE: The supplied Silicone Sealant comes out of the tube tacky and once applied is ready for immediate install.
7. Apply a bead of RTV around the diameter of the new cover, follow the inside of the bolt pattern.
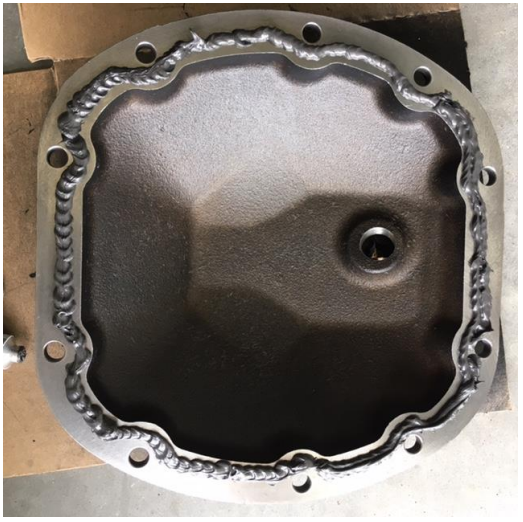
8. Raise the Bombshell cover between the tie rod and the ring gear up into place with the fill plug on the right and start all (10) of the supplied Grade 8 bolts by hand.
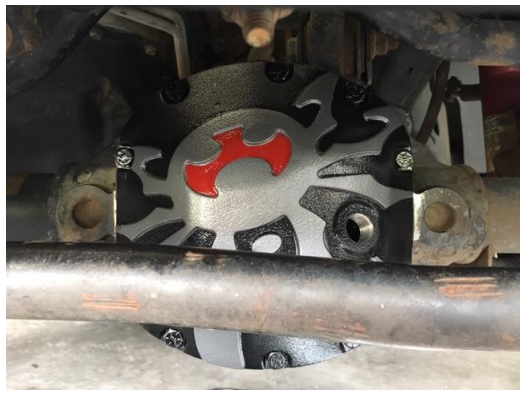
9. Tighten the bolts in a star pattern to 15 ft-lbs
10. Tighten the bolts to final torque of 30 ft-lbs using the same star pattern.
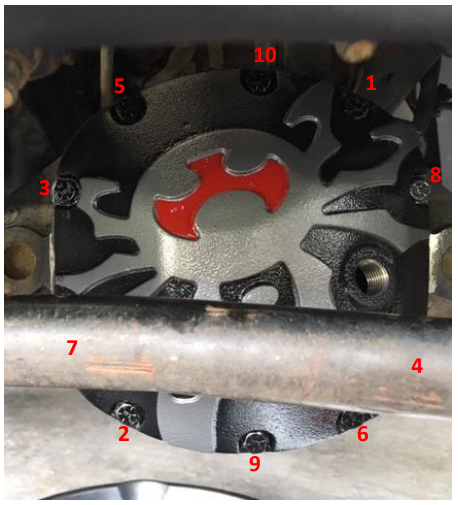
11. Install the drain plug that was removed and torque to 25 ft-lbs using a torque wrench with a short 3/8 in drive extension.
12. Refill the differential with the Gear Oil and limited slip additive (if required) until the oil level is at the bottom of the fill hole.
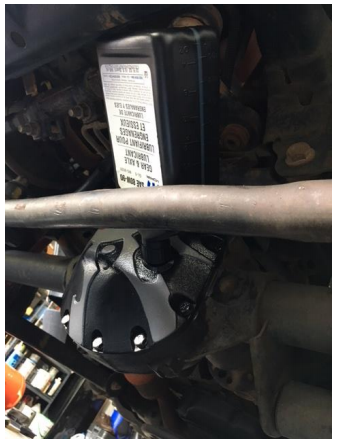
13. Use Teflon tape on the threads of the new fill plug and install to 25 ft-lbs using a short 3/8 in drive extension.
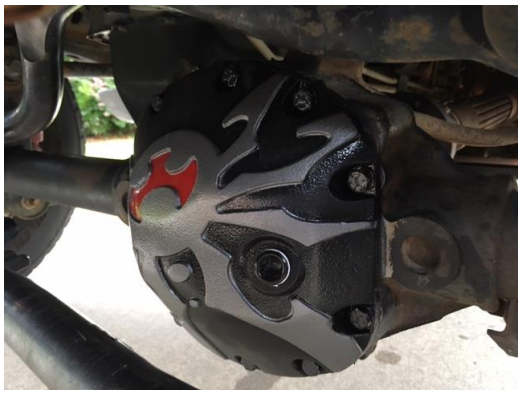
14. Enjoy your new Diff Cover.
NOTE: Cover was supplied in Black and painted prior to install.
Installation Instructions Written by ExtremeTerrain Customer Todd J Fischer 06/23/2017

