

How to Install Your Rugged Ridge Mirror Relocation Kit, Pair Includes Mirrors on your 1997-2015 Wran
Installation Time
1 hours
Tools Required
- 2x 6” Mirrors
- 2x Mirror Arms
- 2x M8 Bolt with Washers
- T40 Torx Wrench and Screw Driver
- 2x Brackets with foam pads
- 4x 5/16” bolt
- 2x knob & Billet Bushings
- Socket wrench with 13 mm socket.
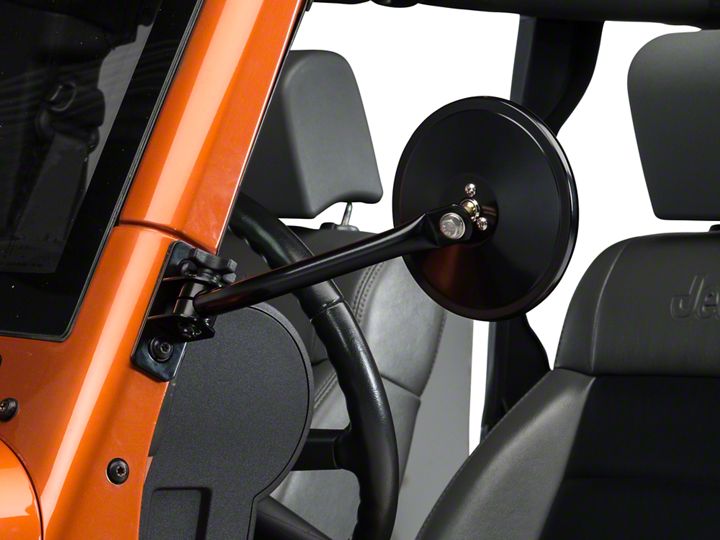
Shop Parts in this Guide
Pre-Install Notes:
Ensuring you have all the tools when you begin can cut the installation time down to 30 minutes
Installation Instructions:
1. Check and ensure all hardware is accounted for.
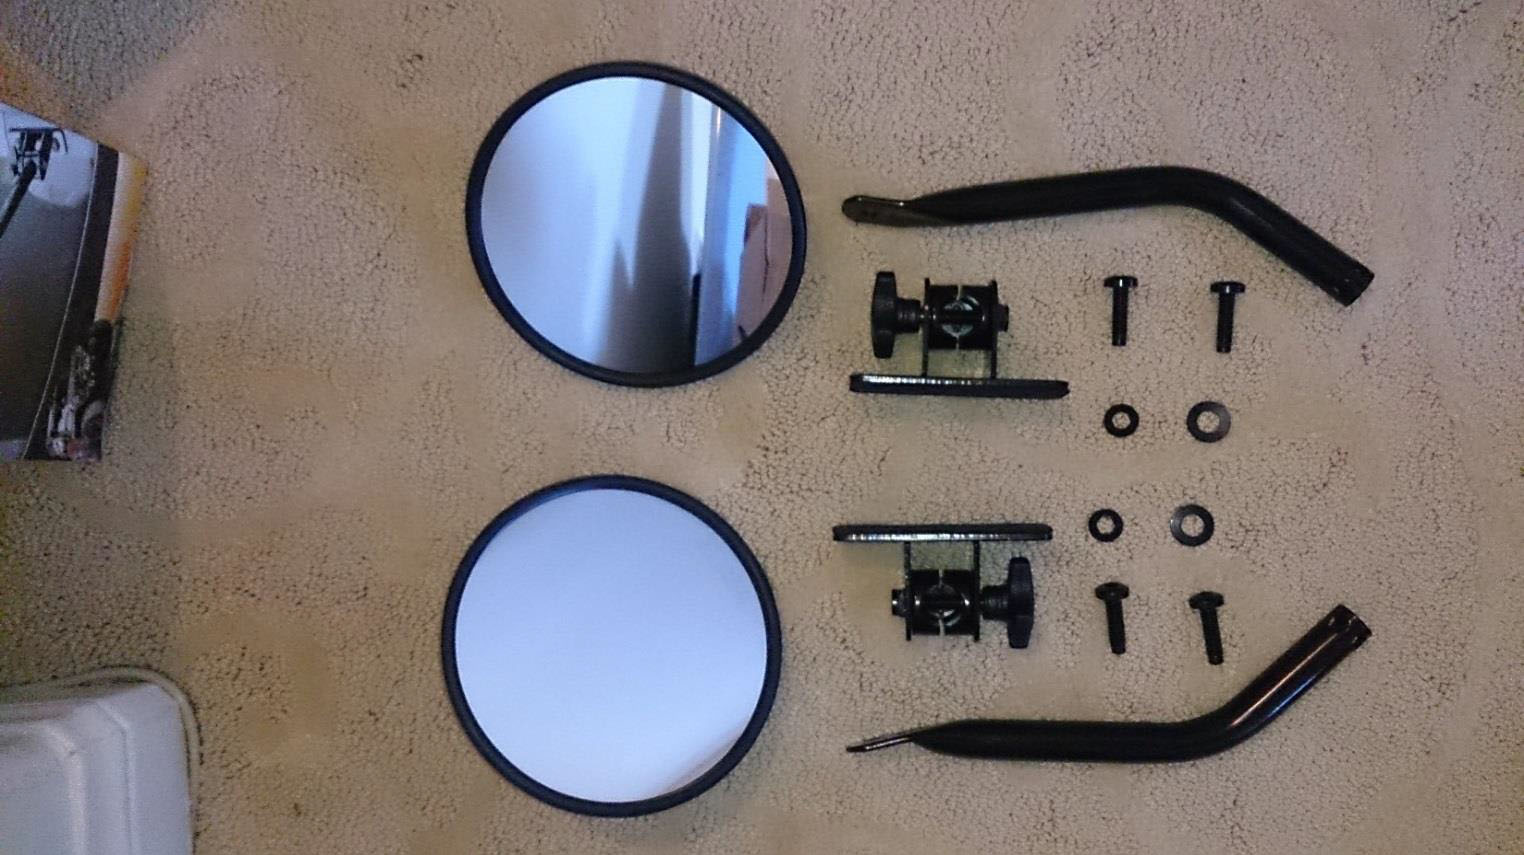
The two 5/16” bolts have been supplied for TJ & LJ Models. JK models will reuse the factory hardware.
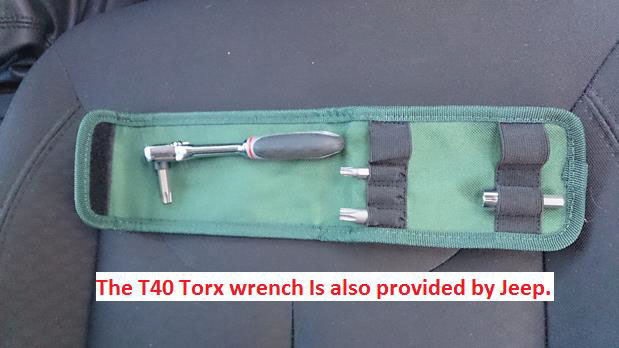
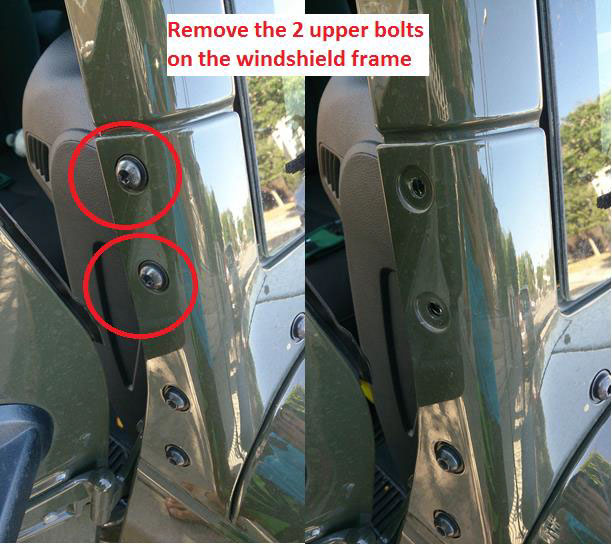
2. Locate the two upper bolts of the Windshield Frame and unscrew using T40 Torx Wrench.
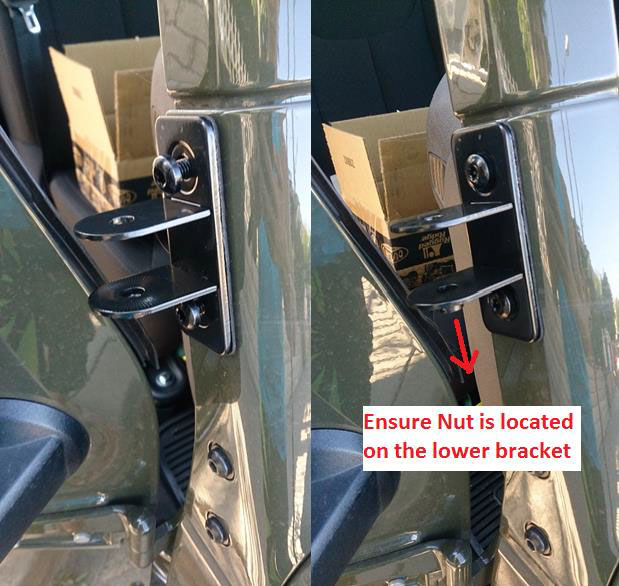
3. Line up the Foam pads and brackets and use two 5/16” bolts to secure. JK models will reuse factory hardware. Ensure that the bracket containing the nut aims towards the ground.
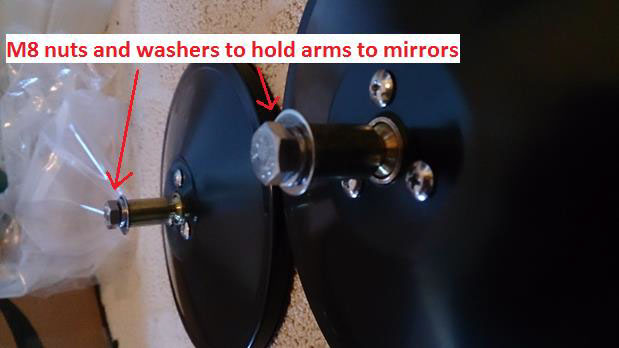
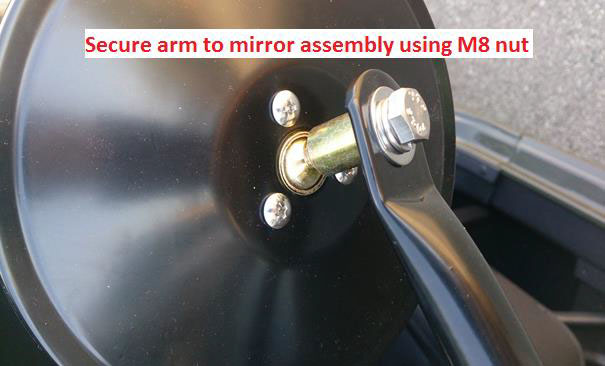
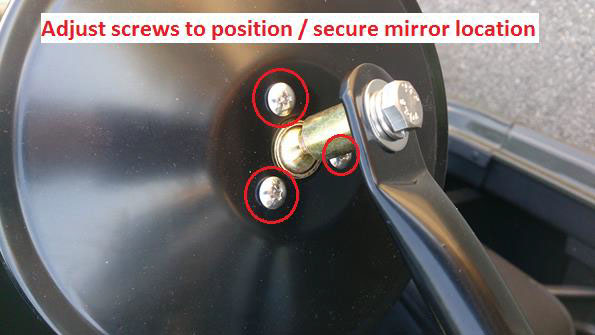
4. Next, set up the mirror by securing the arms to the mirror using the M8 bolts / washers as shown. The M8 Bolts will require a 13mm socket wrench to tighten.
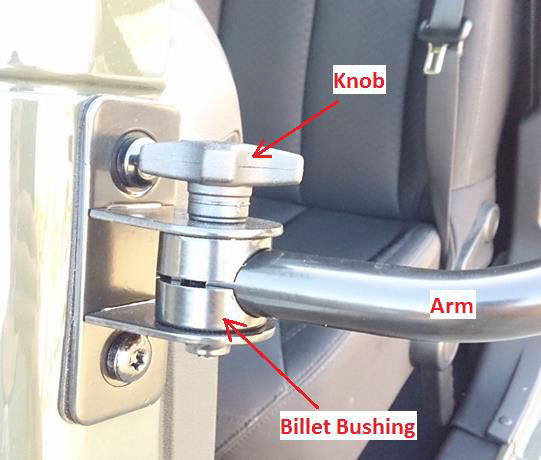
5. Using the Knob, Billet Bushing and freshly constructed mirror/arm assembly, secure the mirrors to the brackets on the windshield frame.
6. Position yourself in the driver seat and position the mirror to your preference. To shift the positioning of the mirror, use a screwdriver to loosen the screws behind the mirror to allow for rotation. When the mirror is positioned at the desired angle, retighten the screws by hand to secure.
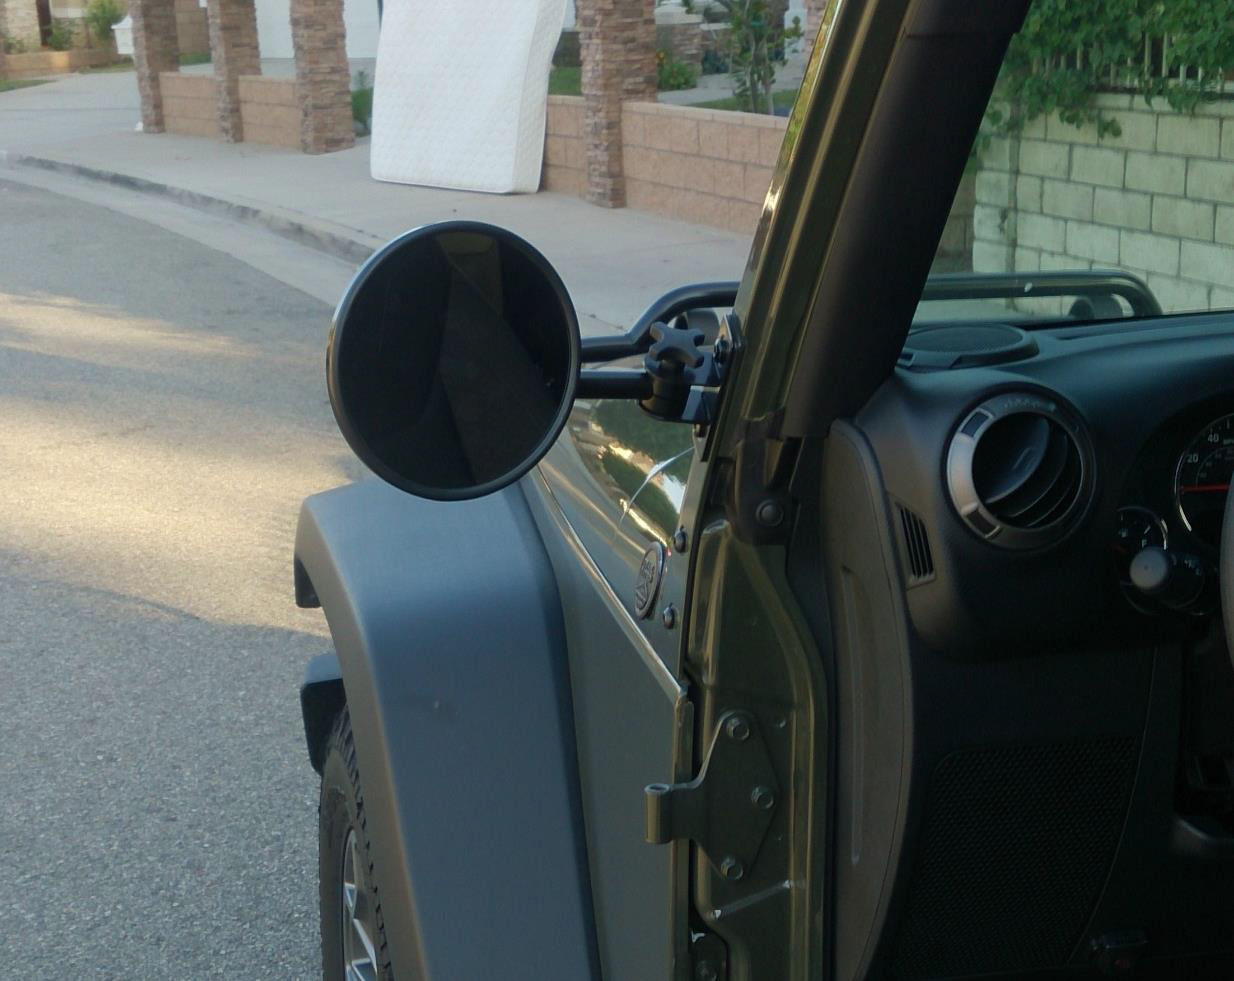
7. Revisit all bolts and nuts to tighten.
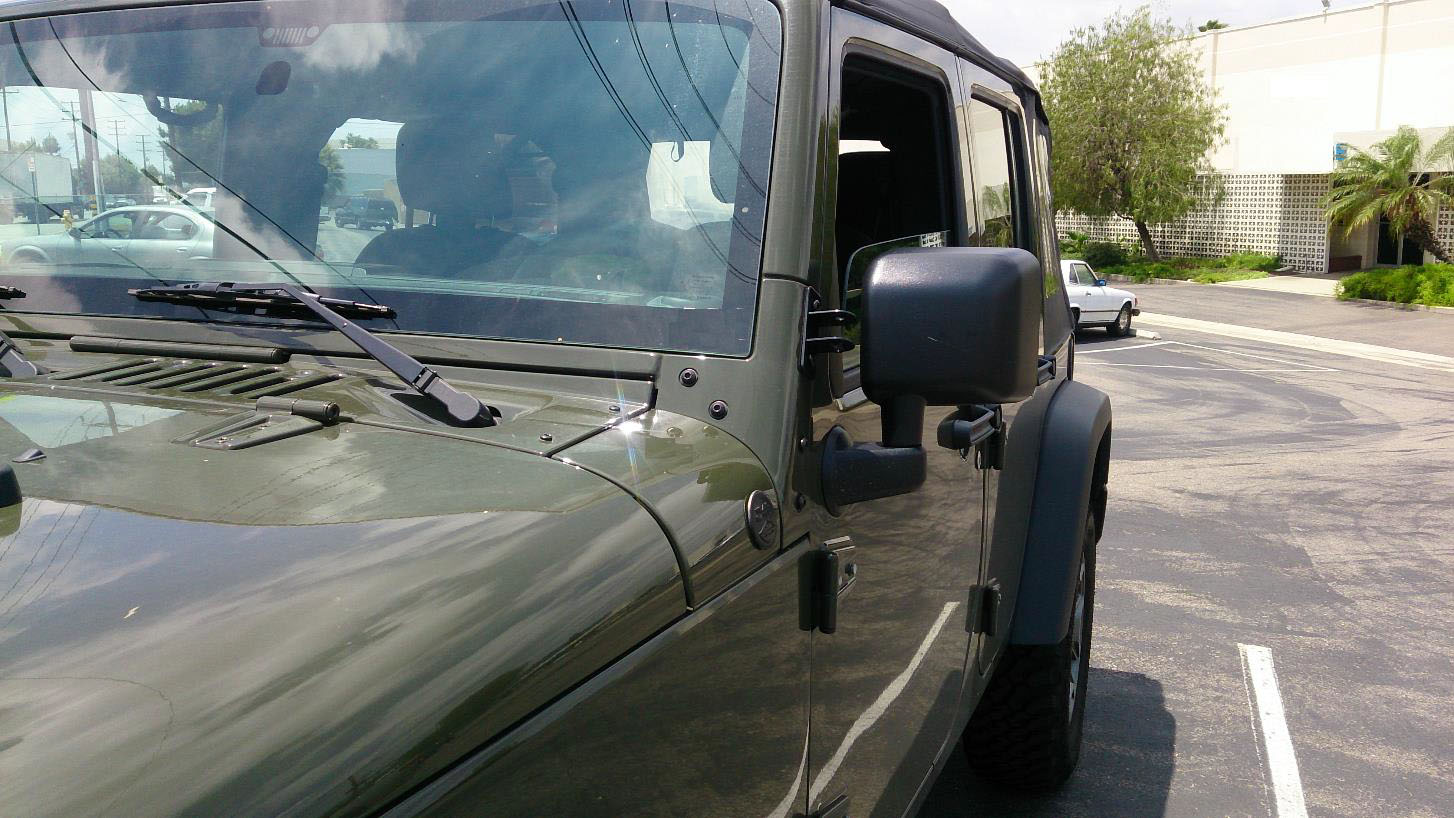
Before:
After:
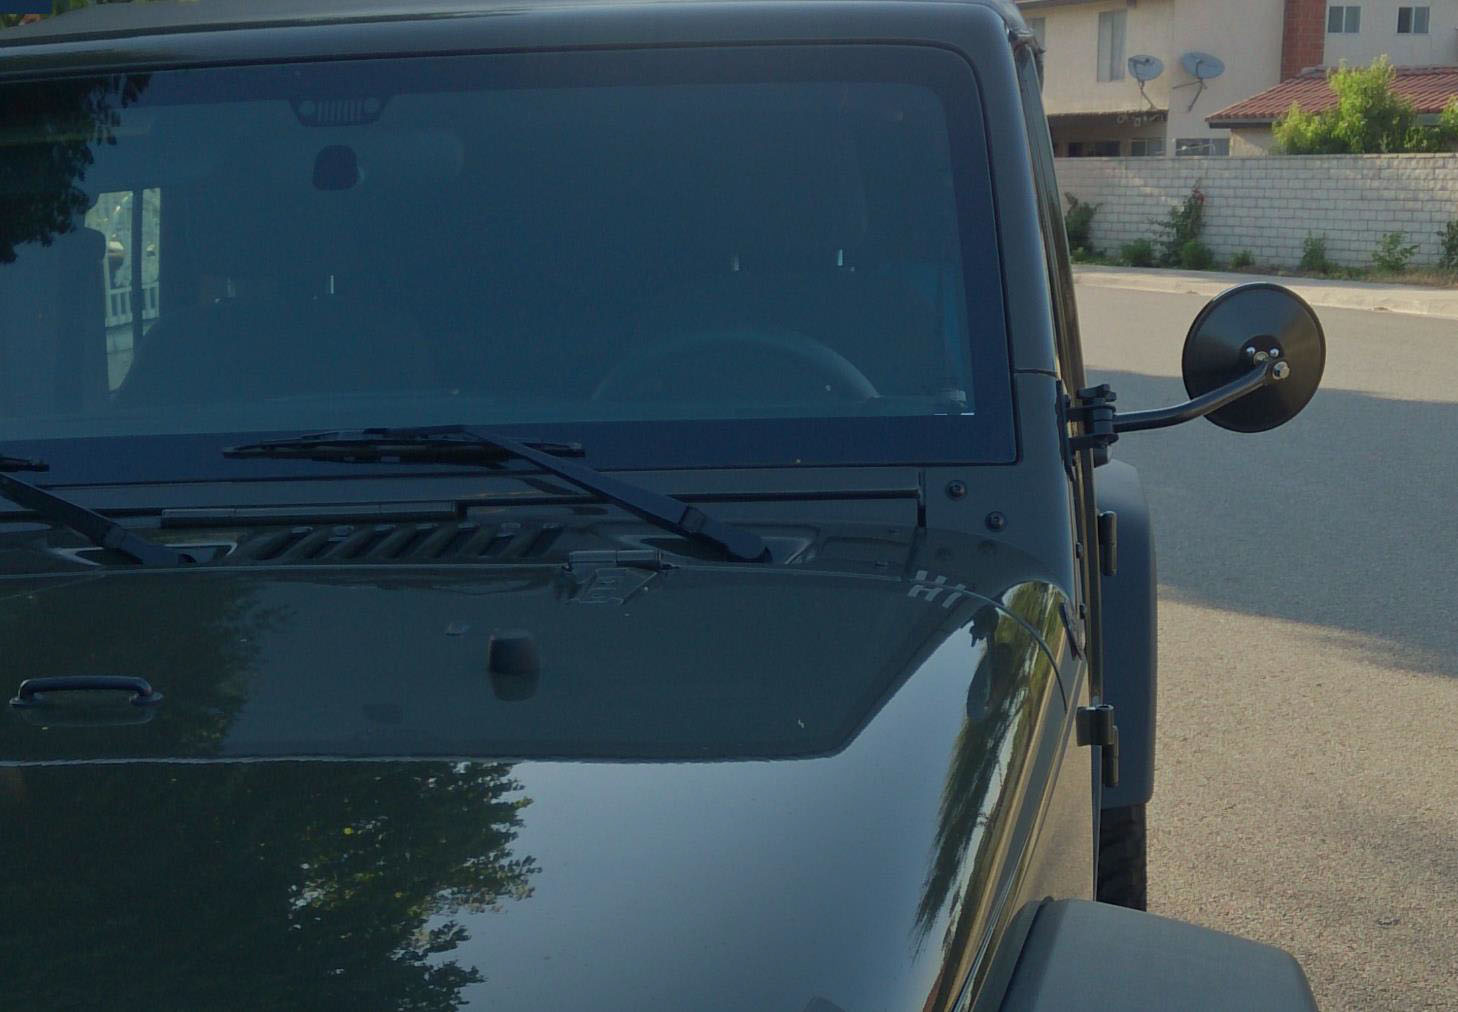
Installation Instructions Written by ExtremeTerrain Customer Winston Huang 07/16/2015

