

How to Install a Rugged Ridge Led Tail Light Assembly on your 1987-2006 Jeep Wrangler
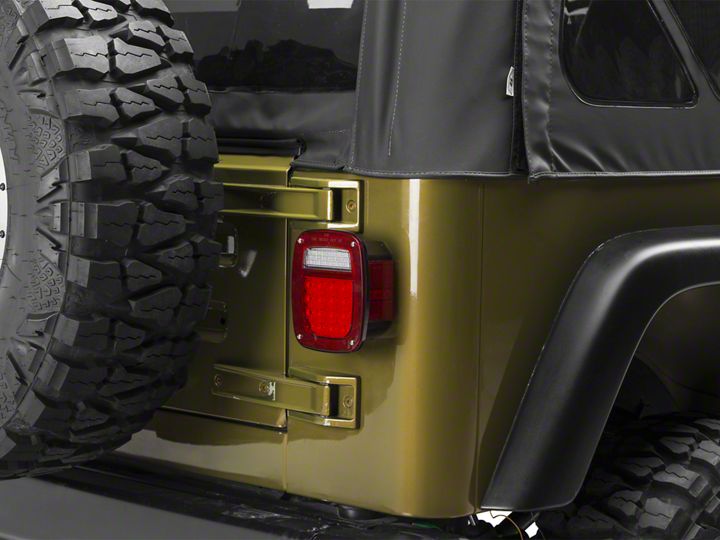
Shop Parts in this Guide
Step 1:
Disconnect the battery.
Step 2:
Remove the 4 phillips head screws that Retain the lens to the tail light housing. (Fig.1)

Step 3:
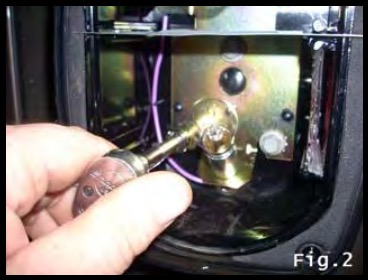
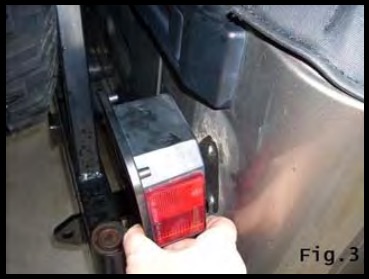
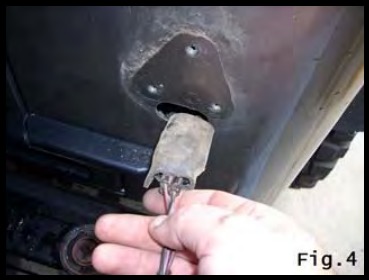
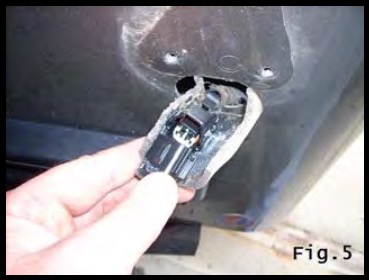
Remove the 3 tail light housing retaining bolts and remove the housing from the body.(Fig.2,3 & 4) Be careful when pulling the tail light wiring through the hole. Disconnect the tail light from the main wiring. (Fig.5)
Step 4:
Using a Jeep shop manual, or any other manual containing the wiring diagram for your Jeep, determine what wires operate each function of the tail lights. Once determined, wire your new LED tail light. (Fig.7)
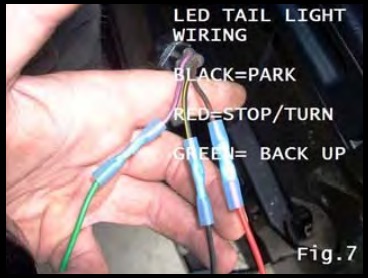
Wiring for the LED Tail Light is as follows:
Black wire = parking light
Red wire = stop and turn light
Green = back-up light
Reconnect the battery and check light operation.
Step 5:
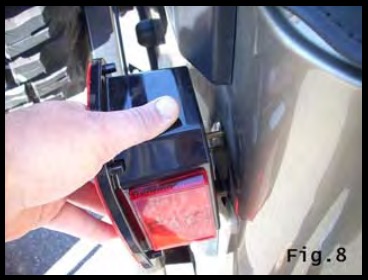
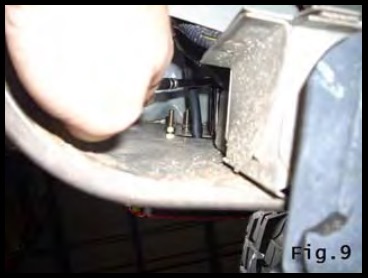
Carefully guide the wiring back through the hole and reinstall the tail lamp using the factory hardware. Becareful not to over tighten. (Fig. 8 & 9)
Step 6:
Repeat steps 1 thru 5 for the opposite Side.
Note:
LED bulbs draw less current than standard incandescent bulbs. Late model Wranglers (TJ’s) are equipped with bulb outage circuit detectors that cause the flash rate to increase whenever low current is detected. Based on your model, you may find it necessary to replace your original turn signal flasher with an aftermarket unit designed to function with LED’s.
The following are after market flashers that are designed to work with your new LED Tail Lights 87-95 YJ Trico(Tridon) EL-12, 97-00 TJ Trico(Tridon) EP-26, 01-06 TJ Grote 44090 or Trucklite 97283

