

Top Sellers for Wrangler
How To Install a M.O.R.E. Oil/Transmission Skid Plate On Your 2007 - 2015 Jeep Wrangler JK
Installation Time
90 minutes
Tools Required
- 3/8” or 1/2” Ratchet
- 18mm and 19mm Sockets
- 18mm and 19mm Wrenches
- Drill
- 1/2” Drill Bit
- Hammer or Mallet
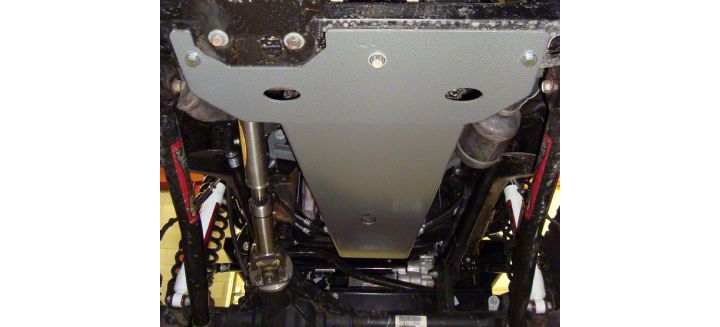
Shop Parts in this Guide
This installation guide was done using a 2-post lift. Allow more time for skid install if done without the listed tools or on the ground. As with any form of work or maintenance while under the vehicle, use proper safety precautions. Always set working lifts on locks and use jack stands when working from the ground if possible. There is no replacement for safety.
DO NOT TIGHTEN ANY BOLTS UNTIL EVERYTHING IS IN PLACE!!!
Installation Instructions:
1. Back off the nut from the bolt going through the motor mount. Then install the skid support arm under the backed off mount bolt. Put a provided 1/2" bolt and nut into the hole on the bottom of the mount.
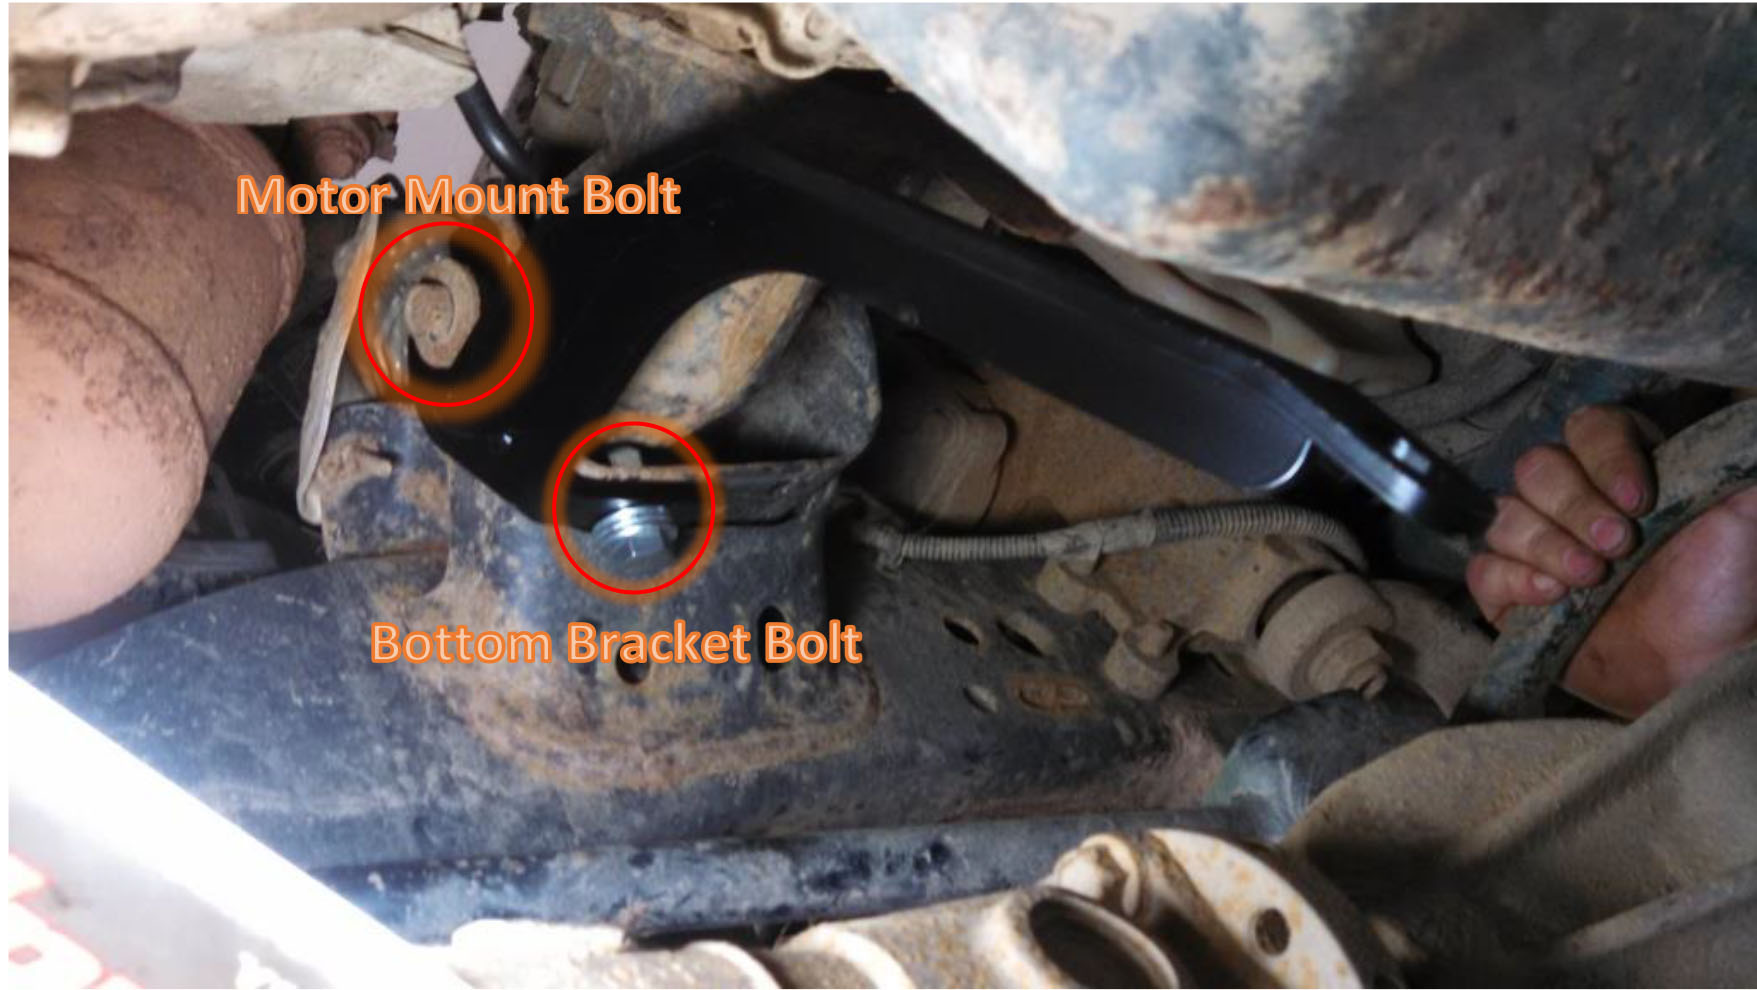
2. Install the passenger side bracket. Repeat STEP 1 on passenger side.
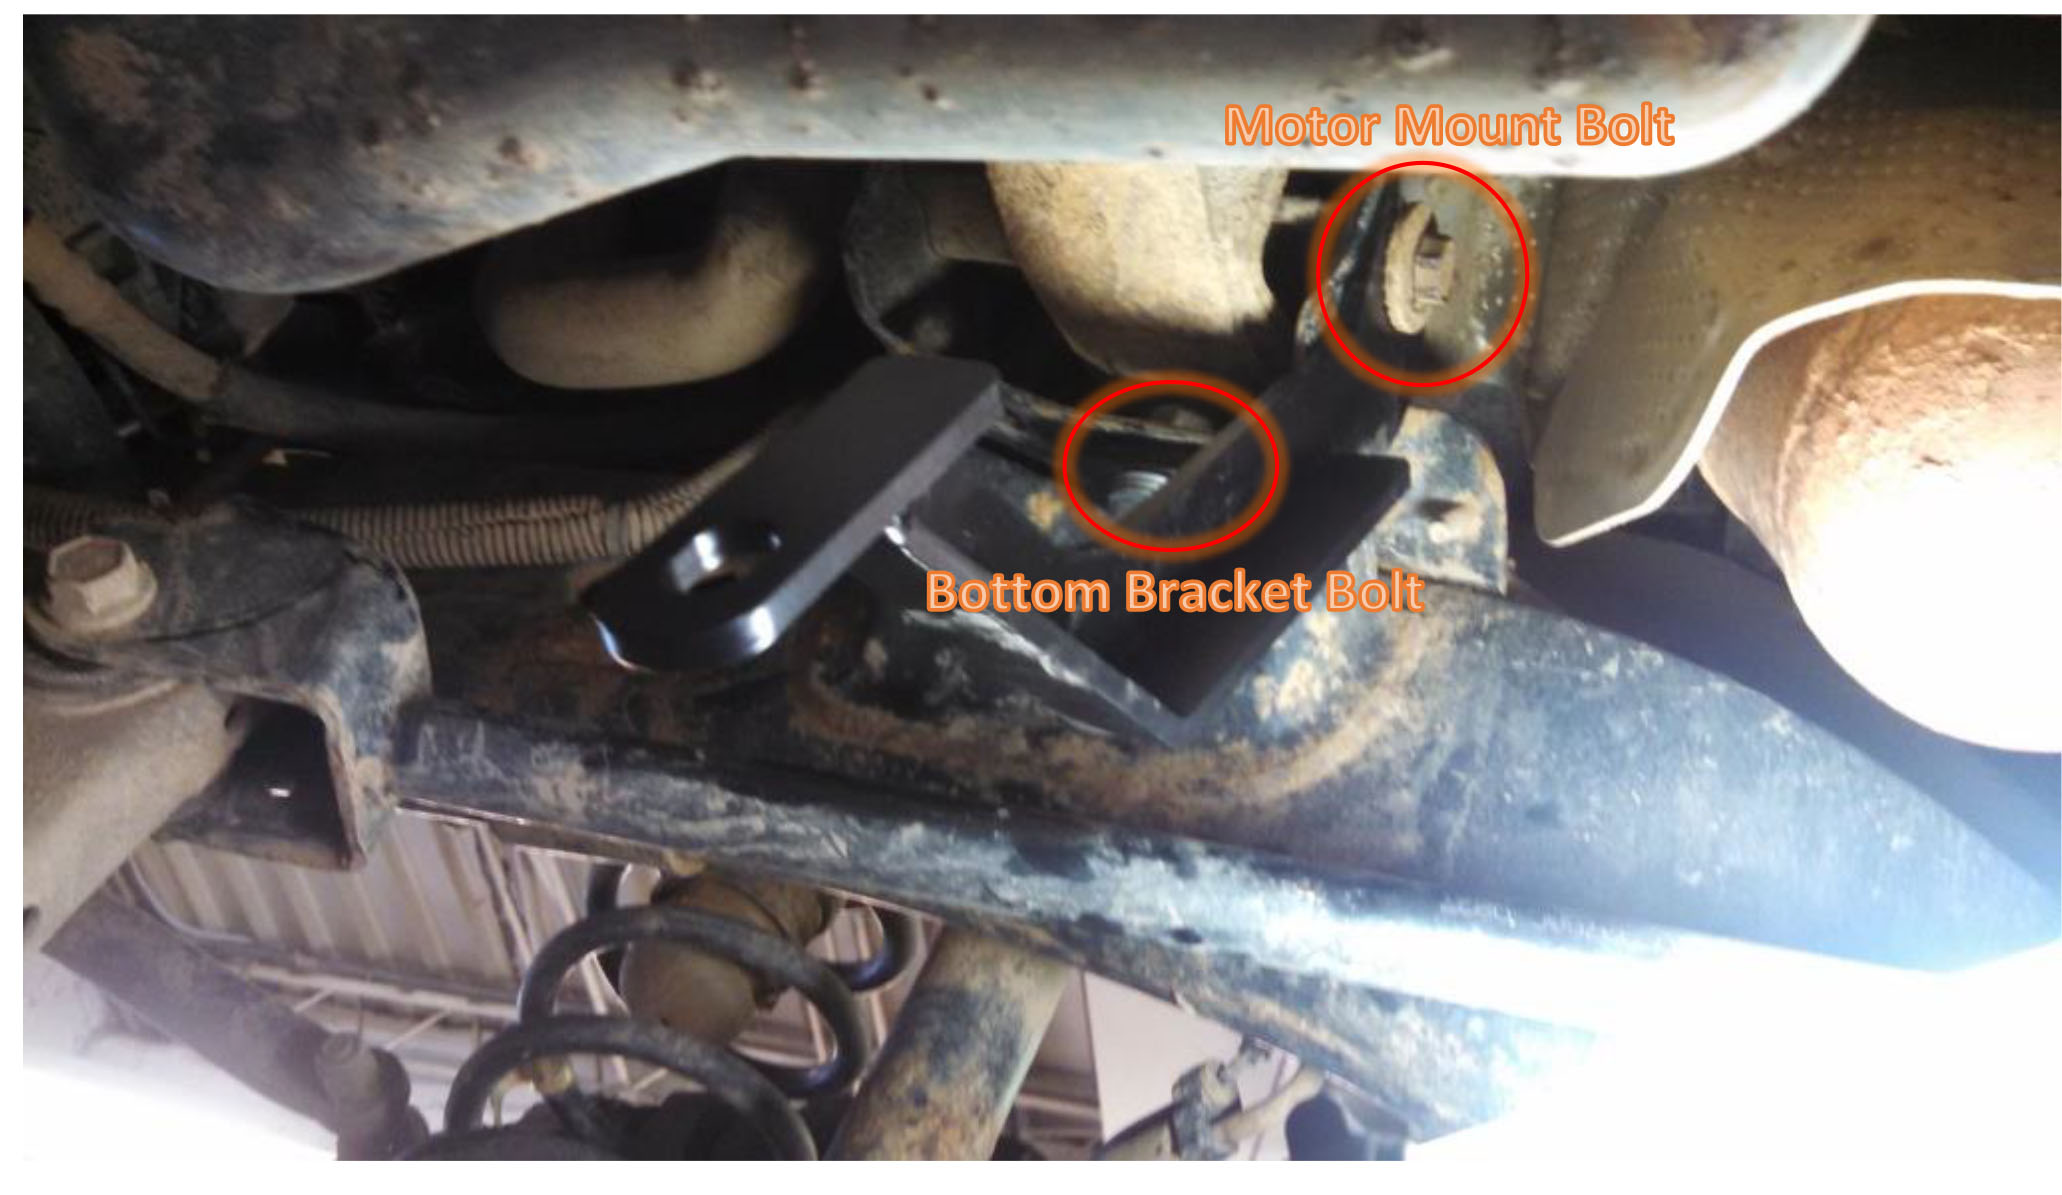
3. Connect the skid plate to the brackets using the 1/2"x1-1/4” bolts and matching nuts.
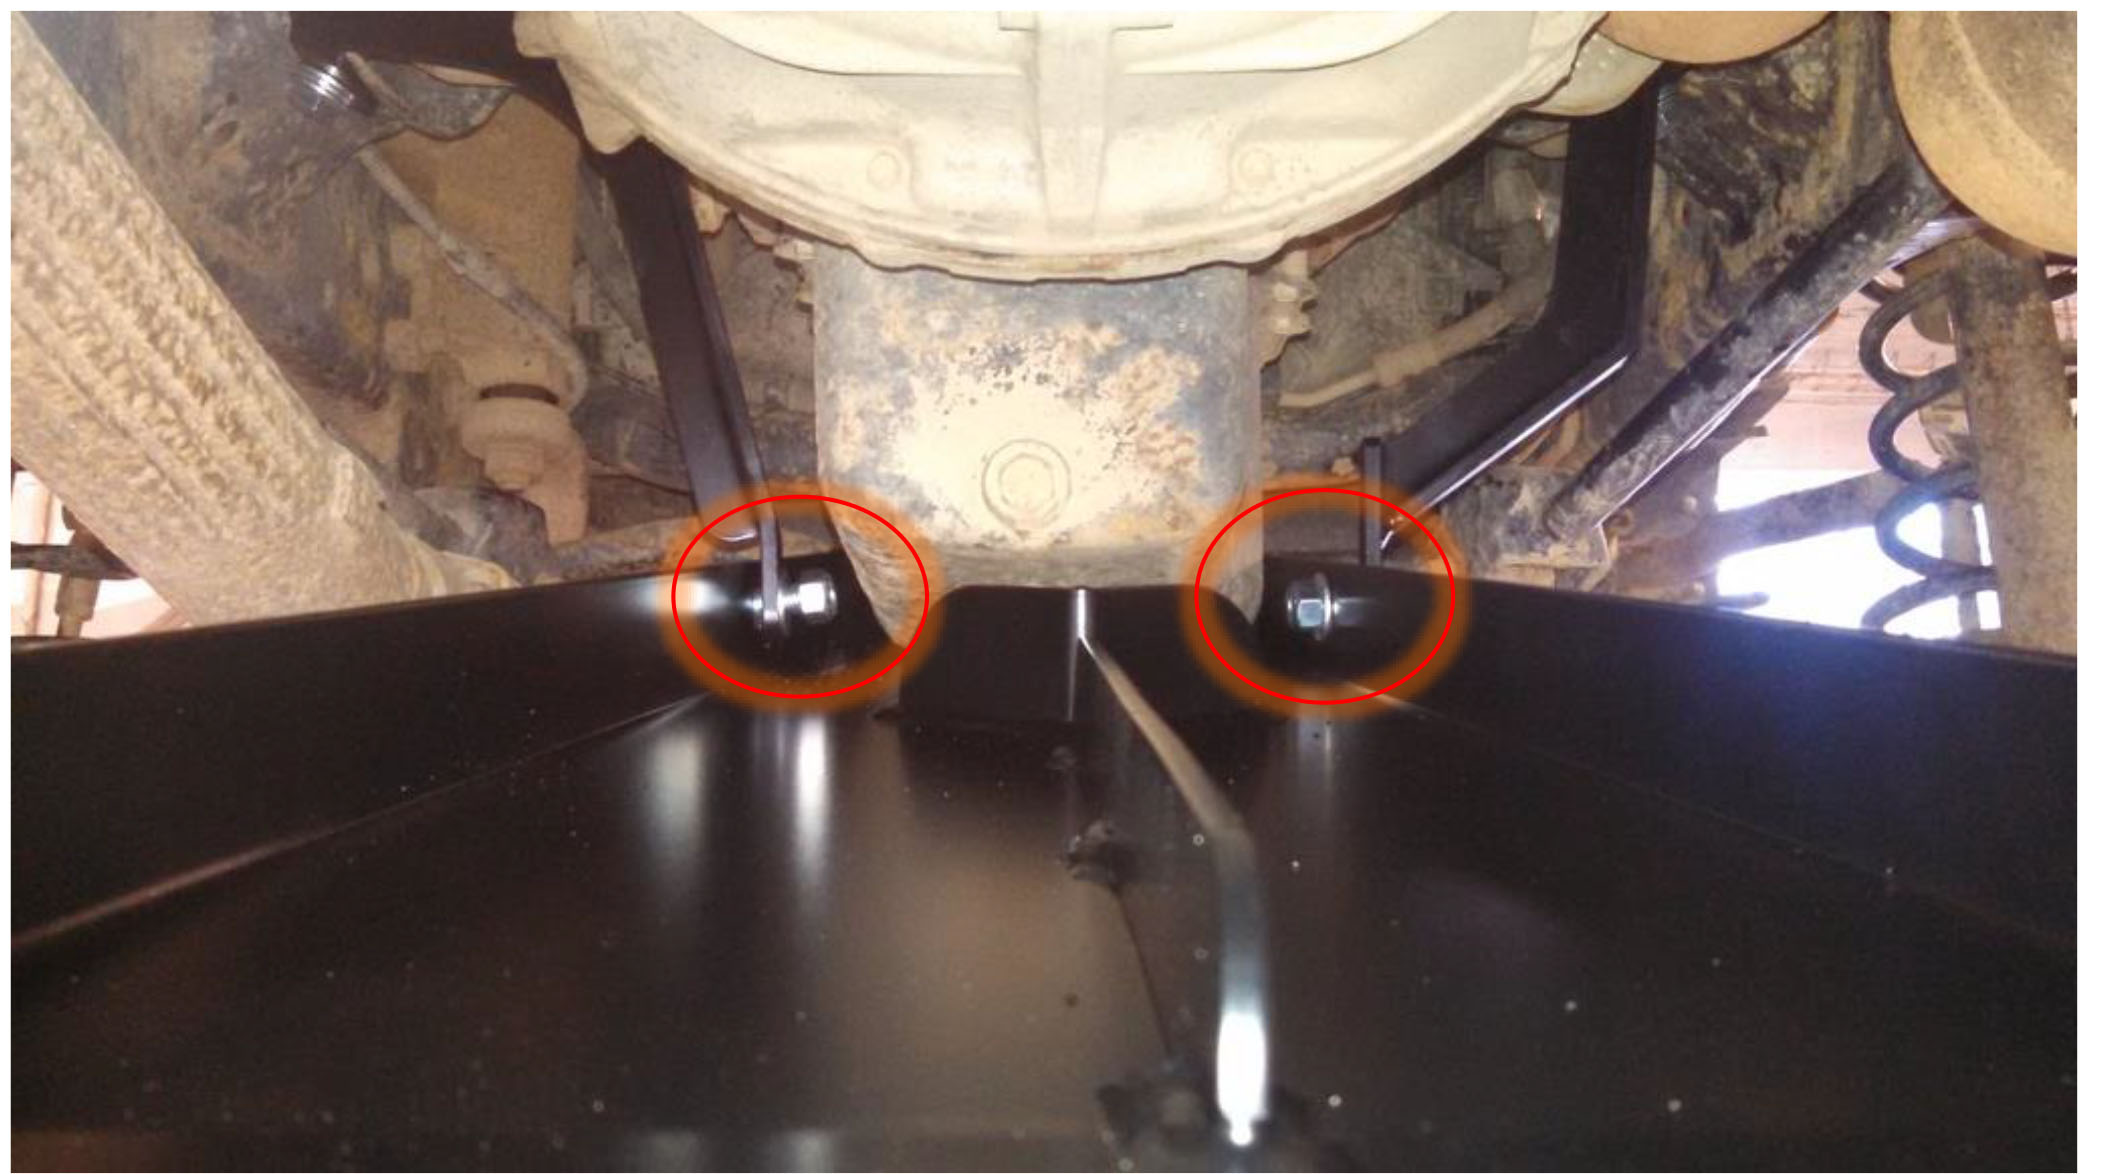
4. Attach the middle hole on the skid plate to the transmission cross member with the 12mm bolt. DO NOT USE ANY OTHER BOLT. This bolt gets threaded into a welded nut. Install the 1/2" bolt on the left with a matching nut.
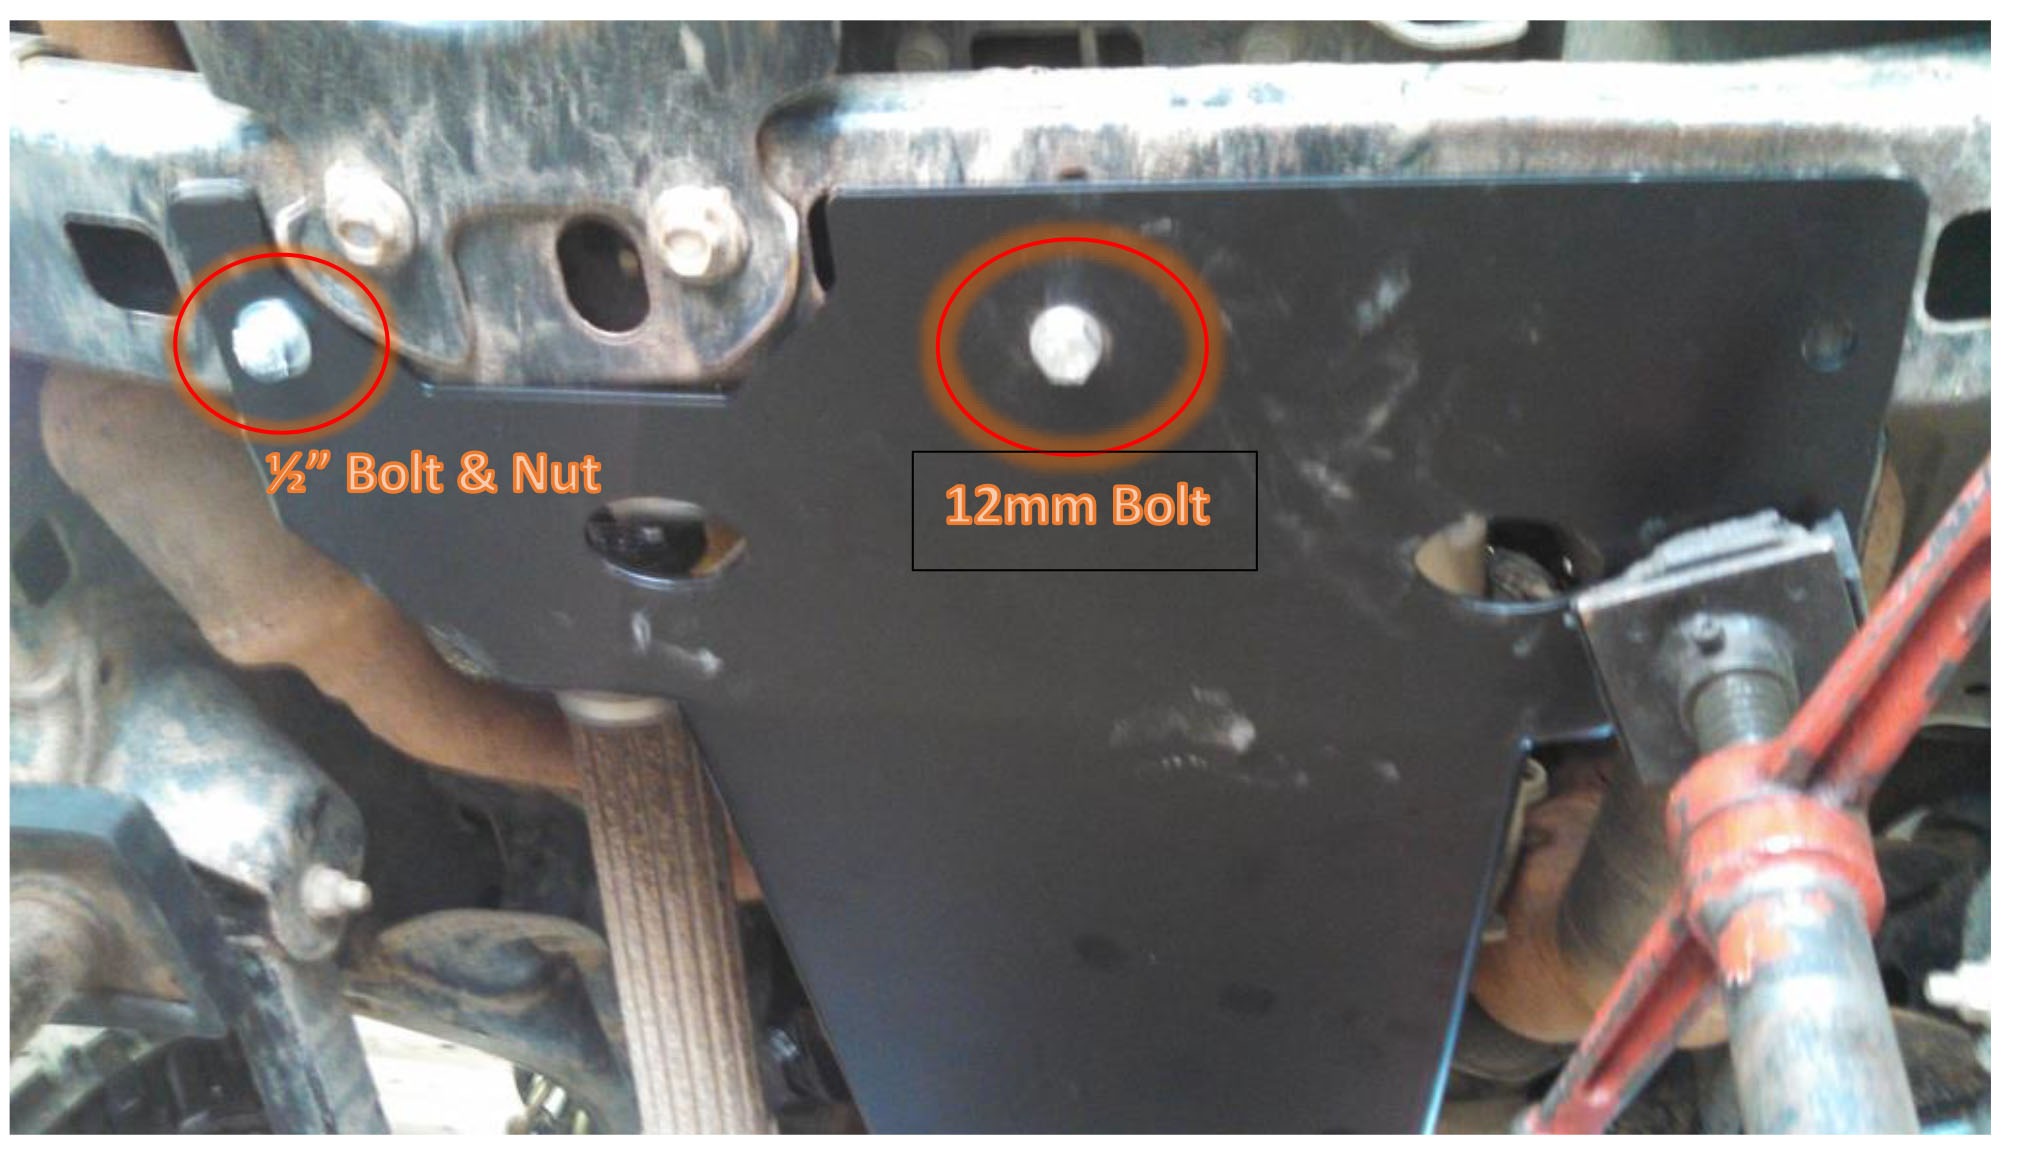
5. Drill out the last hole, on the right side, to fit the last 1/2" bolt.
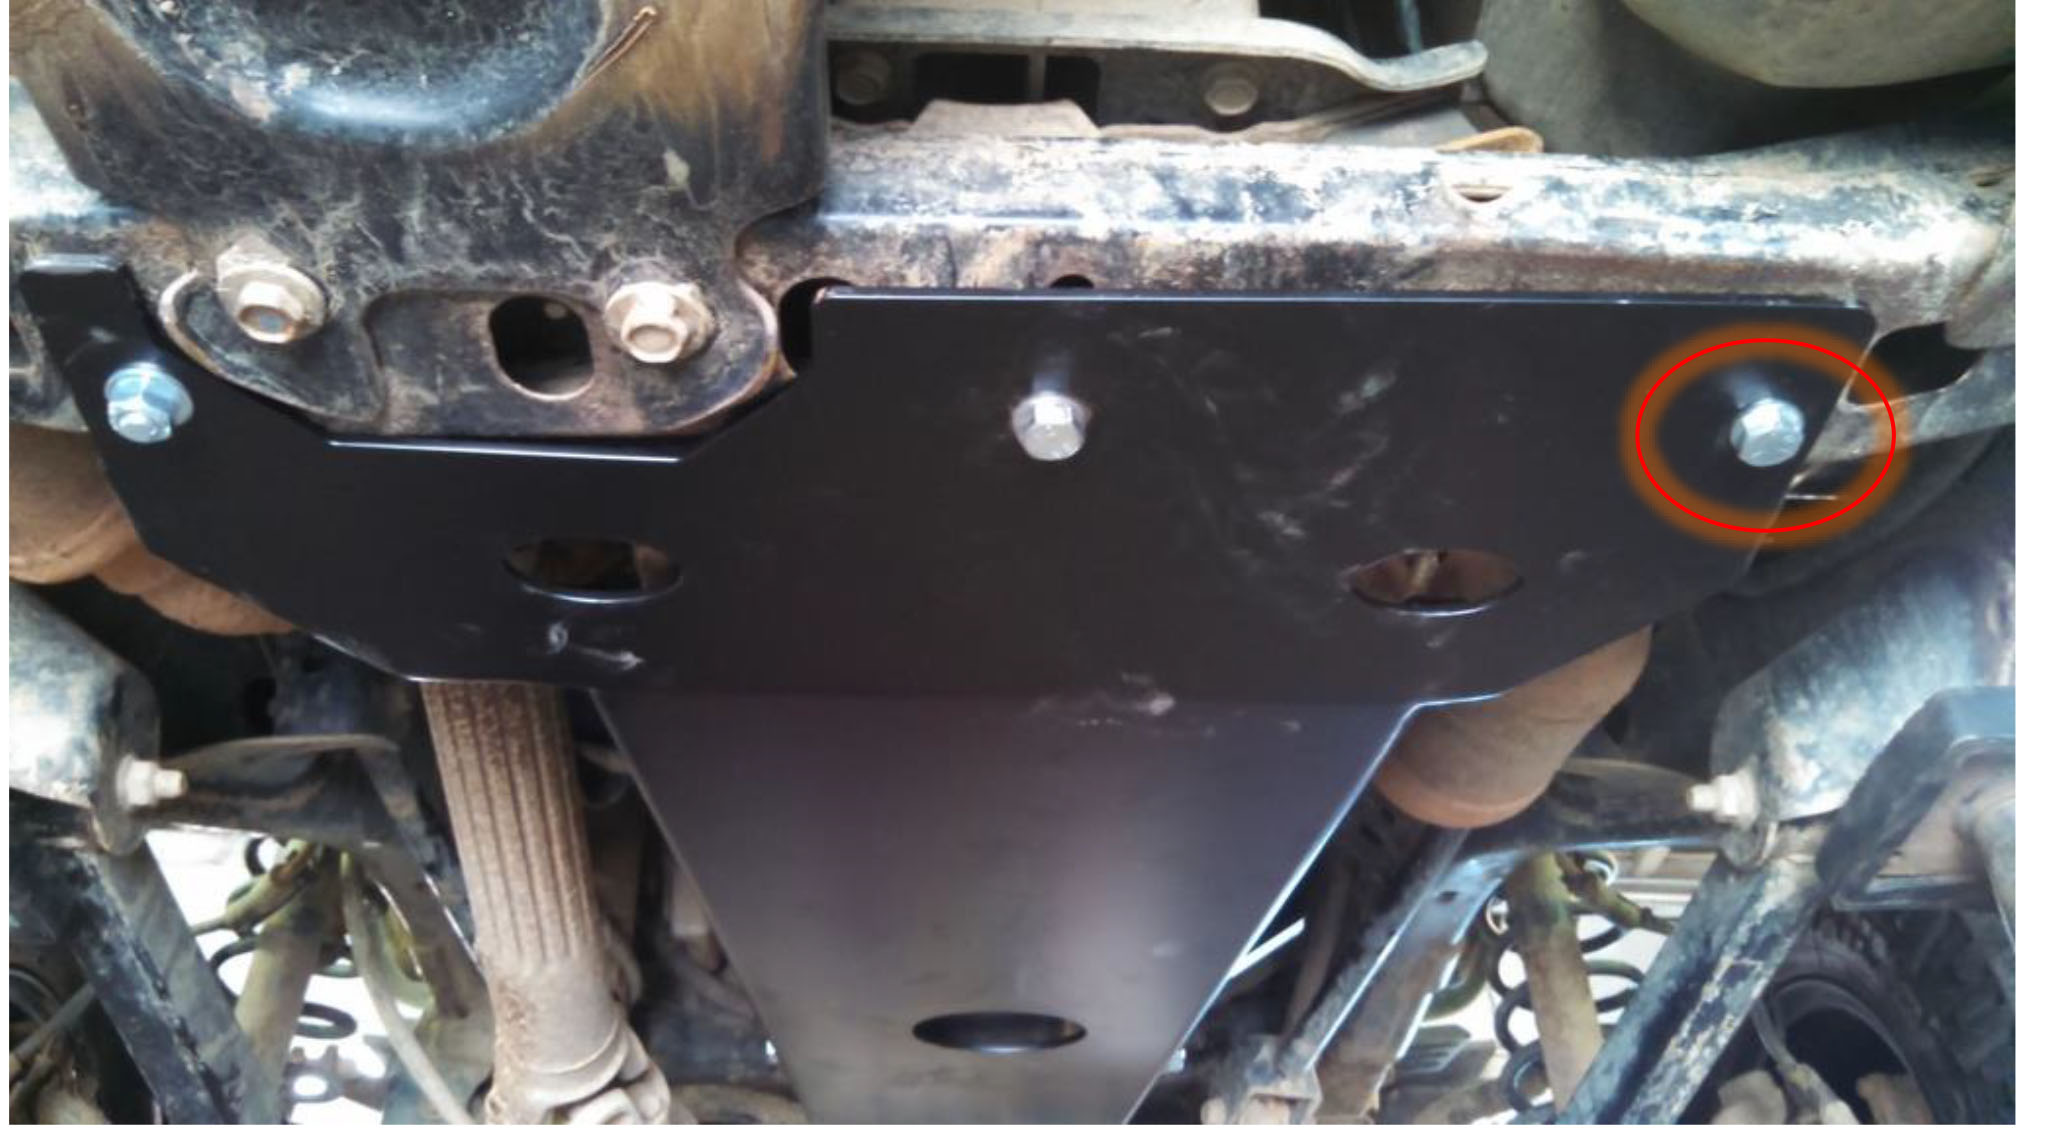
6. Tighten all of the bolts.
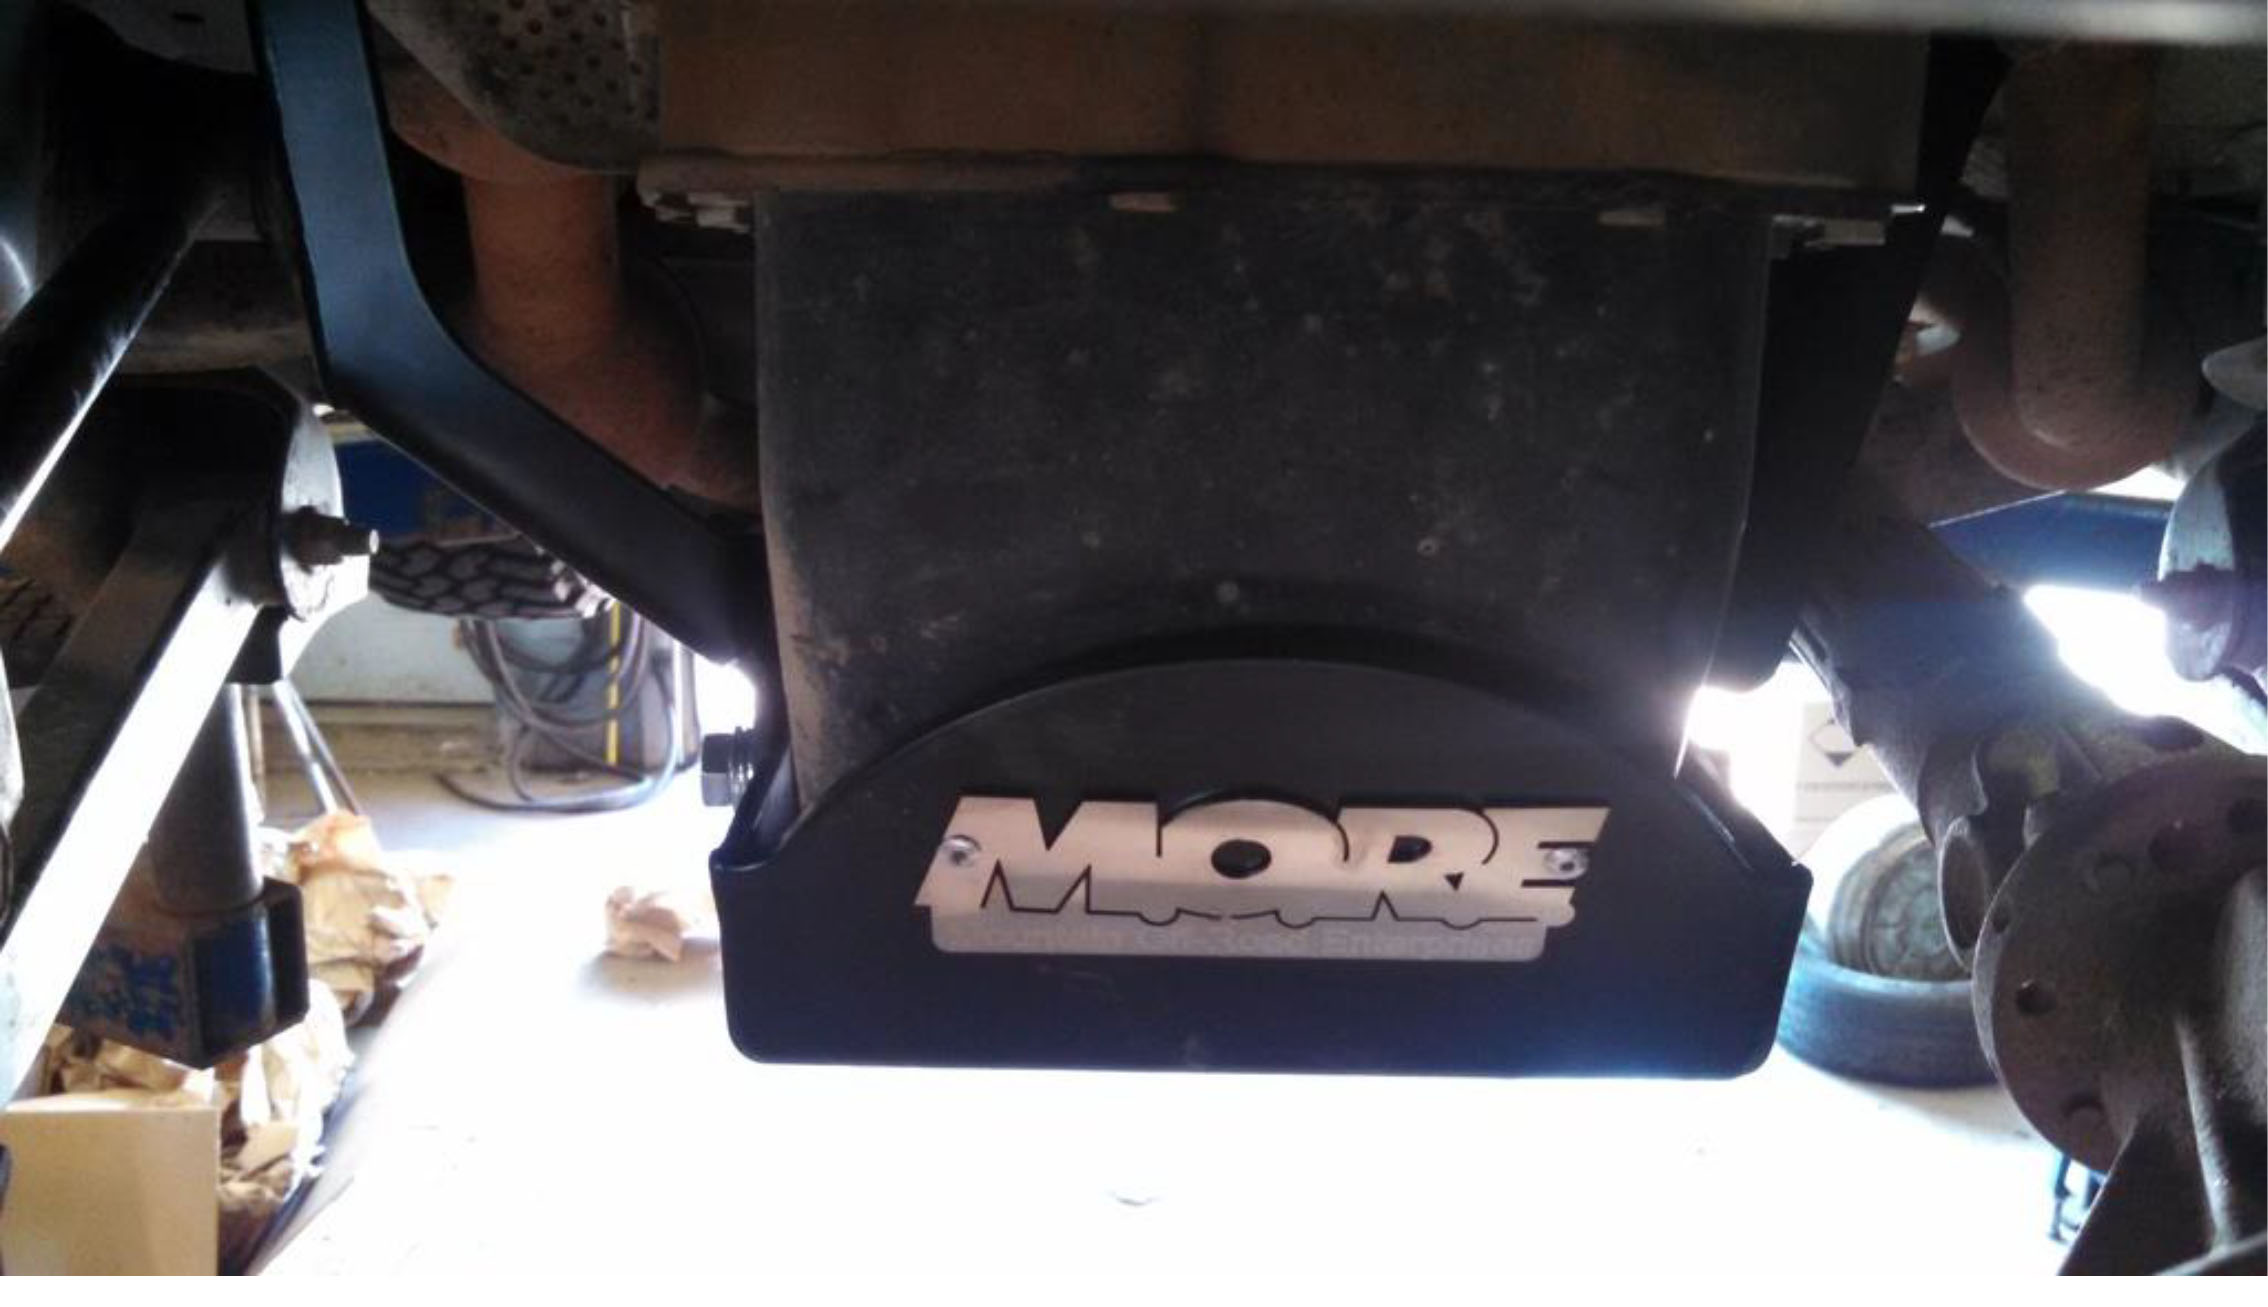
7. Enjoy your awesome new and very functional skid plate!
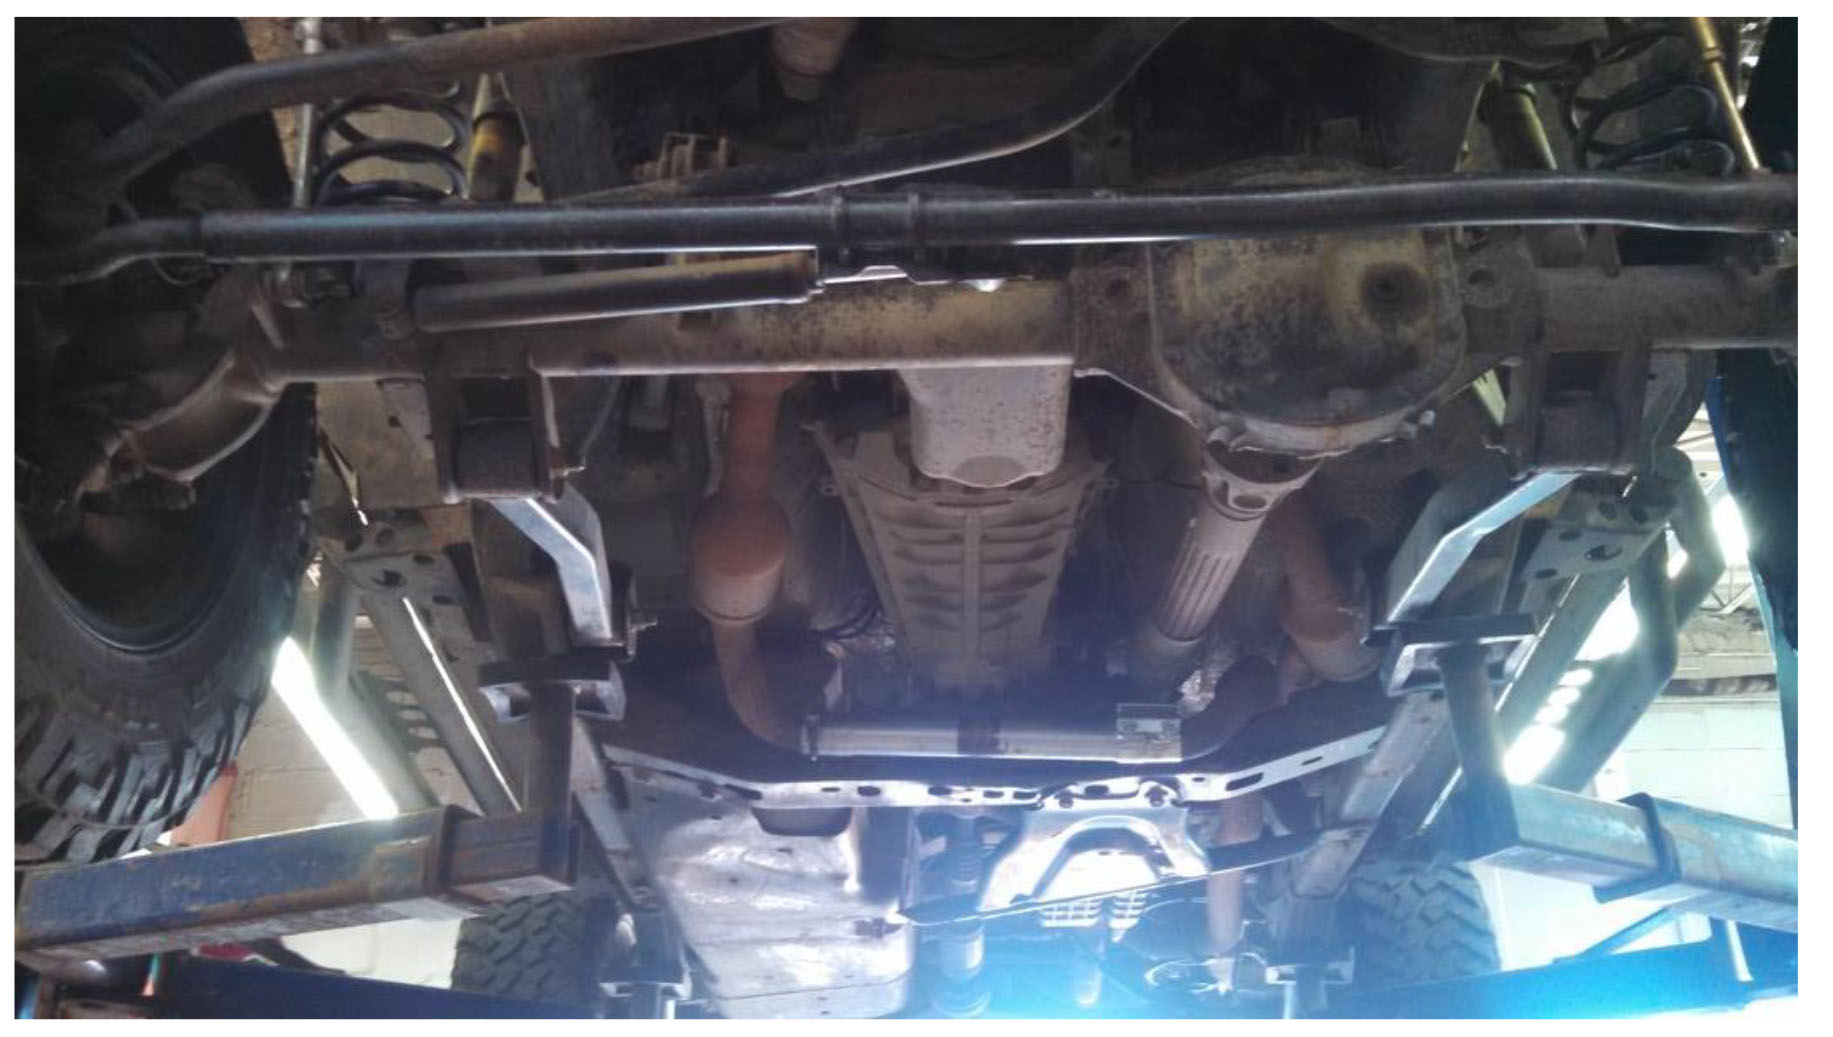
Before:
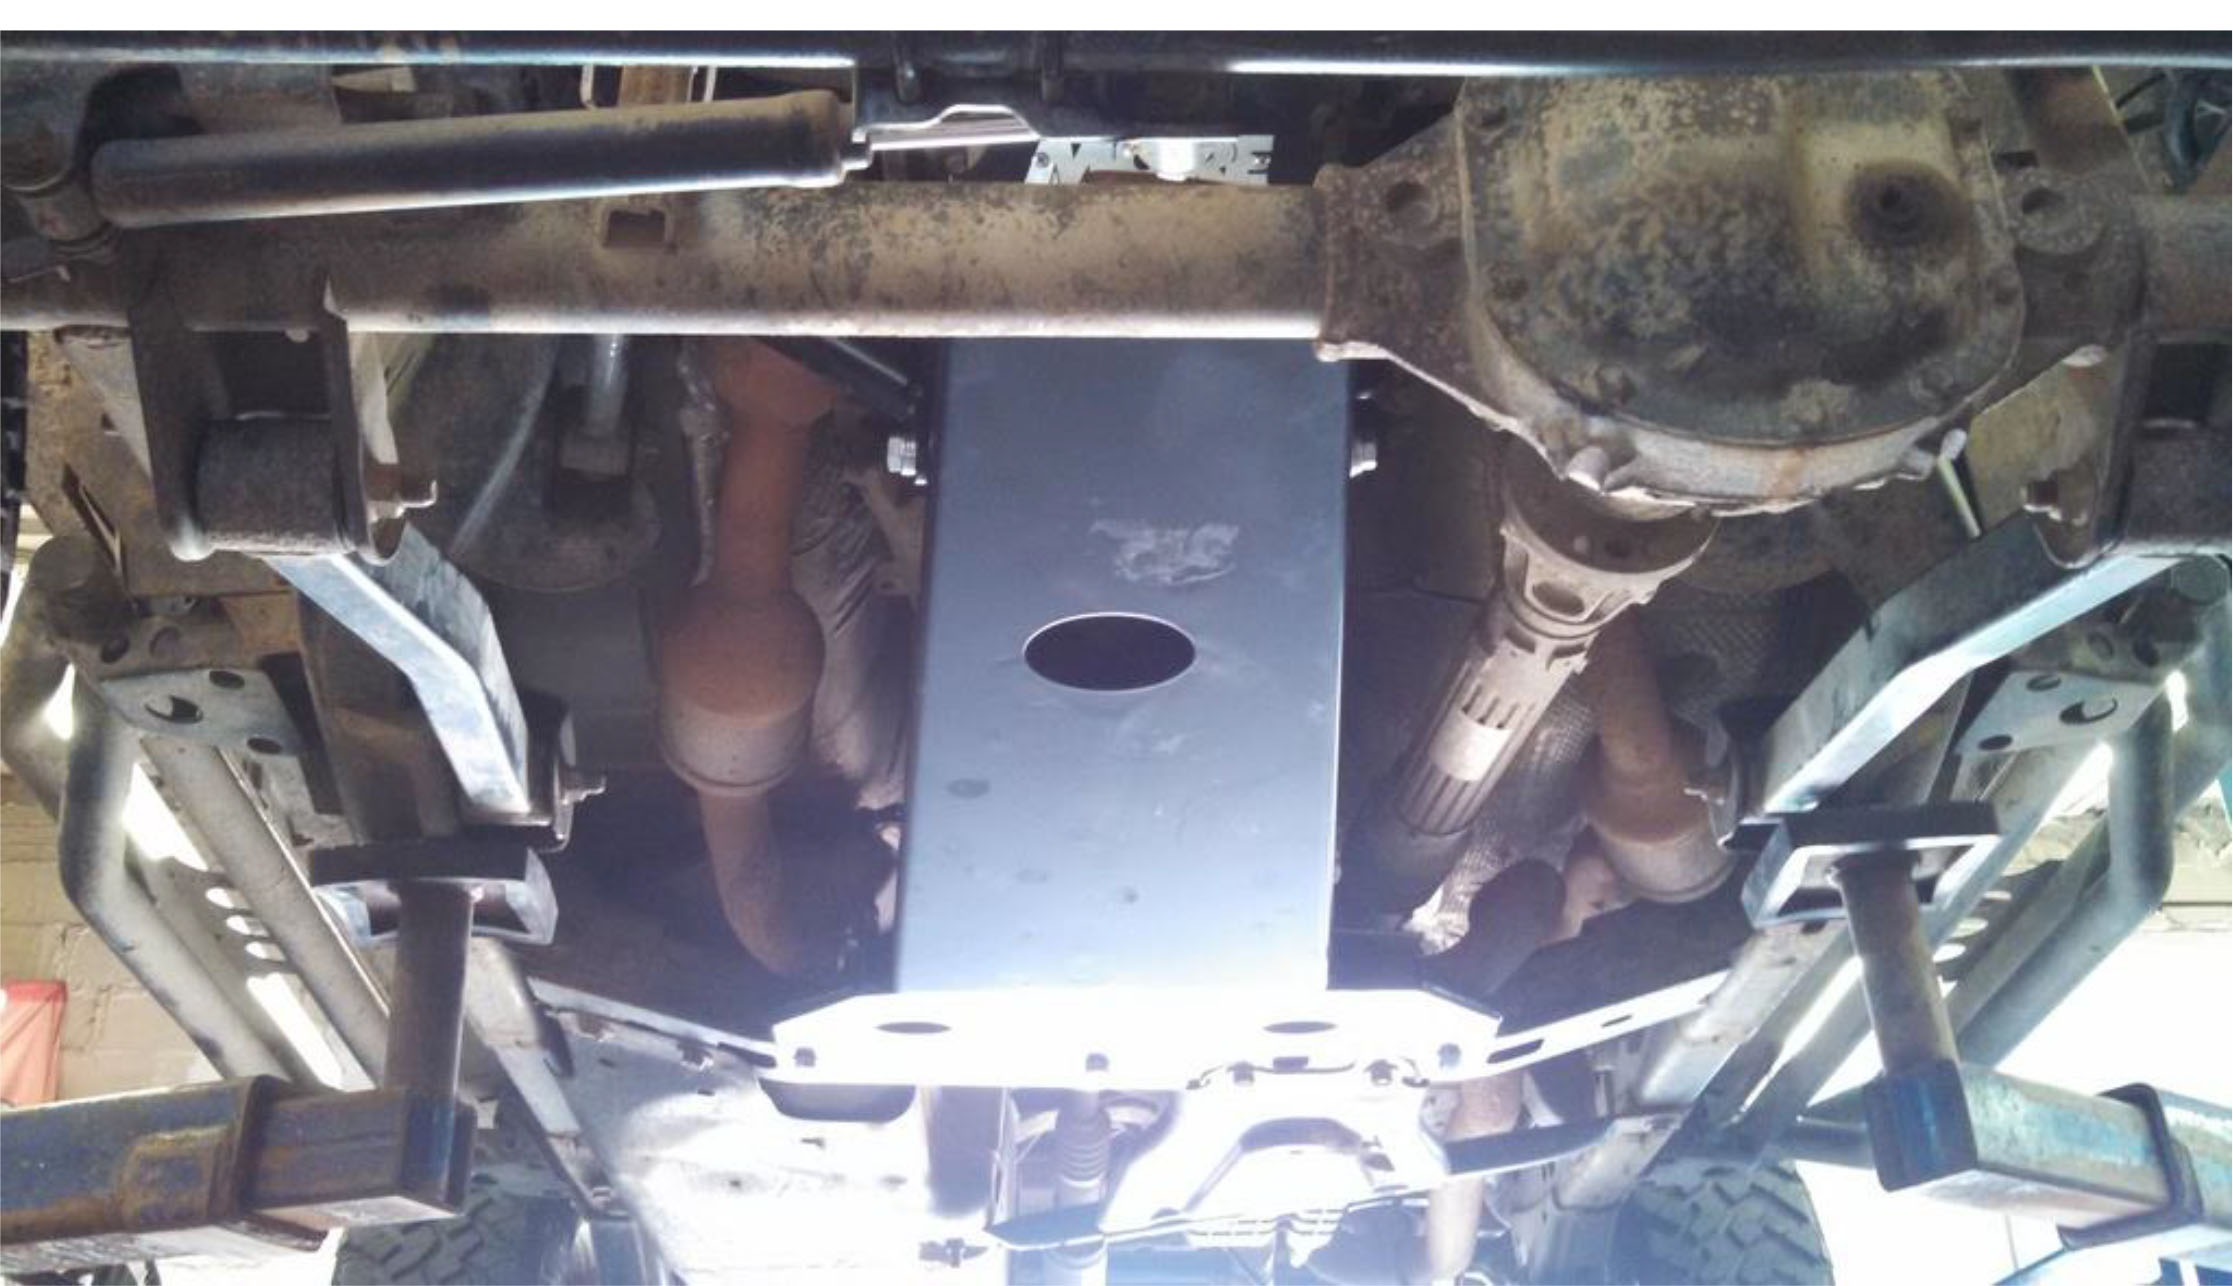
After:
Installation Instructions Written by ExtremeTerrain Customer Chase Casterline. 07/25/2015


