
Top Sellers for Gladiator
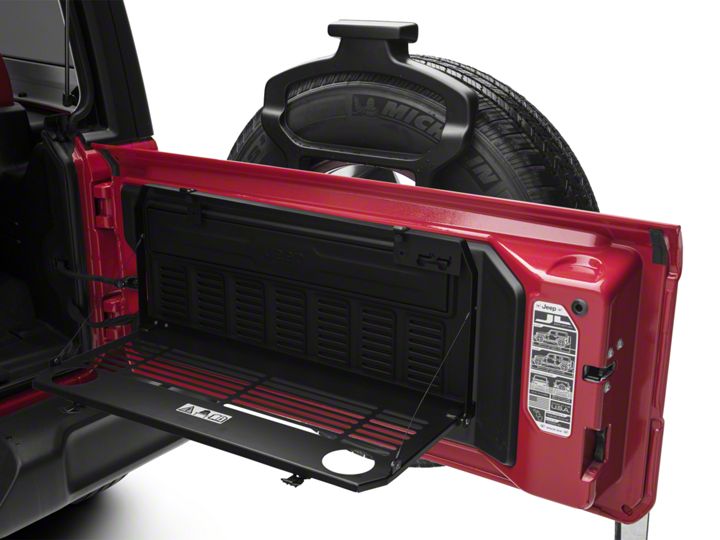
How to Install Mopar Tailgate Table (2018 Wrangler JL) on your Jeep Wrangler
Installation Time
30 minutes
Tools Required
- Plastic Pry Tool
- T30 TORX Screwdriver or Bit
- 10mm Box Wrench
- 3/8” Ratchet
- 13mm or 33/64” Drill Bit
- Drill

Shop Parts in this Guide

4 – Long T30 TORX screw 4 – Lock washer 4 – Aluminum spacer 2 – Short T30 TORX screw 2 – Nylon spacer 2 – 10mm nut
Note: Installation will require drilling 4 holes in the plastic trim on the tailgate.
1. Remove plastic trim from the inside of the tailgate. Using a plastic pry bar begin in the bottom left and work your way counter-clockwise, separating the trim from the tailgate.

2. Lay the plastic trim face-down on a suitable surface to prevent damage while drilling. The box tailgate table shipping box is perfect for this. Locate the highlighted holes on your trim, the top two holes will go straight through the molded holes and the bottom two you will find a small indent in the plastic trim. This is where you will drill 4 holes using the 13mm drill bit.

3. Now that the holes are drilled, attach the plastic trim back on the tailgate, ensure the trim in snapped back on securely by lightly tapping around the edges. Slide the provided Aluminum spacers into the holes that we just drilled, the longer Aluminum spacer should be inserted into the bottom left hole.

4. For the next step, mount the bracket beginning with the top two holes. Insert and hand-tighten two of the supplied long TORX screws with lock washers through the bracket and Aluminum spacers into the threaded holes on the tailgate. Before tightening the top two screws, insert and hand-tighten the bottom two TORX screws with lock washers through the bracket and spacers. Using a T30 TORX bit and ratchet or screwdriver, tighten down all screws.

5. After securing the bracket to the tailgate it is time to attach the table. Place the table in the mount as if it were stowed away, hook the latches in place and secure those to hold the table in place while attaching the last pieces of supplied hardware. On both sides, slide the short T30 TORX screw from the outside, through the mount and table with Nylon spacer between the two and then hand thread the nut onto the screw.

6. Once both sides are attached, use the 10mm box wrench to hold the nut in place while using a 3/8” ratchet and T30 TORX bit to tighten the each screw on both sides.

7. The final step is connecting the cables, lower the table down and the cables will simply loop over the stud on the inside of the mounted bracket.


BEFORE

AFTER – TABLE DOWN

AFTER – TABLE UP
Installation Instructions Written by ExtremeTerrain Customer Zac Hart 07/22/2018


