

Top Sellers for Titan
How to Install Mopar Slush All Weather Front & Rear Floor Mats w/ Jeep Logo - Dark Slate Gray (14-18 Wrangler JK 4 Door) on your Jeep Wrangler
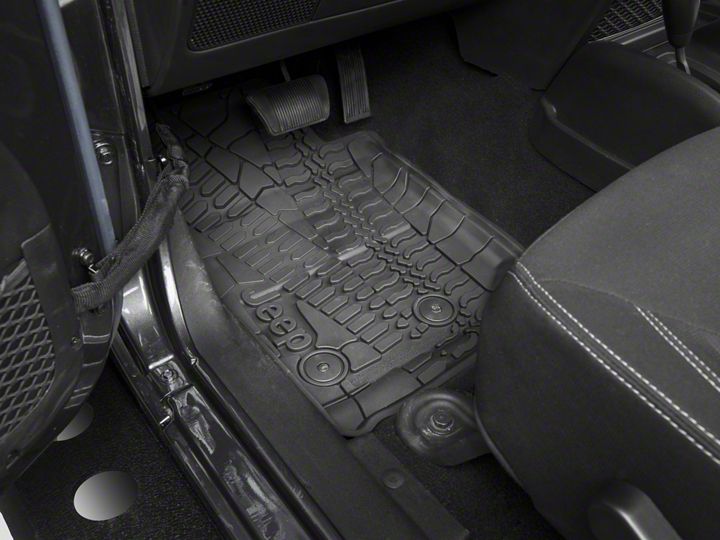
Shop Parts in this Guide
Factory/Before Pictures
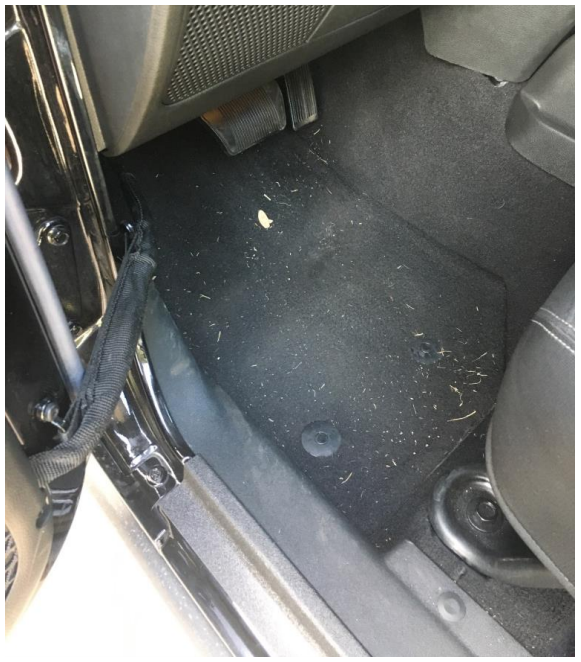
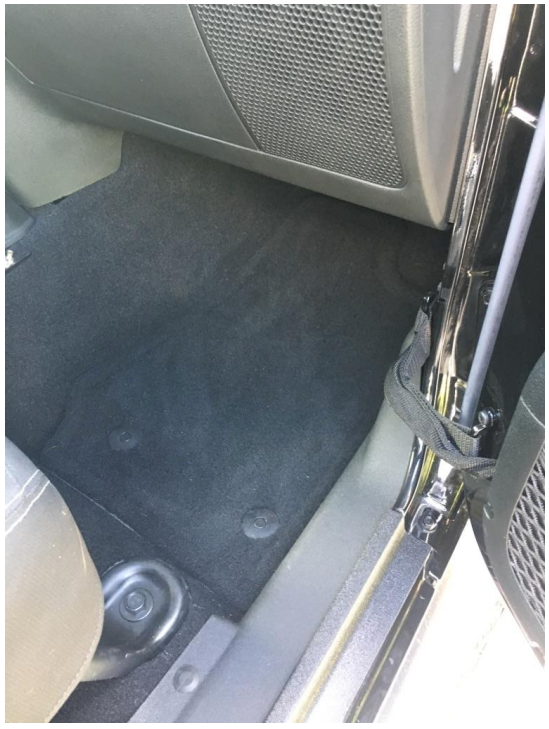
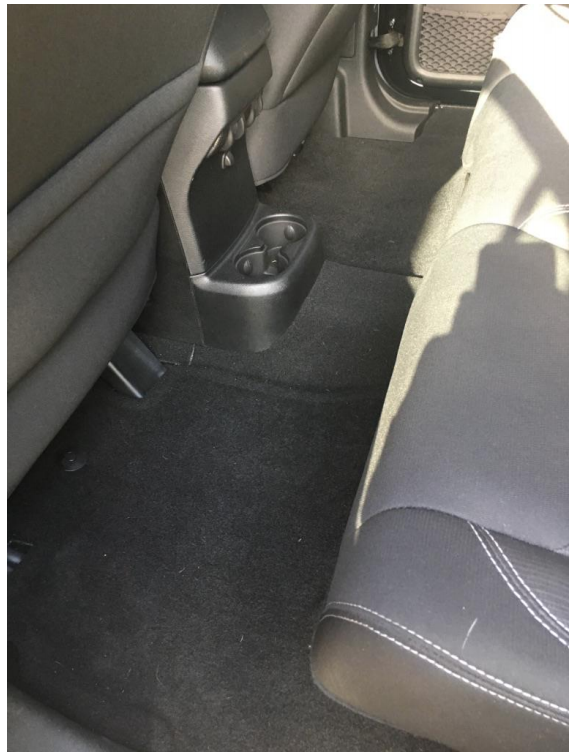
Installation Instructions
1. Use shop vac to vacuum factory floor mats, if desired
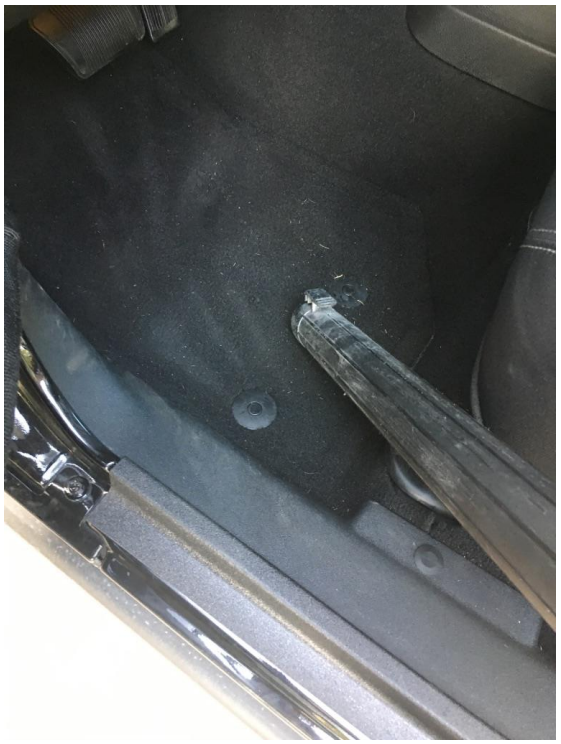
2. Remove all four (4) factory floor mats by disengaging the locking buttons on each mat (two buttons on each of the front mats and one button on each of the rear mats) and sliding the mat out of position (Note: To remove the locking buttons, slide your hand under the mat with your fingers on each side of the button and pull firmly up. It may be necessary to brace the carpet below with the other hand, but the buttons should simply pop off and disengage.)
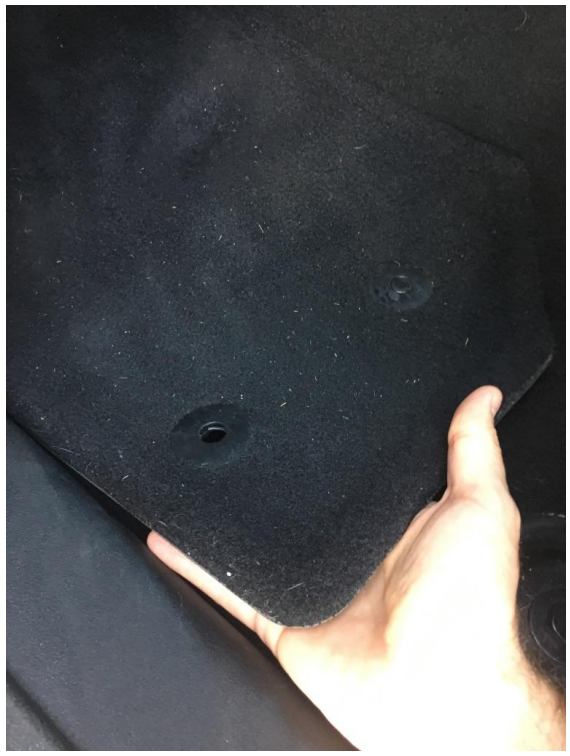
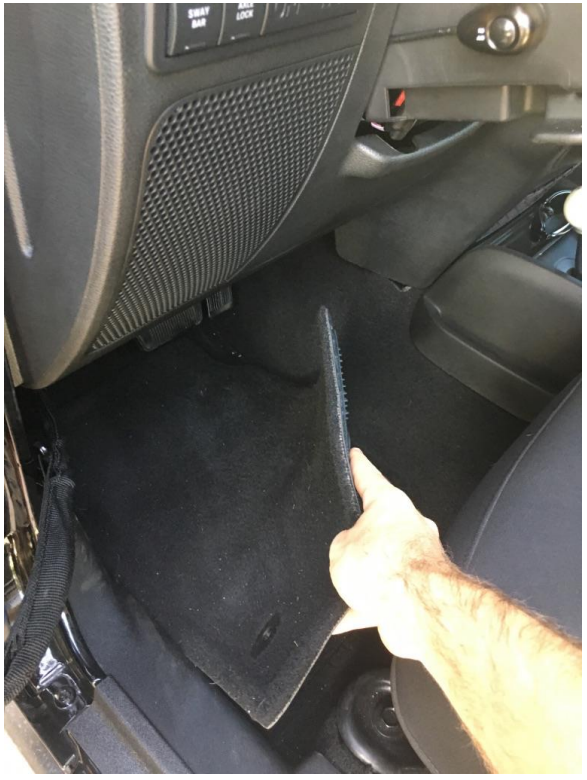
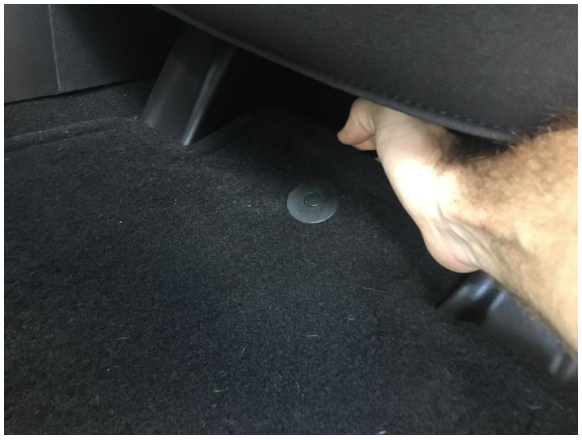
3. Use shop vac to vacuum below factory mats, if desired
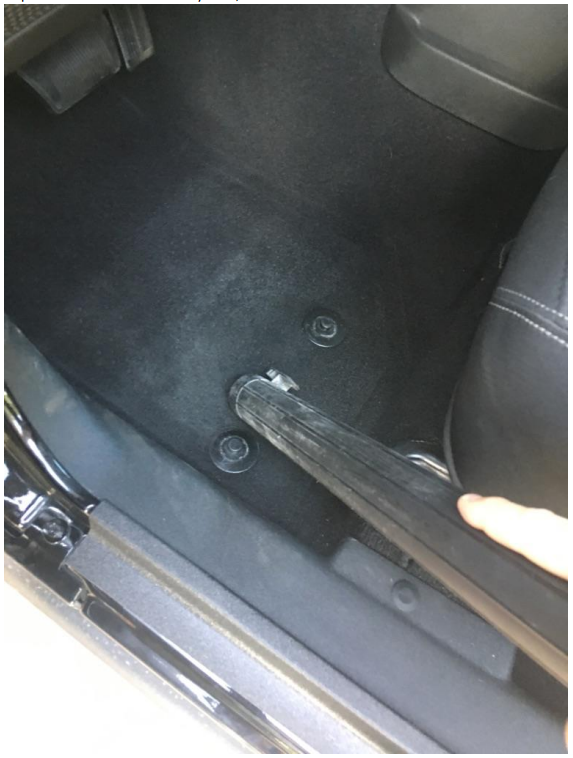
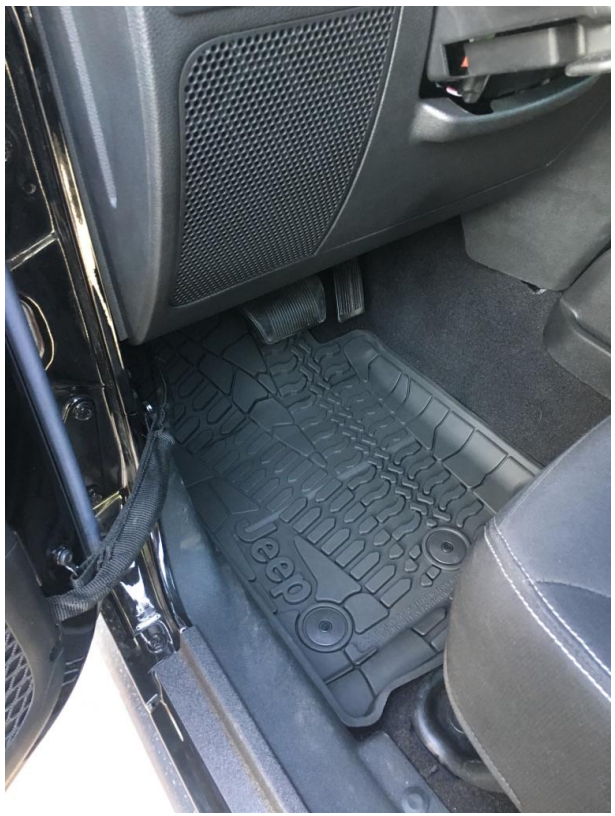
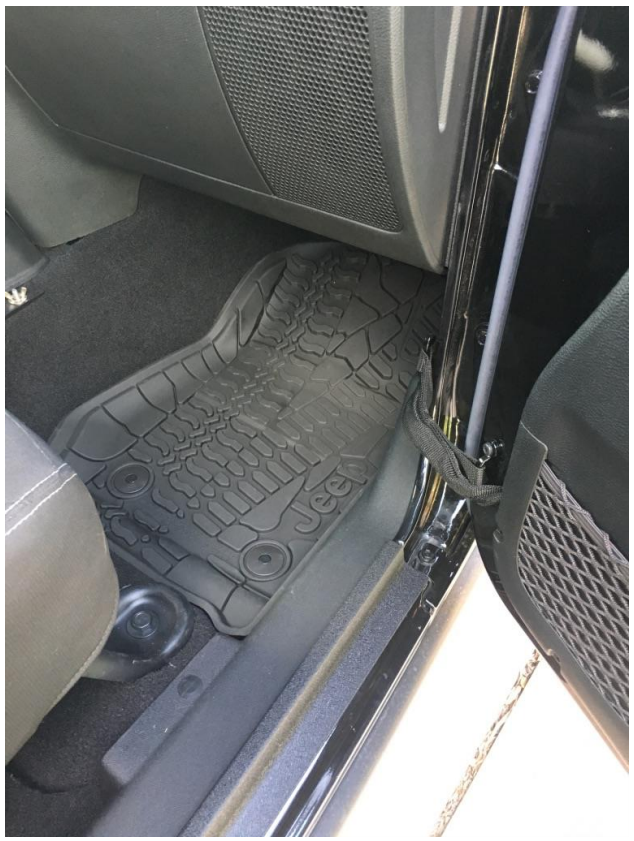
4. Install front mats by sliding the mats into place and locking two (2) buttons in each mat (Note: To lock the buttons, simply position the mat and firmly press down on the button lock ring until the button is locked into place. Also, the driver’s side mat is the mat with the notch in the corner as can be seen in the pictures below.)
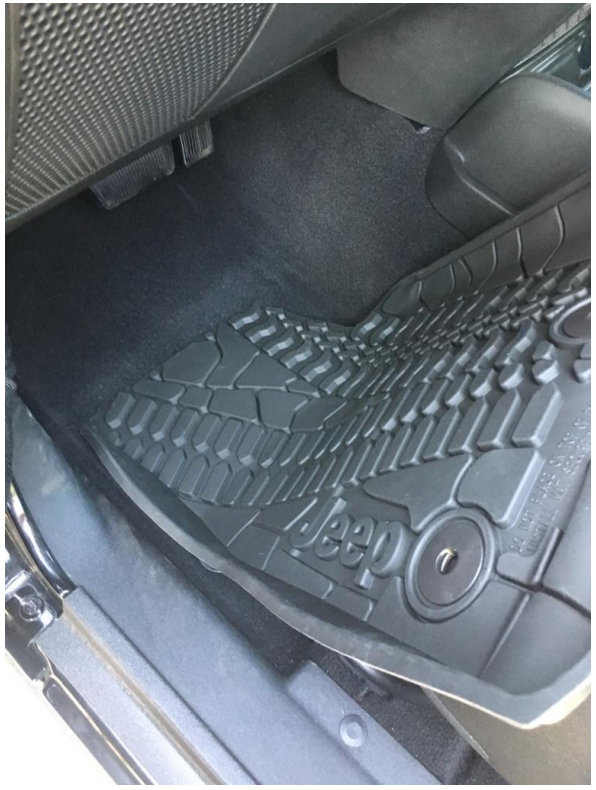
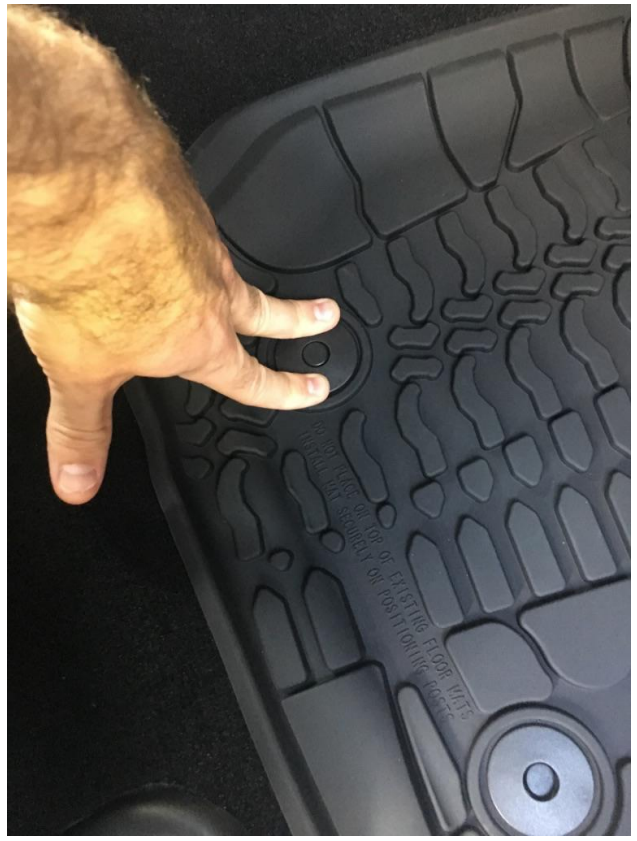
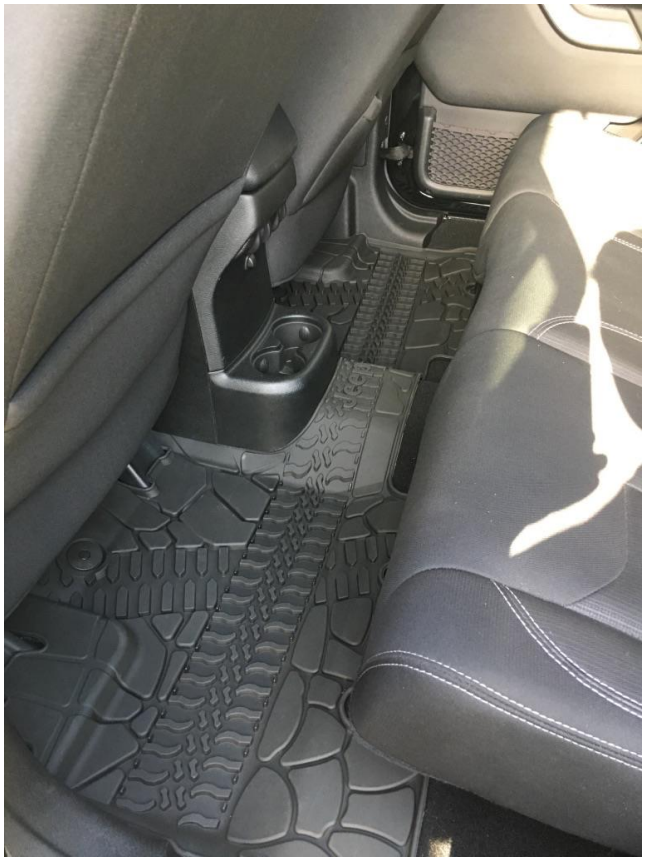
5. Install the rear mat (single mat vs. two factory mats) by placing on the rear seat and sliding into position - the Jeep logo should be upright if being read from the backseat and the cutouts should fit around the front and rear seat mounts.
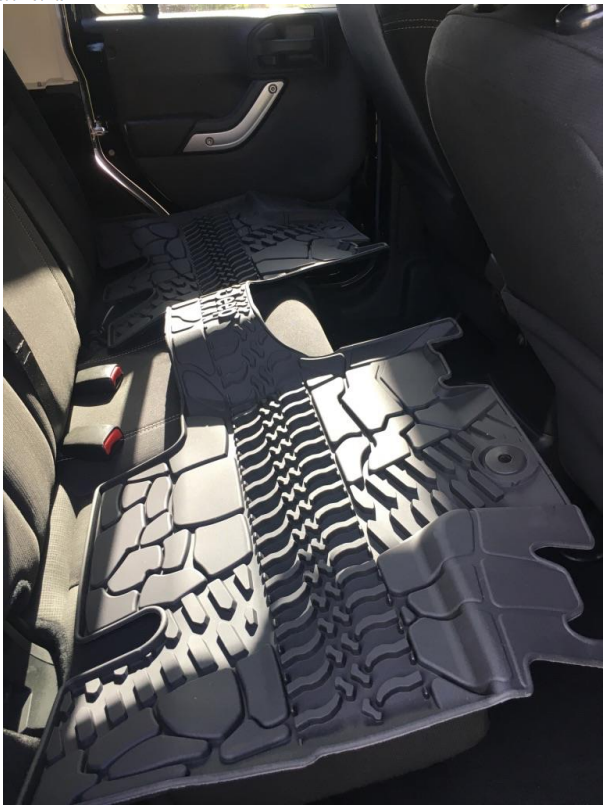
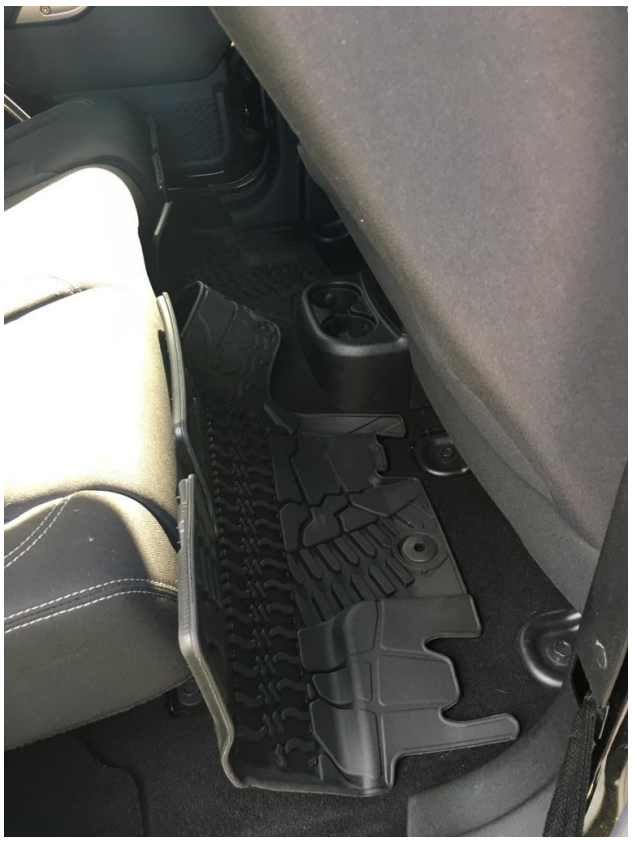
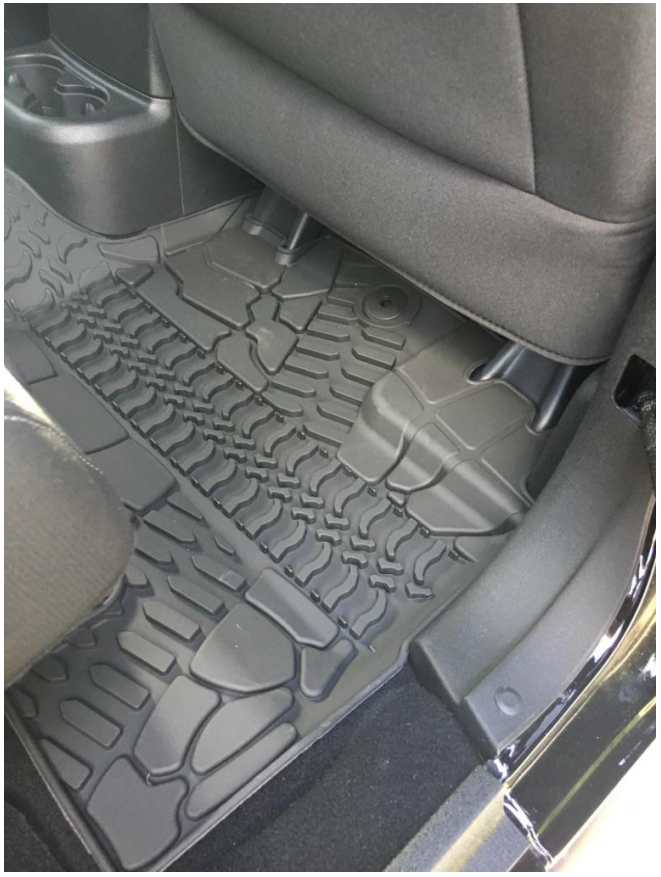
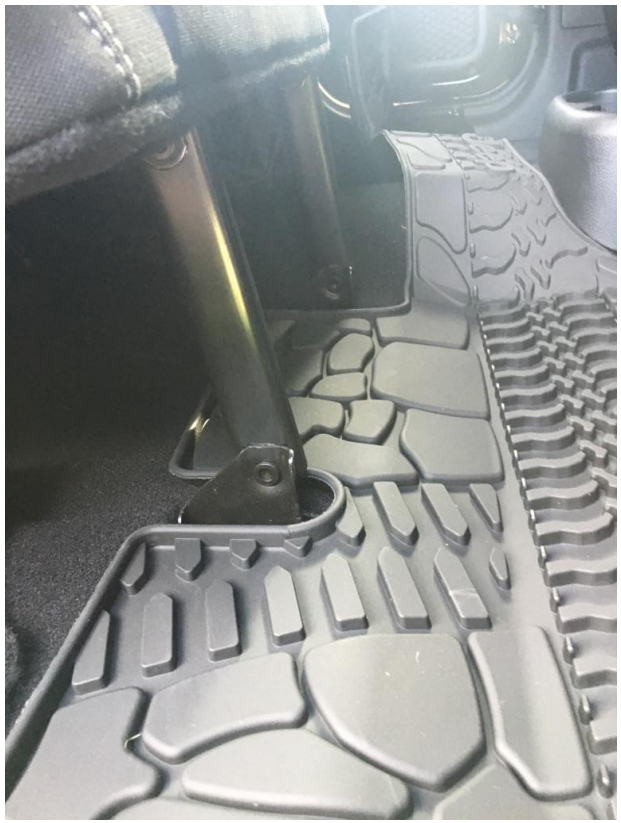
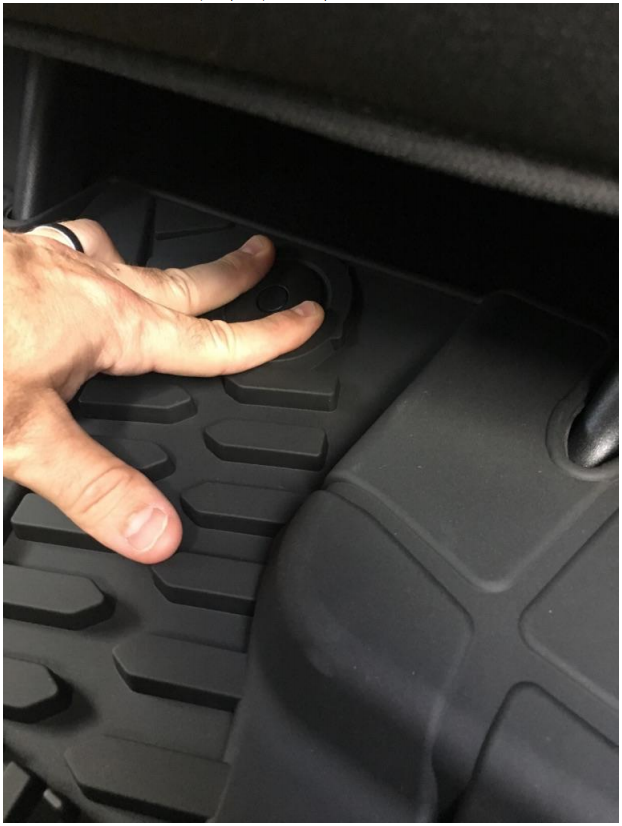
6. Lock the two buttons on the rear (one-piece) mat into place.
Installed Photos
Installation Instructions Written by ExtremeTerrain Customer Brian Dunn 08/22/2017


