

Top Sellers for 20-25 Gladiator
Hot to Install a MBRP Exhaust System w/ Muffler Relocate On Your 2007 - 2011 Jeep Wrangler JK 4 Door
Installation Time
3 hours
Tools Required
- 1/2 inch ratchet wrench
- 9/16 inch deep socket
- 3/4 inch socket
- Penetrating oil (wd40)
- Crow bar or pry bar
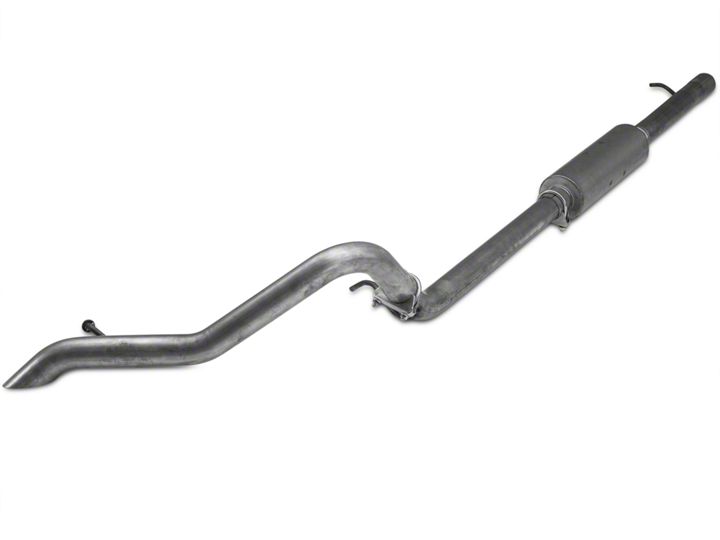
Shop Parts in this Guide
Install notes:
DO NOT work on vehicle with the exhaust hot or warm, burns may occur. After installing exhaust, before tightening clamps make final adjustments to ensure no contact with brake lines, fuel lines, or any wiring. Make adjustments as needed.
Install instructions
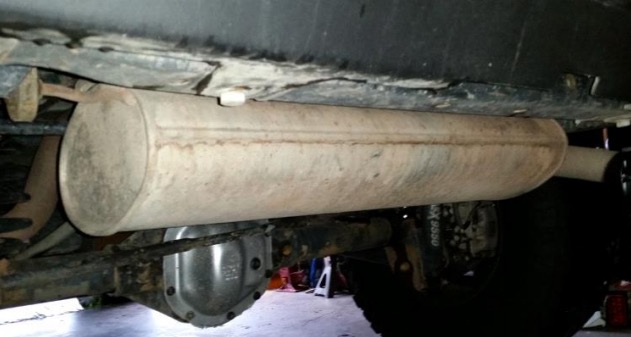
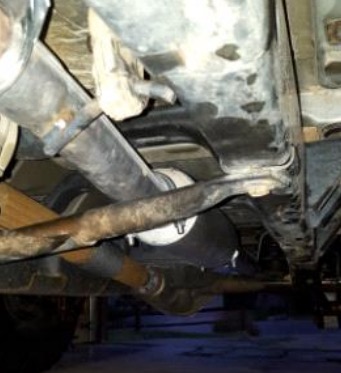
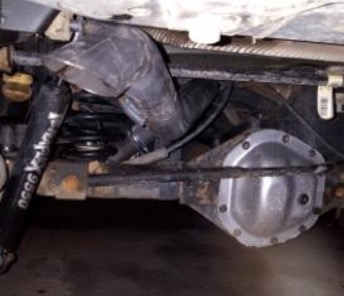
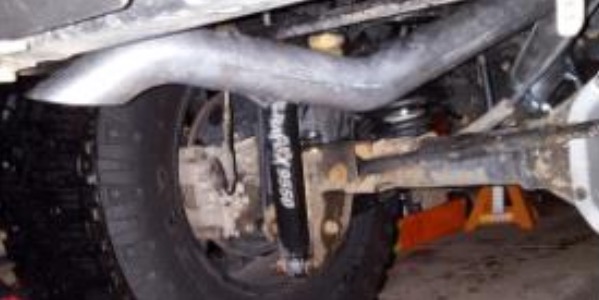
Here are a few pictures before the install.
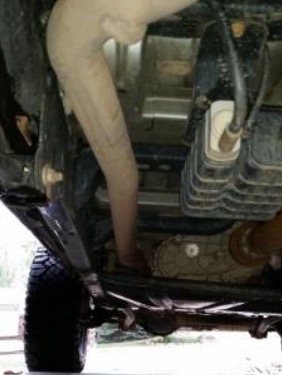
1. Loosen the transfer case guard and remove using the 3/4 inch socket. One bolt on the frame side and another at the gas tank.
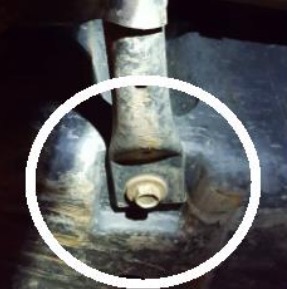
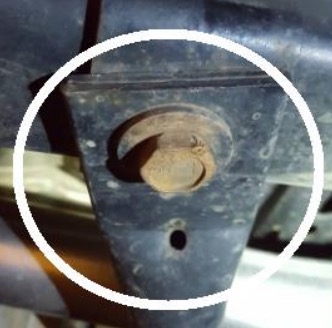
2. Start to loosen the factory fastener at the muffler using the 9/16 inch socket.
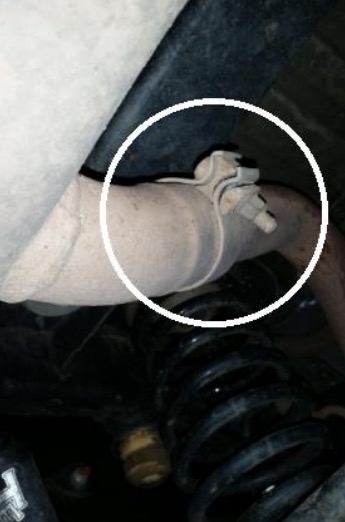
3. Then remove the hangers from the rubber insulator, one on each side. This is the passenger side by the frame.
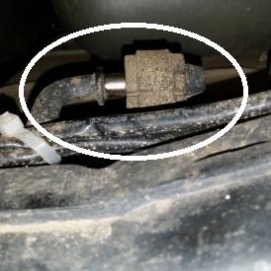
4. Use a crow bar or pry bar and some WD 40 to help you slide the insulators off. The factory muffler can now be removed after this step. This picture shows the driver side hanger attached to the rubber isolator that needs to be disconnected.
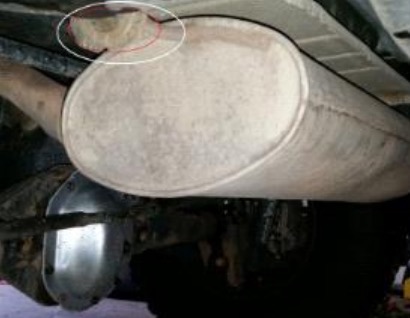
5. Now loosen the fastener on the extension pipe by the transfer case.
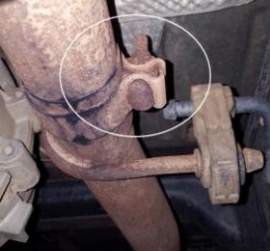
6. Remove the hanger from the existing rubber insulator on the extension pipe.
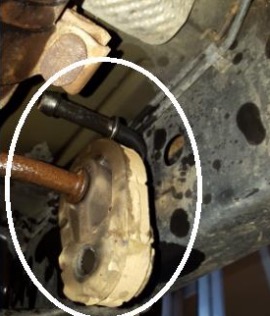
7. Remove the hanger from the existing rubber insulator right before the rear axle.
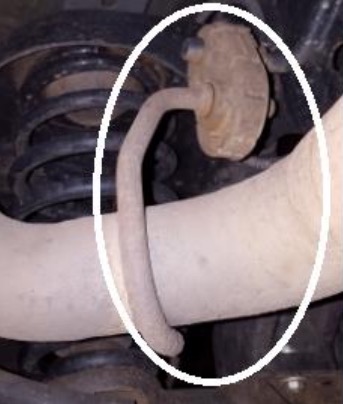
This picture shows the hanger removed from the rubber insulator.
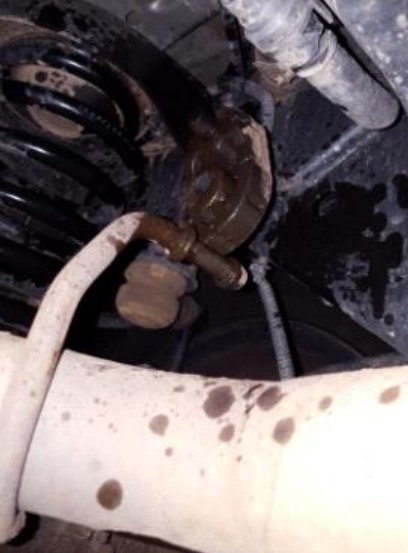
8. You can now start installing your new MBRP exhaust system, start the install by using one of the four 2 1/2" clamp that’s provided. Than attach the new extension pipe to the existing rubber insulator and leave the clamp loose until final adjustment.
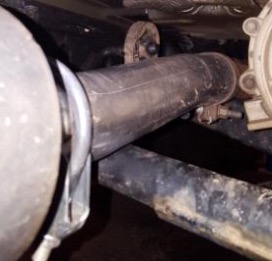
9. Slide a second 2 ½” clamp over the extension pipe and install the new MBRP muffler. Remember don’t tighten any clamps till final adjustment.

10. Install the third 2 ½” clamp over the new muffler and slide on the “over the axle pipe” to the muffler.
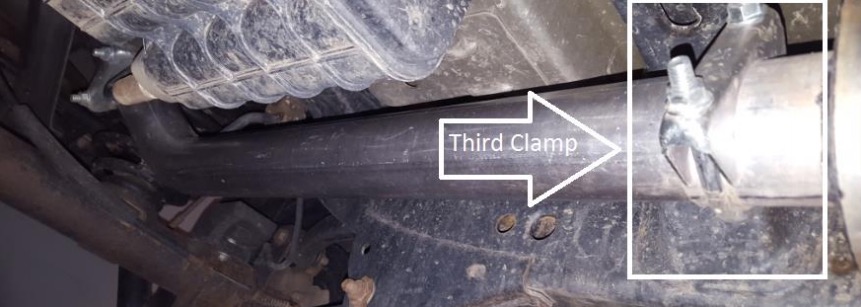
11. Attach the “over the axle pipe” to the factory rubber insulator.
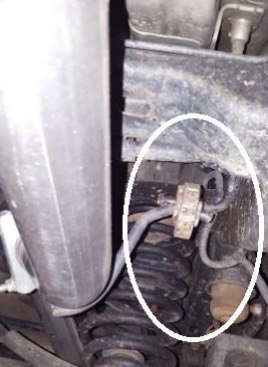
12. Slide the final 2 ½” clamp and install the tail pipe (included with your kit) on the “over the axle pipe.” Attach the tail pipe to your factory rubber insulator.
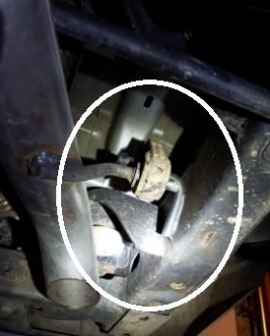
13. Align the exhaust as needed. Start at the front and work your way back, tightening the clamps as you go. Reinstall the transfer case guard, and finally make sure of clearance between the exhaust, wiring, and any brake, or fuel lines. After a few miles of driving and after the exhaust has cooled make sure all bolts are still tight. Now, it’s time for you to enjoy your new MBRP exhaust system. Here are a few pictures after the install.
Installation Instructions Written by ExtremeTerrain Customer Brian Strand 8/25/2015


