

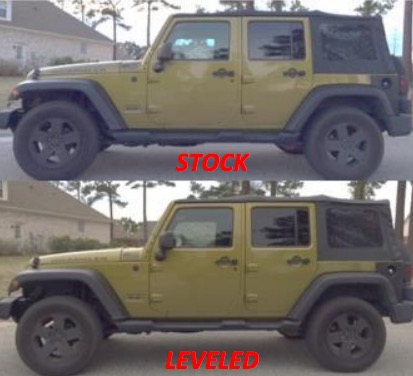
How to Install a Mammoth Leveling Kit on your 07-18 Jeep Wrangler JK; 2018 Jeep Wrangler JL
Installation Time
2 hours
Tools Required
- 18mm Box End Wrench
- 18mm Socket and Ratchet
- 10mm Socket and Ratchet
- Jack and Jack Stands
- ¾ inch socket or lug nut wrench
- Torque Wrench (0 – 100 ft-lb)
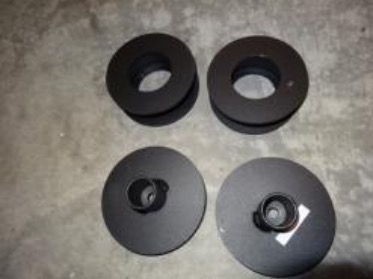
If performing this modification without a vehicle lift, the Lift Kit should be installed one location at a time so that 3 wheel are always supporting the vehicle with one jack stand on the frame.
Front Lift (2”) Installation Instructions:
1. Chock opposite rear wheel, lift and support the vehicle with jack stands on the frame and remove front wheel.
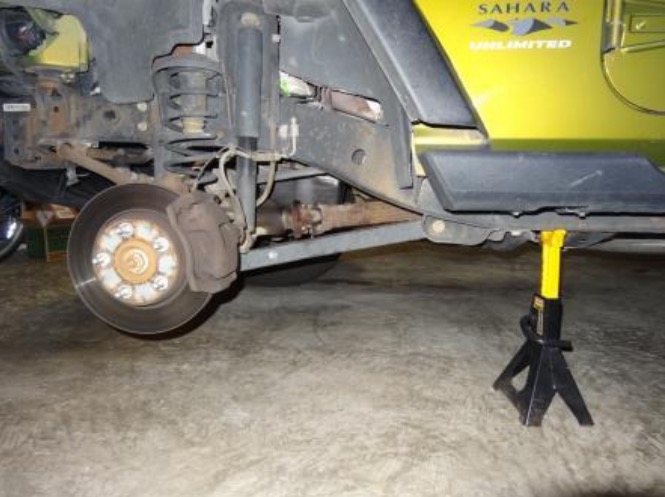
2. Use jack under the axel to lift axle.
3. Disconnect the stabilizer bar link lower nut and bolt (18mm), lower shock nut and bolt (18mm) and brake line bracket bolt (10mm).
(Once axel height is properly adjusted with jack and the nut is removed, the lower stabilizer bolt should just push out)
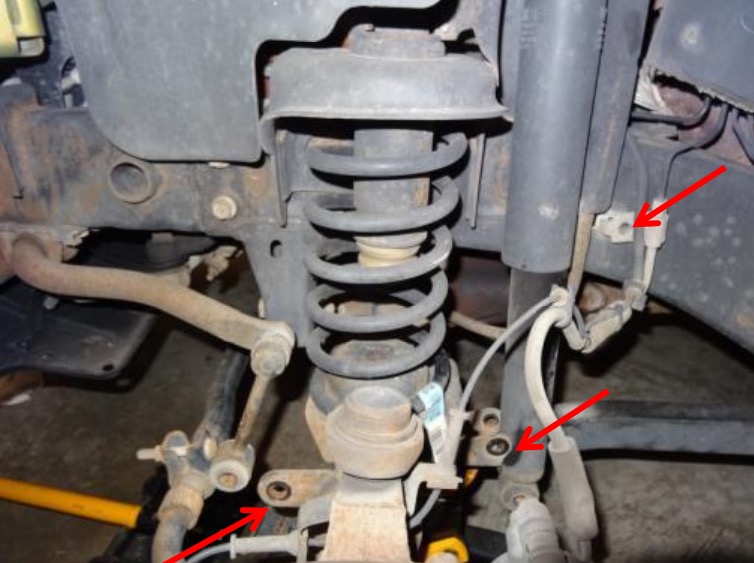
4. Lower jack to allow axel to drop and remove the front spring and rubber isolator.
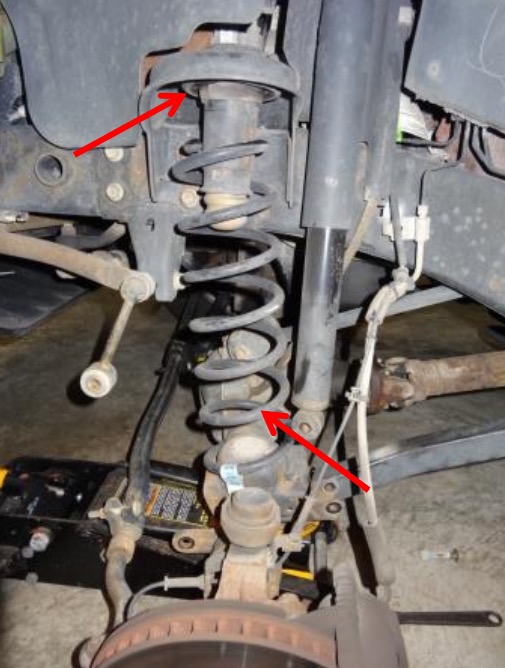
5. Position the 2 inch spacer on top of the rubber isolator and reinstall the spring.
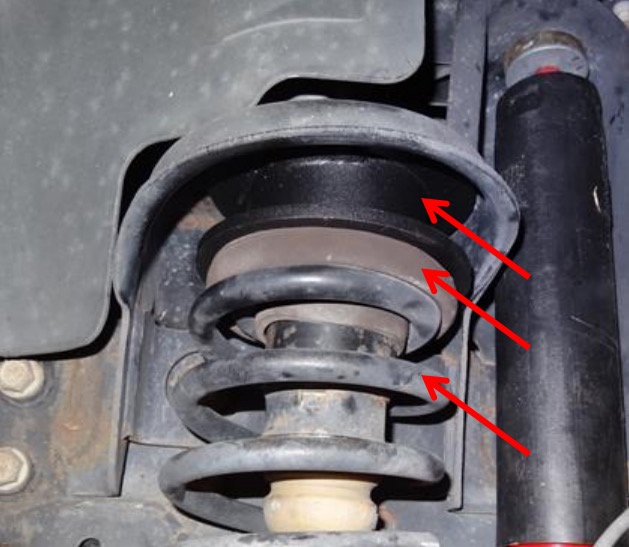
6. Use Jack to raise the axle, reinstall and torque stabilizer bar link lower nut and bolt (75 ft-lbs), lower shock bolt and nut (56 ft-lbs) and brake line bracket (15 ft-lbs).
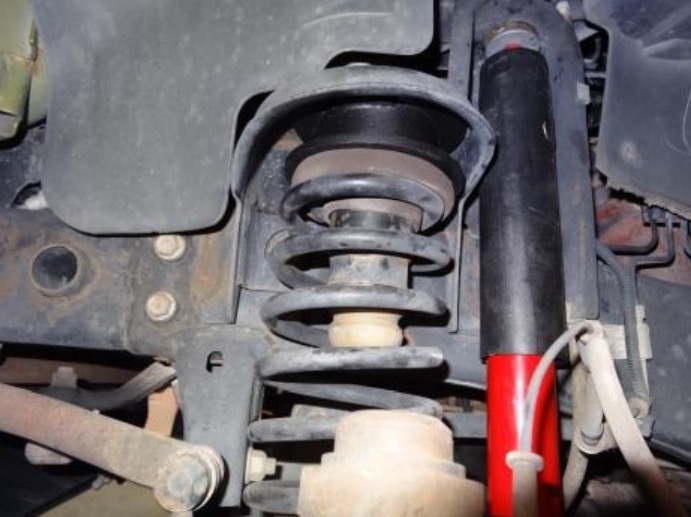
8. Reinstall Wheel and Torque Lug Nuts to 100 ft-lbs
Rear Lift (1”) Installation Instructions:
1. Chock opposite front wheel, lift and support the vehicle with jack stands on the frame and remove rear wheel.
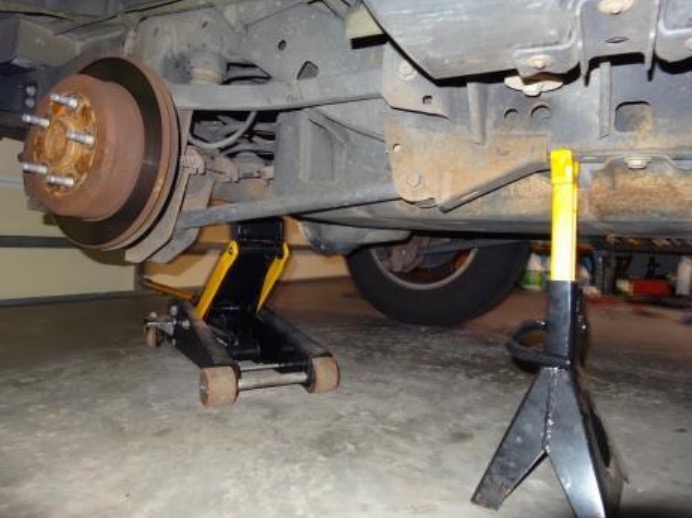
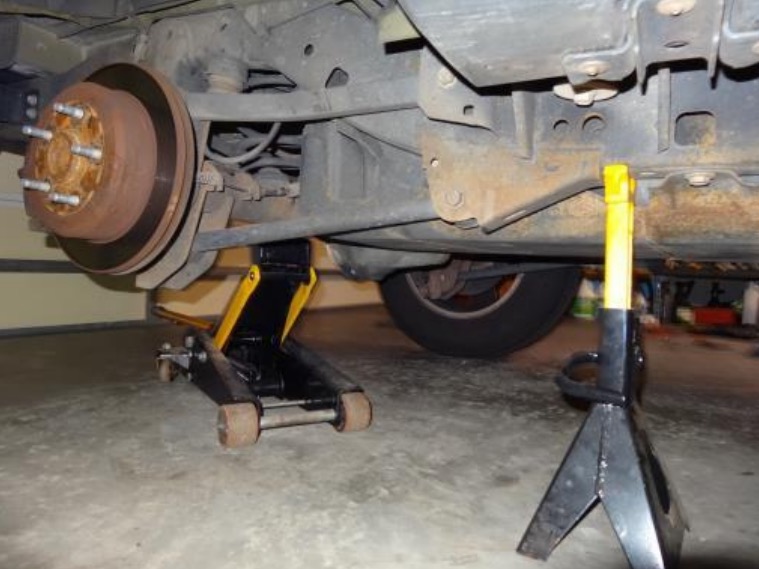
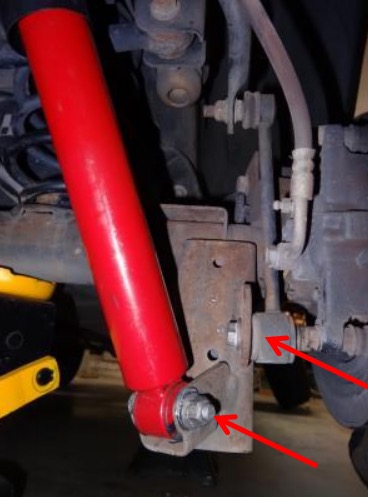
2. Raise the rear axle with jack and disconnect the stabilizer bar link lower nut and bolt (18mm), lower shock bolt (18mm) and brake line bracket (10mm). (Once axel height is properly adjusted with jack and the nut is removed, the stabilizer bar link lower bolt should just push out)
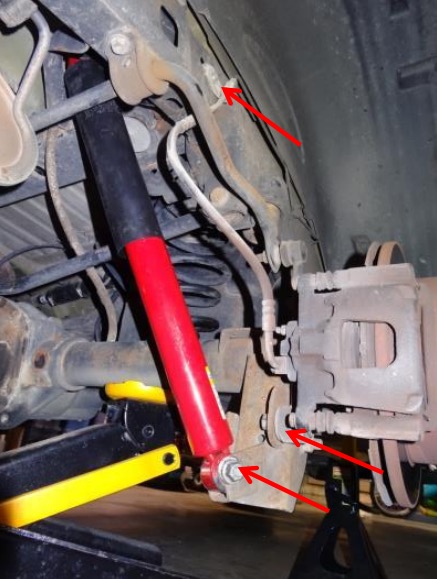
3. Lower jack to allow axel to drop and remove the rear spring and rubber isolator.
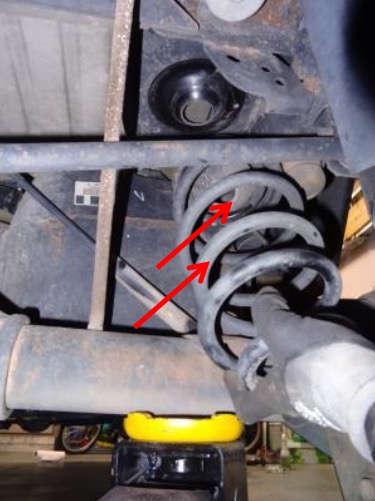
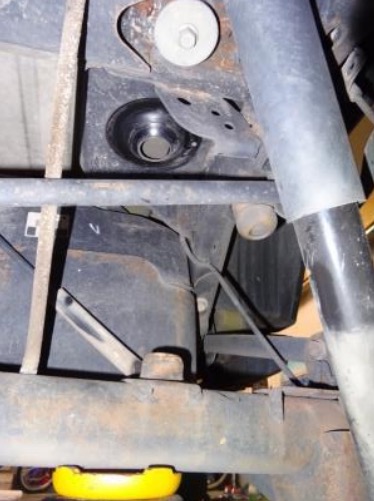
4. Position the 1 inch spacer on top of the rubber isolator and reinstall the spring.
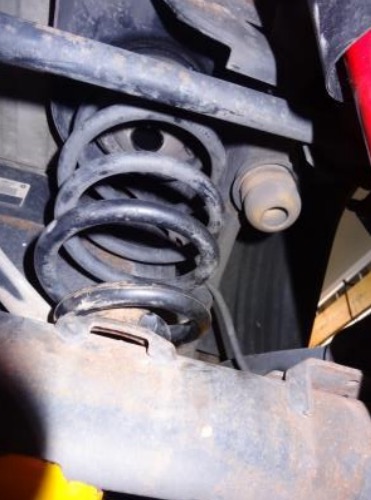
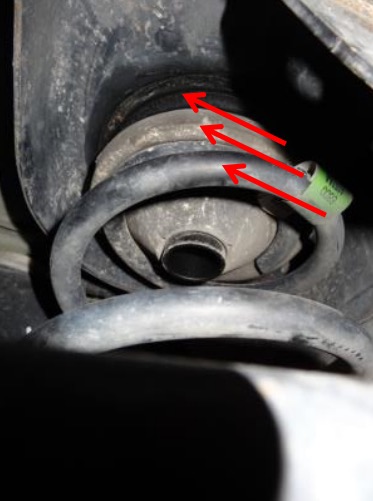
5. Use Jack to raise the axle, reinstall and torque the lower track bar bolt and nut (75 ft-lbs), lower shock bolt and nut (56 ft-lbs) and brake line bracket (15 ft-lbs).
6. Reinstall Wheel and Torque Lug Nuts to 100 ft-lbs.
7. Test drive vehicle and if required, perform alignment and/or center steering wheel as required.
Installation Instructions Written by ExtremeTerrain Customer TJ Fischer 04/21/2015

