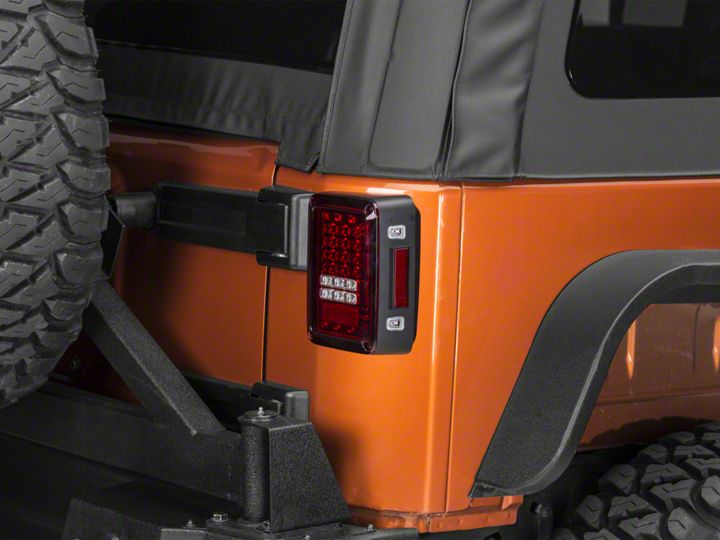

How to Install Alteon LED Tail Lights - Ruby Red (07-18 Jeep Wrangler JK) on your Jeep Wrangler
Installation Time
30 minutes
Tools Required
- Phillips Head Screwdriver
- Flat Head (optional, for pressing clips on wire harness)

Shop Parts in this Guide
Installation Note: These are a direct Plug-and-Play replacement for your OEM taillights.

Installation Instructions:
1) Remove all existing screws from stock taillights (8 total) using Phillips head screwdriver. Note: Replacment lights only require the use of 4 of the screws removed in this step. The "screws" on the outside two holes are fake.
2) Remove the taillight from the frame of your Jeep and disconnect the wiring harness.
3) Take the old bulbs out of the taillight and disconnect them from their plug on the harness. Set the stock harness aside. Note: You should mark which bulb came from which plug while removing them (double white wire should be your reverse and double black is the brake light). The brake light and reverse light on your new taillights will go into the same slots.

4) Locate the 2 plugs which are pushed inside of your new taillights and pull them out. Be careful not to touch any of the circuitry on the lights while doing so to avoid static discharge.

5) Take the old wiring harness and connect it to the corresponding wires on your new taillights. Note: if the wires are plugged in upside down they will not light when the brake pedal is pressed. Flip them to the other side if this happens.

6) Connect the harness to the male connector in your Jeep.
7) Reattach lights using the four screws set aside in step 1 with a Phillips head.
8) Your new taillights are installed and ready to go!

Before

After
Installation Instructions Written by Extreme Terrain customer JaredS 06/01/2017

