
How to Install J Tops USA Headliner - Red on your Wrangler
Shop Parts in this Guide
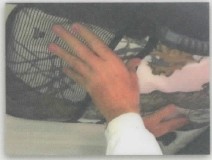
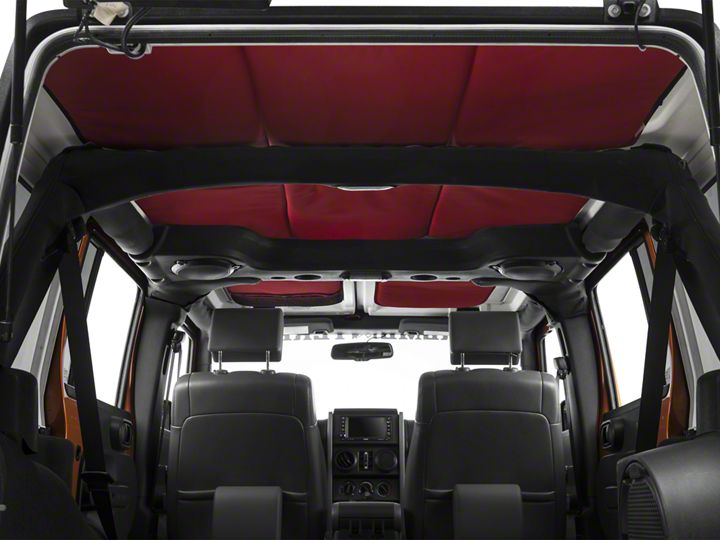
Step 1: After unpacking and before removing the protective white backing on the Velcro test position each panel. The rear seat Headliner panel will slide up and tuck over the speaker bar just slightly. This is intentional to assure good insulation and a tight fit!
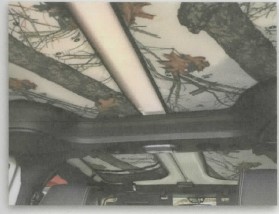
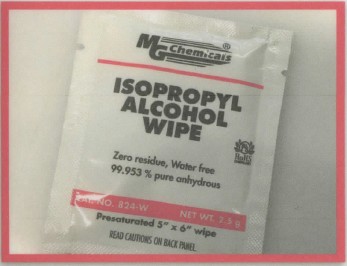
Step 2: Before the installation it is very important to wipe the fiberglass surface clean. It is highly recommended that it's wiped down with alcohol to remove surface grime that may cause the Velcro to not stick properly. If this step is avoided it's possible for the Velcro come loose over time. We have included a supply of small pads to clean the area where the Velcro will make contact. fling may be necessary.
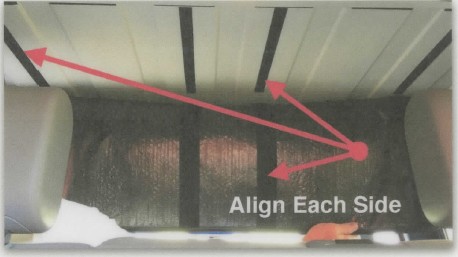
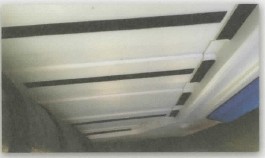
Step 3: Check the Velcro alignment, the velcro strips from Headliner and press them firmly into the proper position on the pressure all up and hardtop. Apply down the velcro strips to get a good bond. Once in position it's important to let it set 30 minutes or so allowing the Acrylic adhesive time to set up. Then once again reapply pressure to the velcro strips! Position headliner and press them into place. Extra Velcro is included if you need it.
Be patient and align properly! Some Velcro may not be necessary, especially over sound bar. Use and trim as needed! This and cleaning the surface are the most important steps!!!
Step 4: That's it. The Velcro is a high heat acrylic product that is made to withstand temps up to 250 Degrees. It will set up over time. If for some reason it comes loose (more than likely it was installed against a grimy or oily surface) you can replace it. If you need additional Velcro we will provide it NO CHARGE! Just send a request to [email protected]
