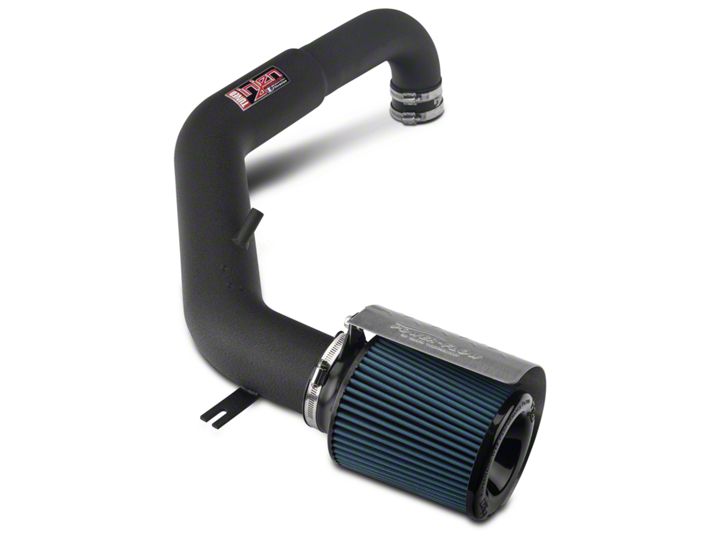

How to Install Injen Power-Flow Cold Air Intake - Wrinkle Black (97-06 4.0L Wrangler TJ) on your Jeep Wrangler

Shop Parts in this Guide
1. Remove stock air intake by removing 5 air box latches and loosen metal hose clamps on intake tube with 8 mm socket.
2. Remove air box top and filter. Remove thee 8 mm bolts connecting air box to the passenger fender. There is an 8 mm nut on the inside of the fender for each bolt.
3. Remove crank case cover oil breather tube from intake tube and crank case cover elbow.
4. Remove stock intake tube from throttle body.
5. Insert rubber vibra-mount into existing hole in passenger fender from stock air box.
6. Use 10mm nut and washer from underside of the passenger fender to secure vibra-mount.
7. Place 2 3/4 Inch straight hose over the throttle body. Place both metal hose clamps over the hose and make sure the hose is secure against the bottom flange of the throttle body.
Note: Manufacture recommends tightening the bottom clamp. This can be done later to ensure the intake tube is properly aligned.
8. Place rubber grommet in pre-drilled hole in Injen intake tube if air temperature sensor is installed. If the air temperature sensor is not present use the rubber plug.
Note: the provided rubber plug was too small to stay secured in the pre-drilled hole. The hole was covered with rubber adhesive tape
9. Lower the Injen intake tube into engine compartment. Place throttle body side into hose connected to the throttle body and the mount on the vibra-mount.
Note: A 1 Inch motor mount lift required the throttle body side of the intake tube to be shortened for proper fit. This may not be required for stock motor mounts.
10. Place 10 mm nut and flat washer over vibra-mount to secure intake tube to mount.
11. Tighten clamps on hose connecting intake tube to throttle body with 8 mm socket.
12. Press one end of provided crank case hose over the intake port while the other end over the stock crank case vent elbow.
13. Use 1/2 Inch bolts to secure composite brackets to heat shield. Leave the bolts loose at this time. Slip hose clamp around composite brackets and leave loose.
14. Place filter into hose clamp on the heat shield. Adjust hose clamp to be centered on filter neck.
15. Place filter neck over intake tube. Make sure the filter slides completely over the intake tube lip and adjust so heat shield is facing the engine. Check for proper alignment and free of moving parts. Once properly adjusted, tight 8 mm bolt on hose clamp and 1/2 Inch heat shield bolts. Do not over tighten all bolts or clamps.
16. Ensure tube is properly centered. Check bolts periodically for tightness.
Installation Instructions Written by ExtremeTerrain Customer Tim Hoffecker 4/26/2018.

