

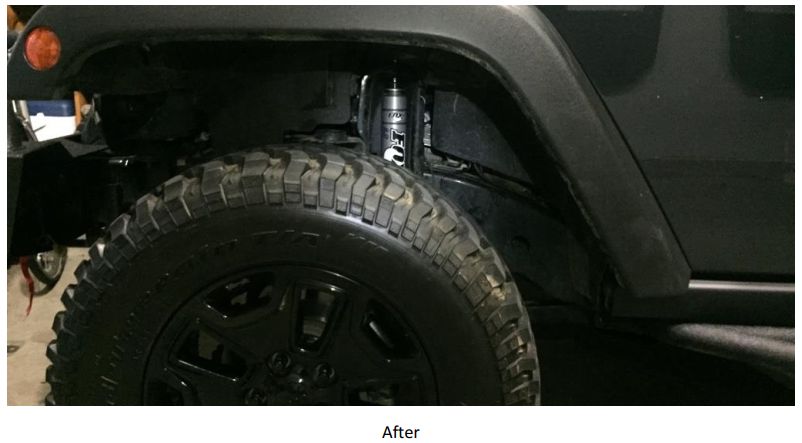
How to Install FOX 2.0 Performance Series IFP Front Shock for 1.5-3.5 in. Lift (07-17 Wrangler JK) on your Jeep Wrangler
Installation Time
20 minutes
Tools Required
- Box Cutter/Knife
- 5/8" Open-ended Wrench
- 18mm Socket (2)
- Crescent Wrench (optional)
- Socket Wrench (2)
- Torque Wrench
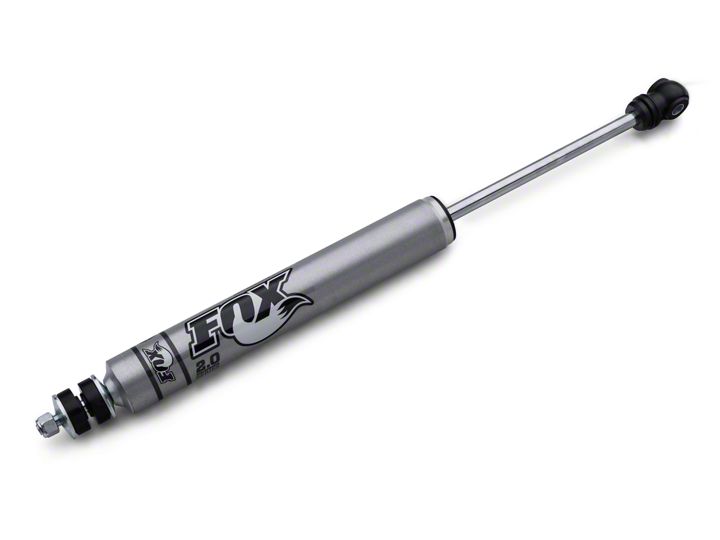
Shop Parts in this Guide
Installation Instructions:
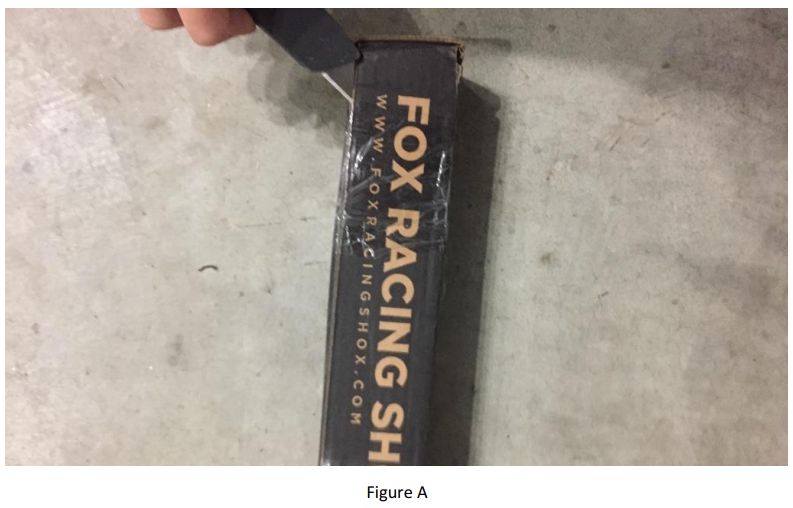
1. Carefully open the package using a box cutter or knife (Figure A) and ensure entire shock hardware is included and undamaged.
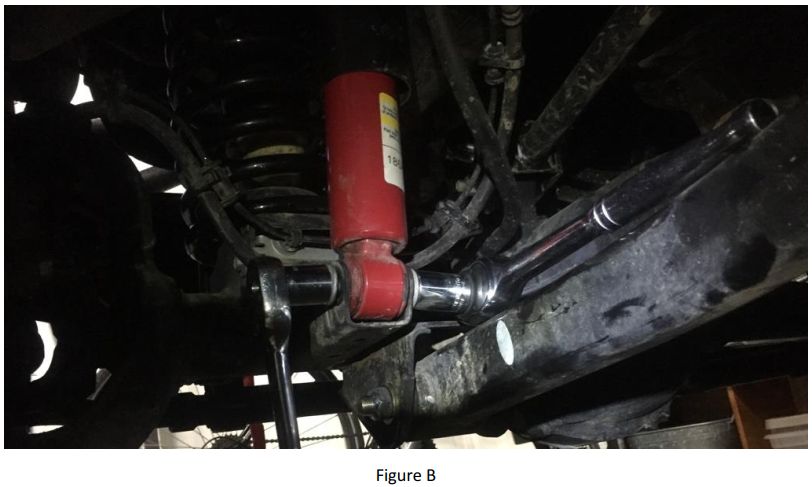
2. Using an 18mm socket on both sides, remove lower shock bolt on the driver's side (Figure B).
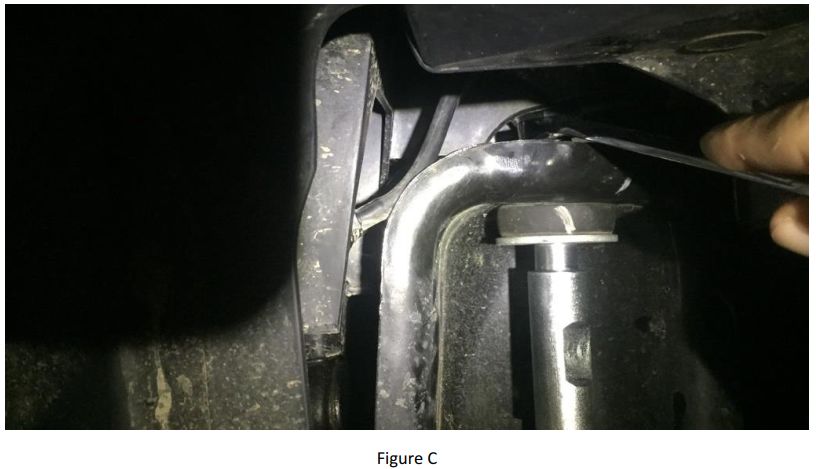
3. Using a 5/8" open-ended wrench, remove top nut from driver's side shock (Figure C).
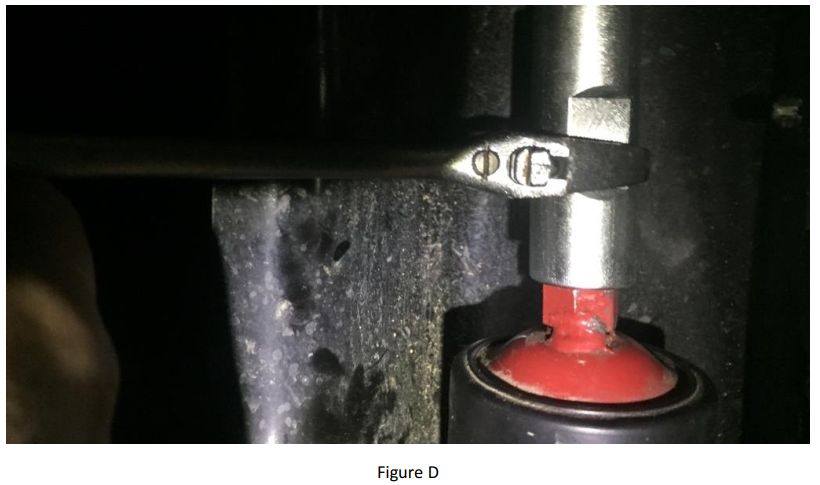
4. Optional: If the shock spins while removing the top nut, use a crescent wrench to hold it in place (Figure D).
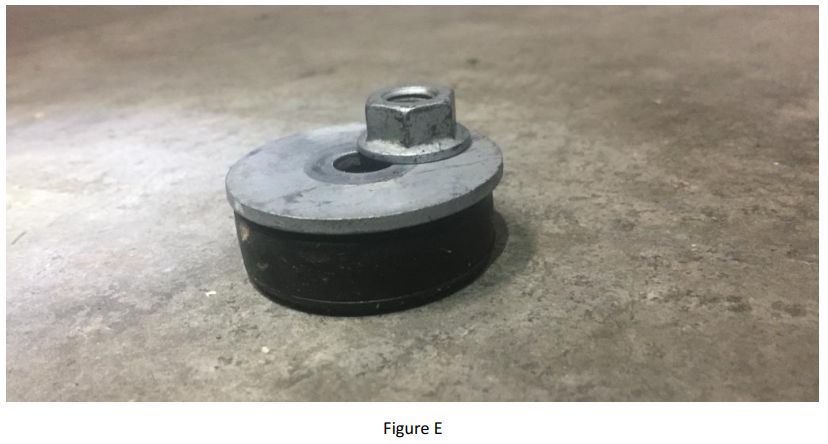
5. Remove the top nut and top bushing (Figure E).
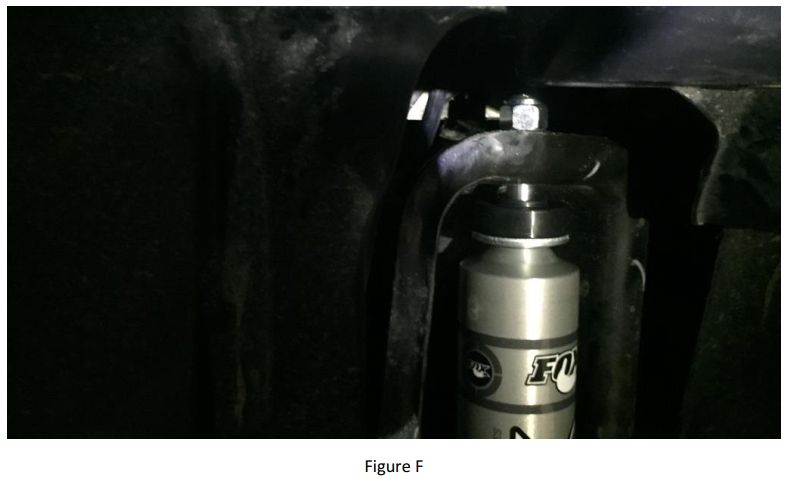
6. Slide the Fox 2.0 shock bolt up through the housing and thread the newly supplied top nut and bushing back down (Figure F).
7. Slide the bottom of the shock into the shock bracket on the axle and insert the factory bolt through the bottom end of the shock and shock bracket on the axle.
8. Torque the bottom 18mm factory bolt to 56 ft-lbs. Torque the top 5/8" nut to 20 ft-lbs (or until bushing crushes approximately 1/8").
9. Repeat steps 2-8 on the front passenger shock.
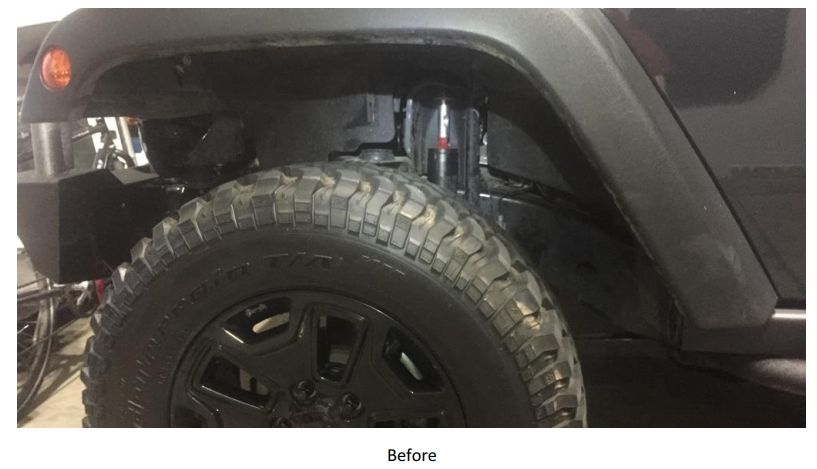
Installation Instructions Written by ExtremeTerrain Customer J. Sandlin 08/10/2017

