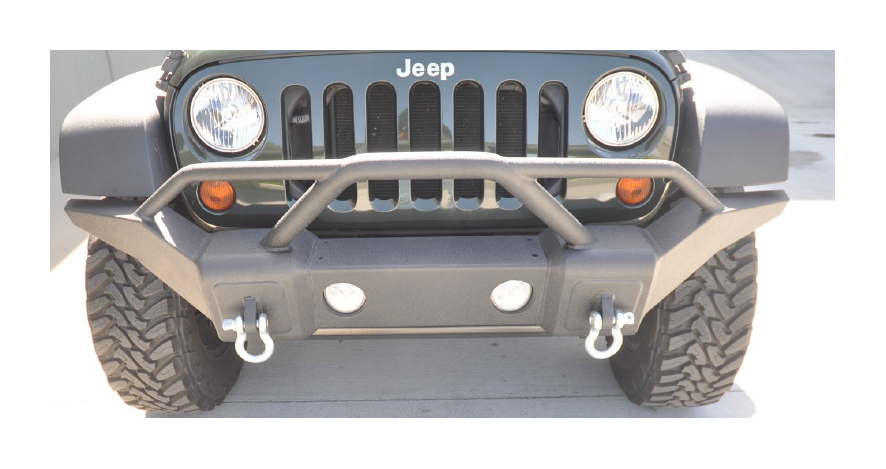

How to Install DV8 Off-Road Steel Full Length Front Bumper w/ Skid Plate on your 07-18 Jeep Wrangler JK; 2018 Jeep Wrangler JL
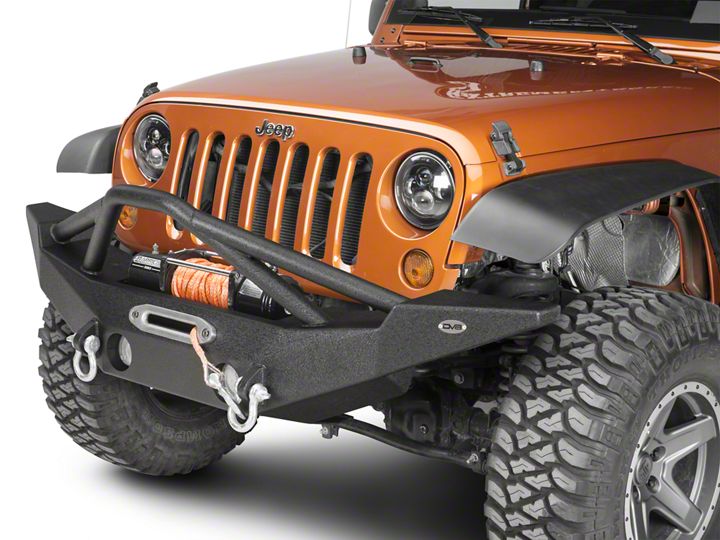
Shop Parts in this Guide
1) Remove the factory bumper, air dam, and frame cover (optional).
A) Remove the air dam by pulling on the plastic clips holding it in place with a set of pliers.
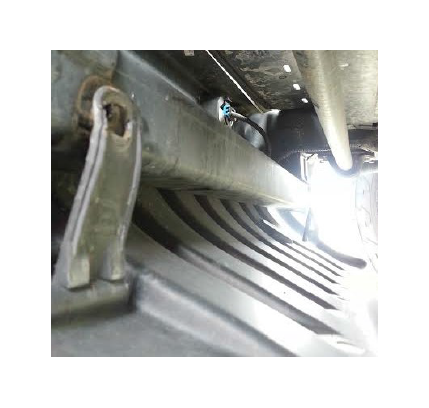
B) Remove the factory front bumper by re-moving the 4 factory nuts on both bumper mounts. Unclip the wiring harness from the fog lights.
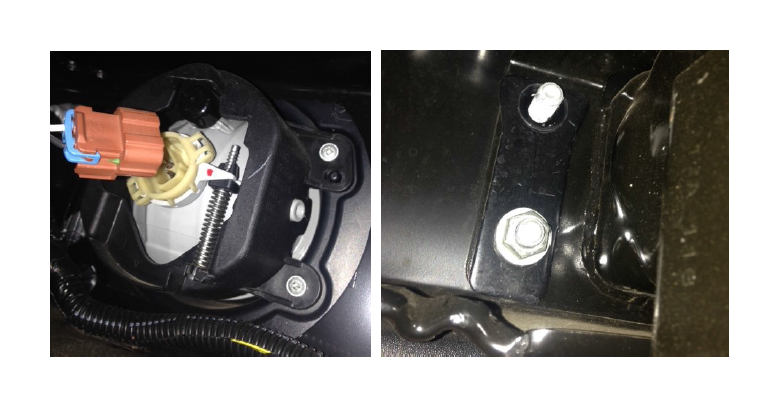
C) Cut the zip ties holding the factory fog light harness to the factory bumper.
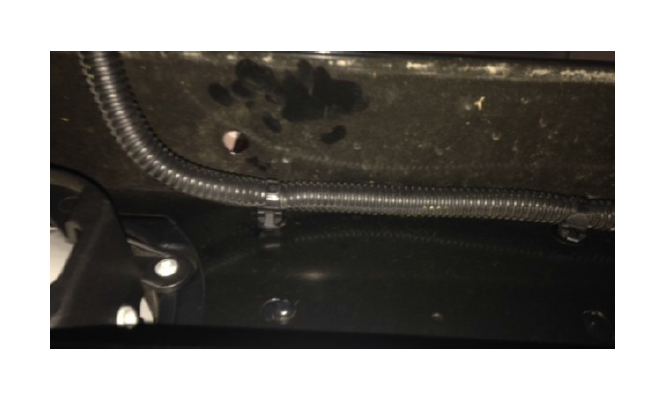
D) Remove the bumper completely. Now you can either remove the factory frame cover or some prefer to leave it on if not running a winch, with applicable bump-ers. Some bumpers require cutting the plastic to use the frame cover.
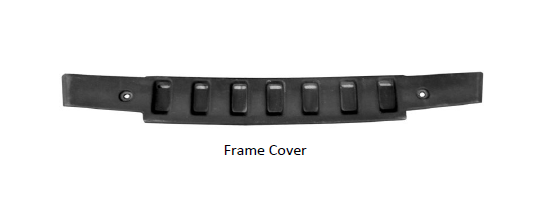
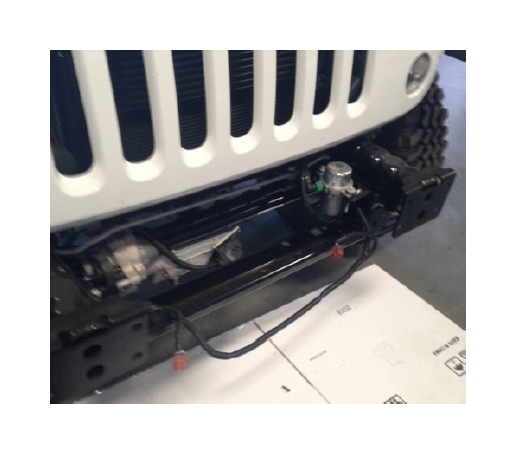
E) Remove the factory fog lights from the bumper for re-use on your new bumper by removing the 4 screws holding each one in place. (Not applicable on all models, only the ones with cut outs for the fog lights, if you don’t have factory fog lights or compati-ble bumper skip steps D-F)
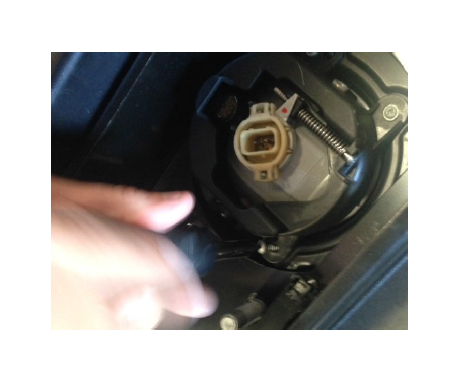
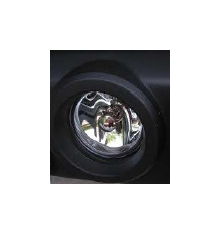
F) Line up the light housing to the tabs on your new bumper as shown and push the plastic fasteners through from the opposite side with the small ridged end of the fasten-er coming towards you.
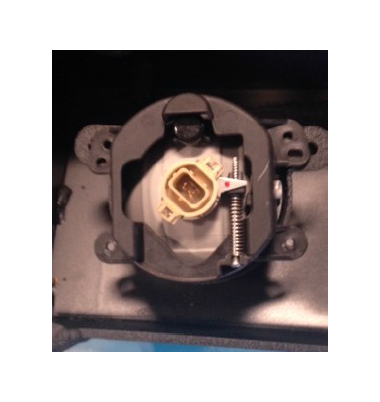
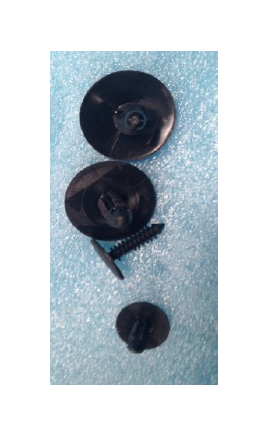
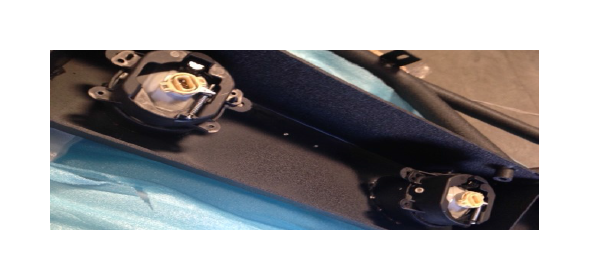
2) Locate the mounting plates and studs on the inside of the bumper. Also locate the 8 nuts and lock washers provided with the hard-ware.
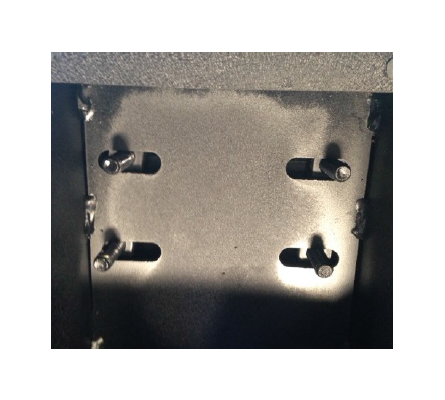
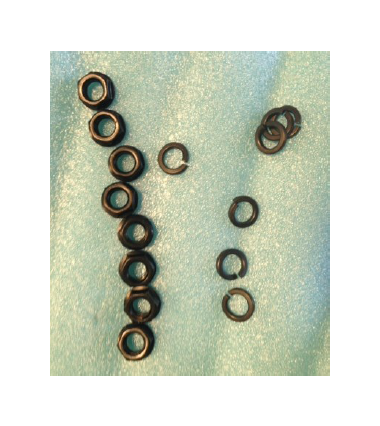
A) Lift the bumper up to the frame and insert studs into the frame holes where the stock bumper originally mounted.
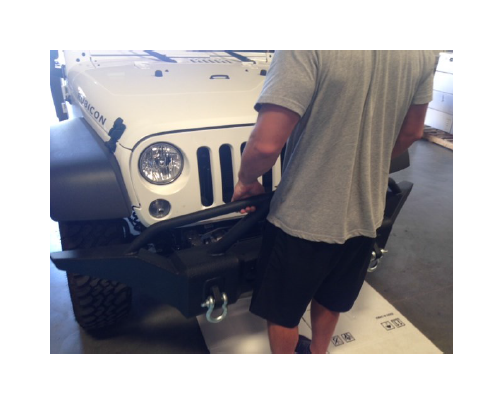
B) Loosely insert the lock washers and nuts onto the studs. Once all studs are in the proper mounting positions check the align-ment and tighten to 60 ft/ lbs .
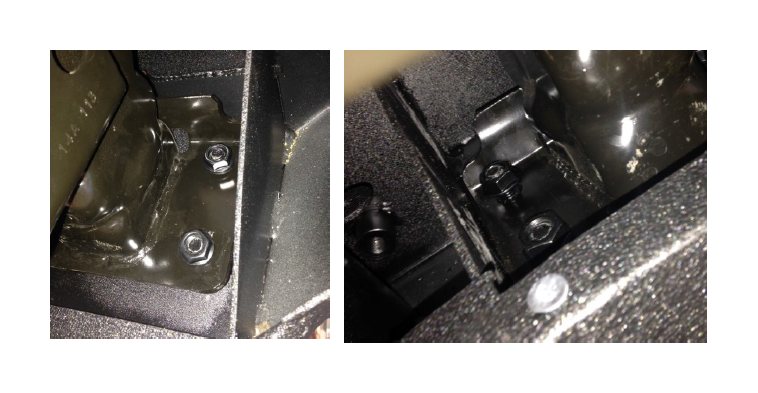
C) Reconnect the fog light harness to the fog light that is now installed into your new bumper
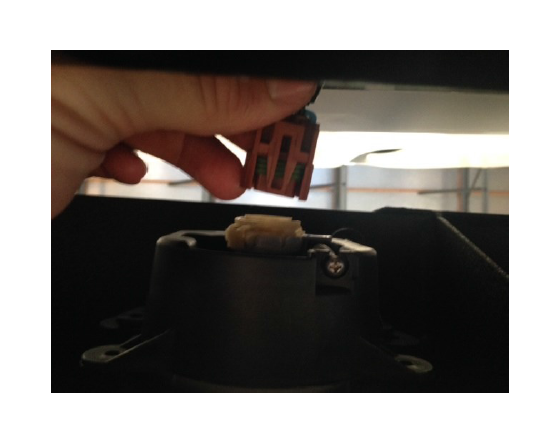
Note: For LFS Series bumpers cut the factory fog light harness off and splice the wires coming from your bumper into the factory fog light wiring.
Enjoy Your new DV8 Bumper!
