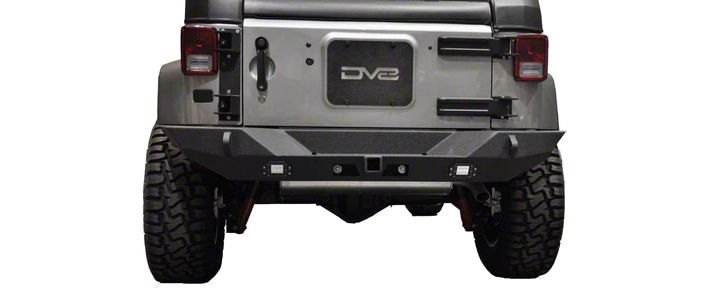

How to Install DV8 Off-Road RS-10 Rear Bumper (07-18 Wrangler JK) on your Jeep Wrangler
Installation Time
1 hours
Tools Required
- Box Cutter/ Knife
- Torque Wrench
- Socket Wrench
- 18mm Socket

Shop Parts in this Guide
1. Carefully open the package using a box cutter or knife (Figure A) and ensure the rear bumper and hardware are included and undamaged.
2. Remove the rear factory bumper (including the recovery hook if included) (Figure B).
3. Insert a nut plate into each of the frame rails (Figure C), lining them up with the factory frame holes (Figure D).
4. Insert the four 3"x12mm bolts through the frame rail with the threads facing the rear of the vehicle (Figure E).
5. Place the bumper on by ensuring the four bolts run through the rear of the bumper, holding it to the frame (Figure F).
6. Hand-tighten the bolts from the rear frame (Figure G), as well as the nut plates installed in Step 3 (Figure H).
7. Tighten the four rear bolts with an 18mm socket wrench. Torque to 60 ft/lbs (Figure I).
8. Tighten the four bolts on each side used in the nut plates with an 18mm socket wrench. Torque to 60 ft/lbs (Figure J).
Installation Instructions Written by ExtremeTerrain Customer J. Sandlin 11/01/2017.
