

How to Install RT Off-Road Heavy-Duty Steering Kit w/ Stabilizer (97-06 Wrangler TJ) on your Jeep Wrangler
Installation Time
2 hours
Tools Required
- 19mm Socket
- Needle Nose Pliers
- Tie Rod Separator
- Pitman Tie Rod Puller
- Dead Blow Hammer 3 lbs
- 15mm Socket
- 18mm Open End Wrench
- 17mm Socket
- Torque Wrench
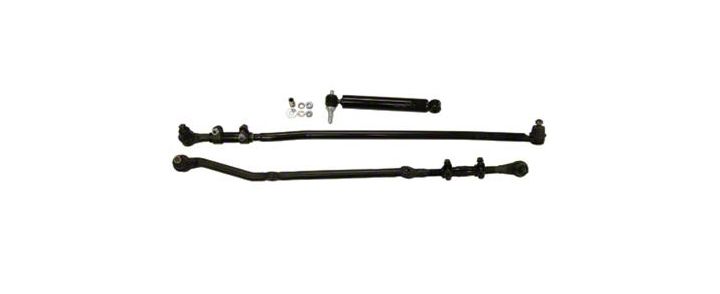
Shop Parts in this Guide
Tie rod separator, Pitman tie rod puller and Torque wrench where all rented for free from my local Oriley’s auto parts.
Installation Instructions
1. Before.
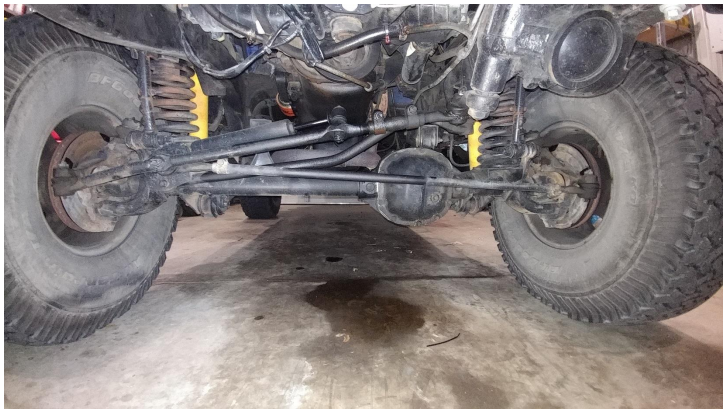
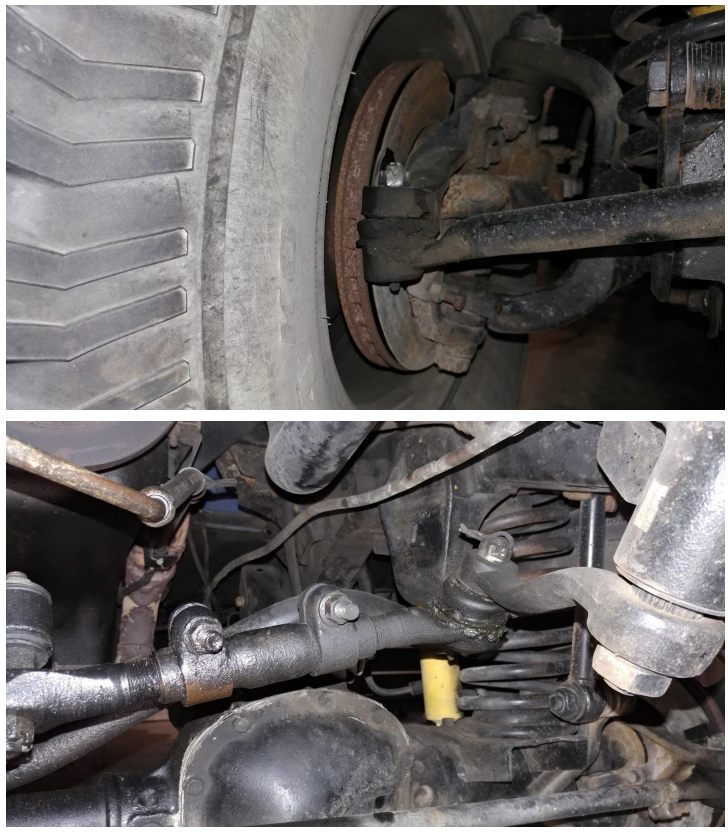
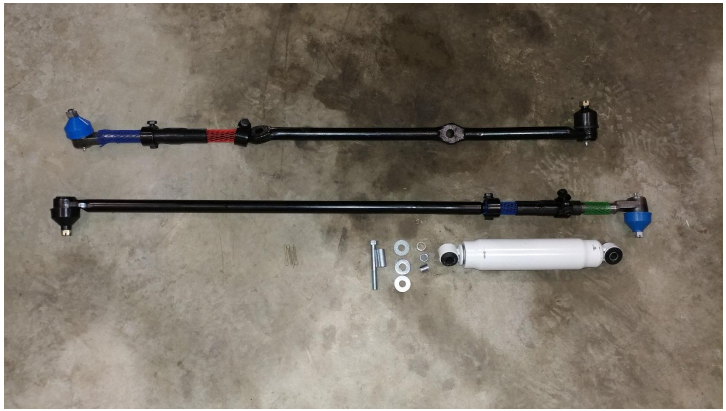
2. What comes with the Crown Automotive Heavy-Duty Steering Kit w/ Stabilizer.
3. Using a 15mm socket, remove the nut from the top of the steering stabilizer.
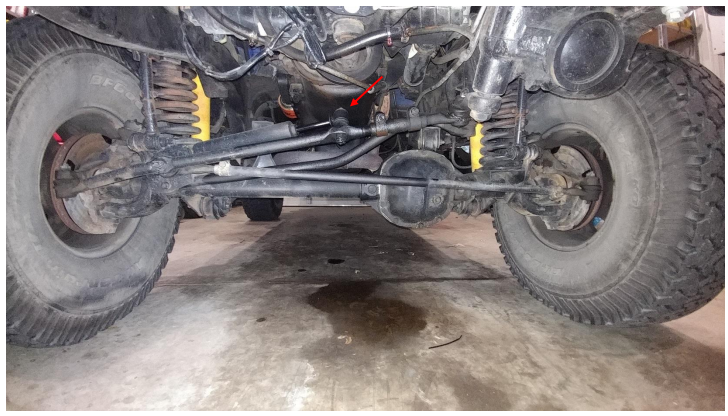
4. Remove the outer tie rod ends. Using the 19mm socket I removed the castle nut after removing all of the counter pins. Then using the tie rod separator and dead blow hammer to separate the tie rod.
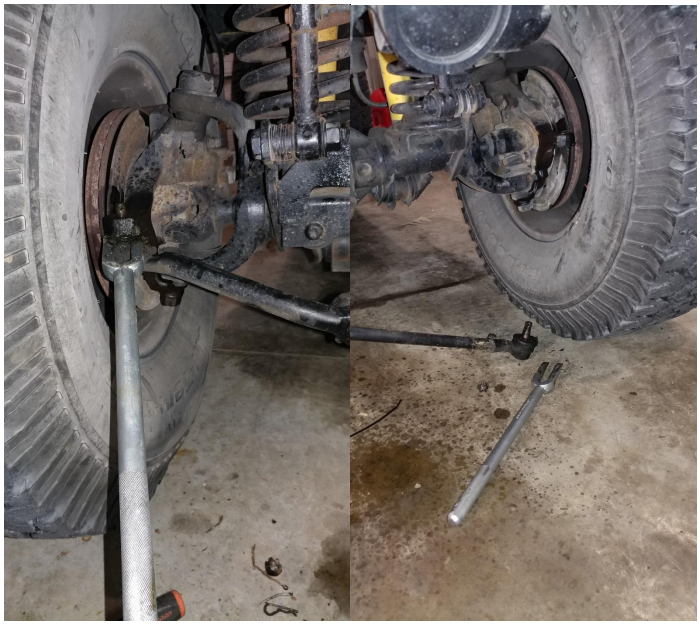
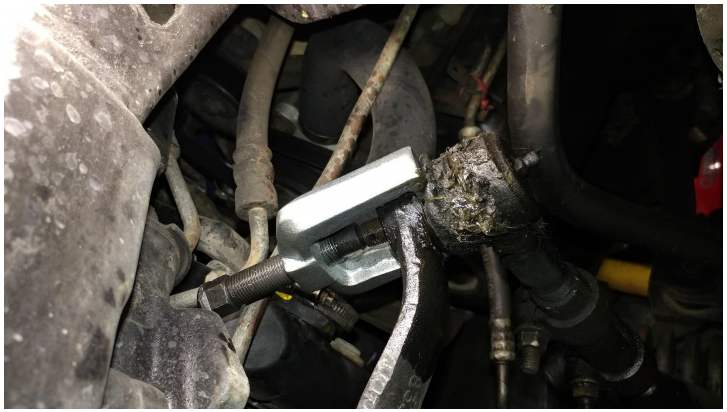
5. Remove the 19mm castle nut from the pitman arm tie rod and use the pitman arm tie rod separator to remove the tie rod.
6. The linkage should be free from the jeep.
7. Remove the hardware from the steering stabilizer connected to the axel. 15mm socket and 18mm open end wrench.
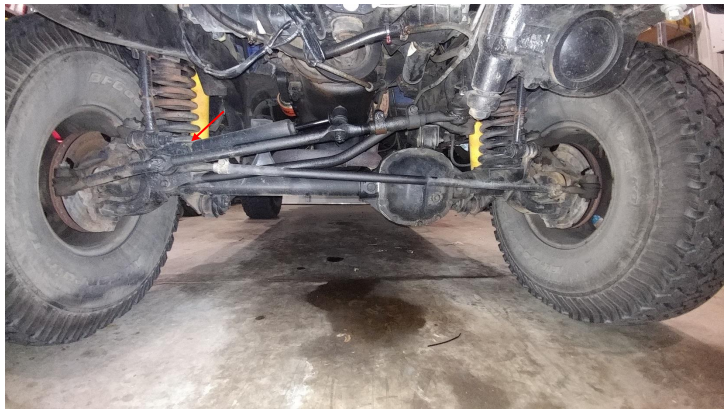
8. Reusing the factory hardware, install the new steering stabilizer.
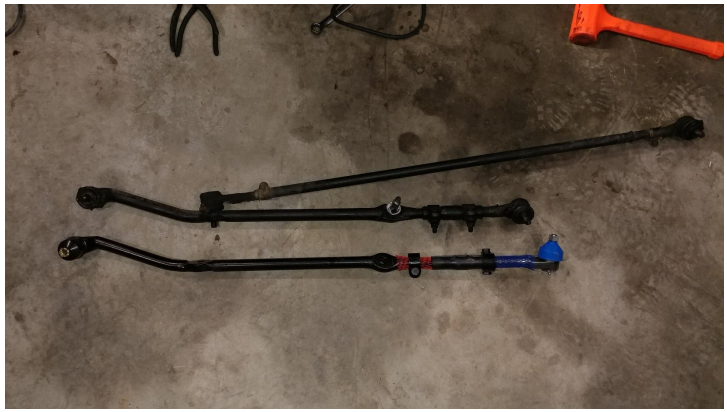
9. Lay out the old components and the new for a ruff measurement. This will make installation easier and help to preserve the alignment.
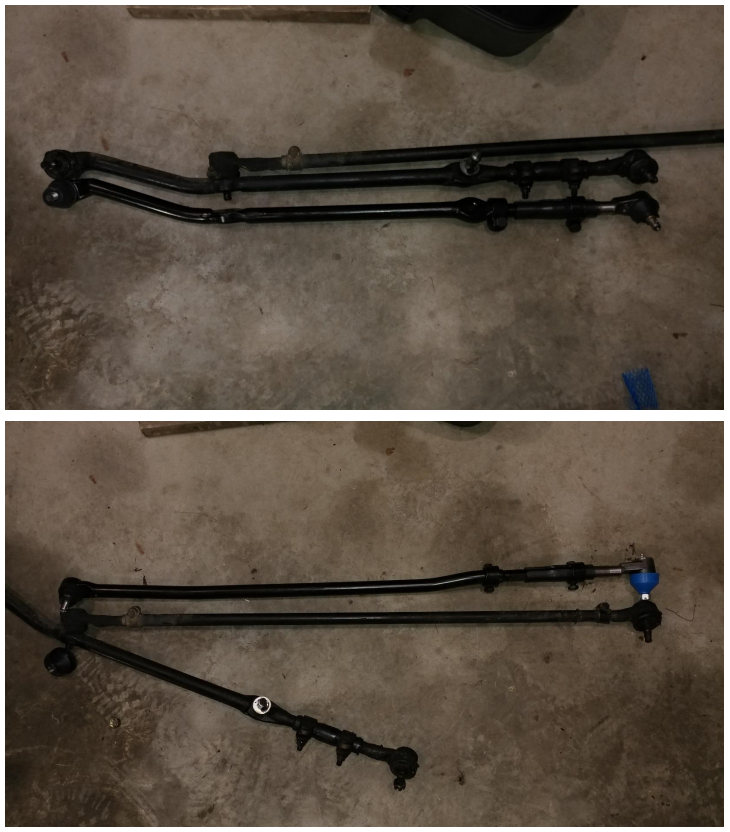
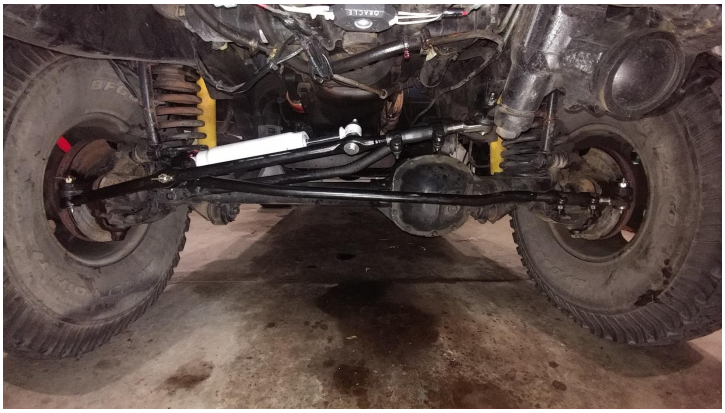
10. Install the new linkage with the new provided hardware.
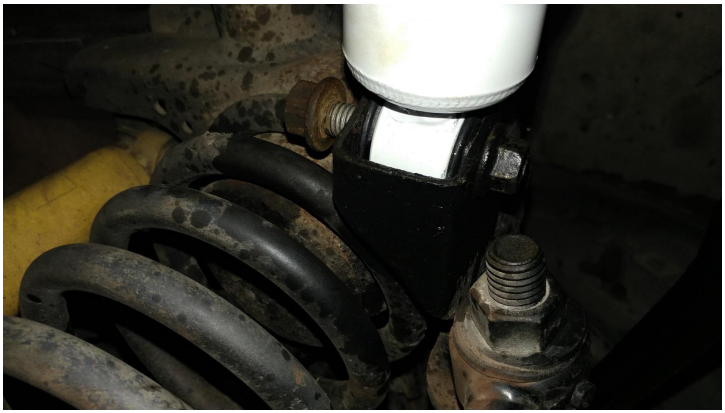
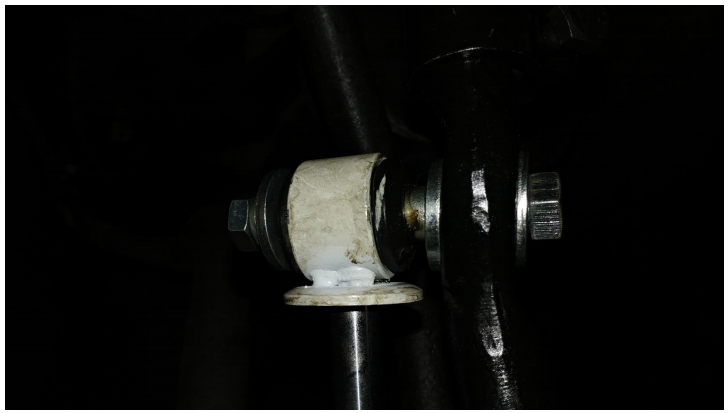
11. Hardware stack up for the steering stabilizer connection.
12. Torque specs per the service manual
- Tie Rod Ends - Ball Studs 55 ft-lbs
- Tie Rod Ends - Clamps 20 ft-lbs
13. For reference
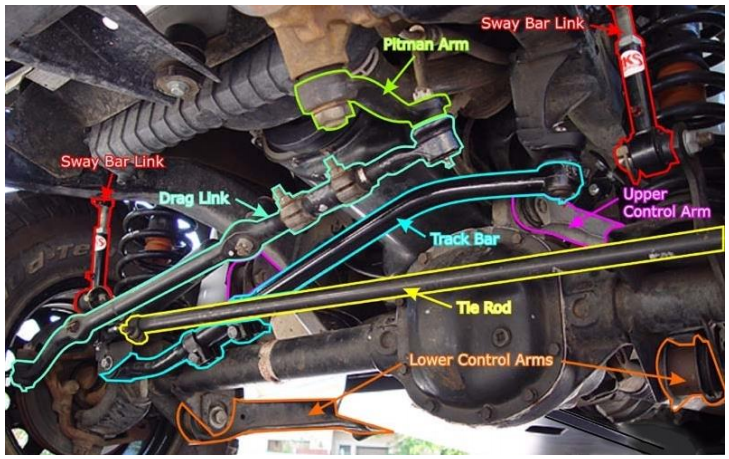
14. After Torqueing nuts install the provided counter pins.
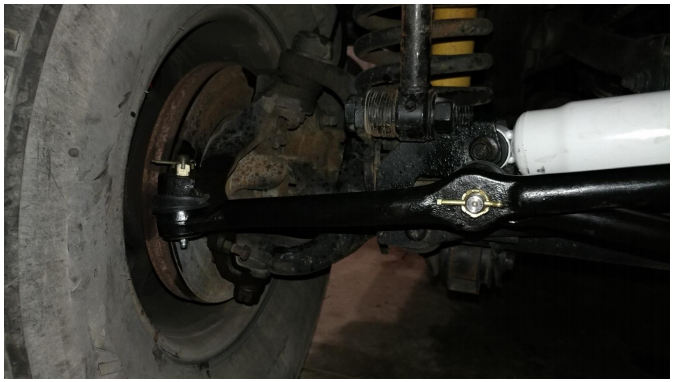
15. Installation complete
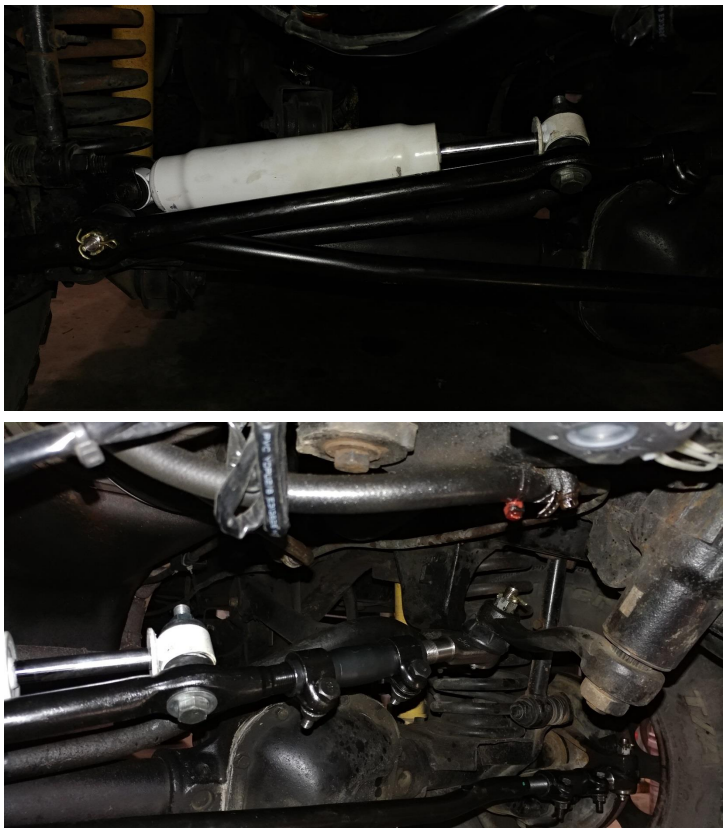
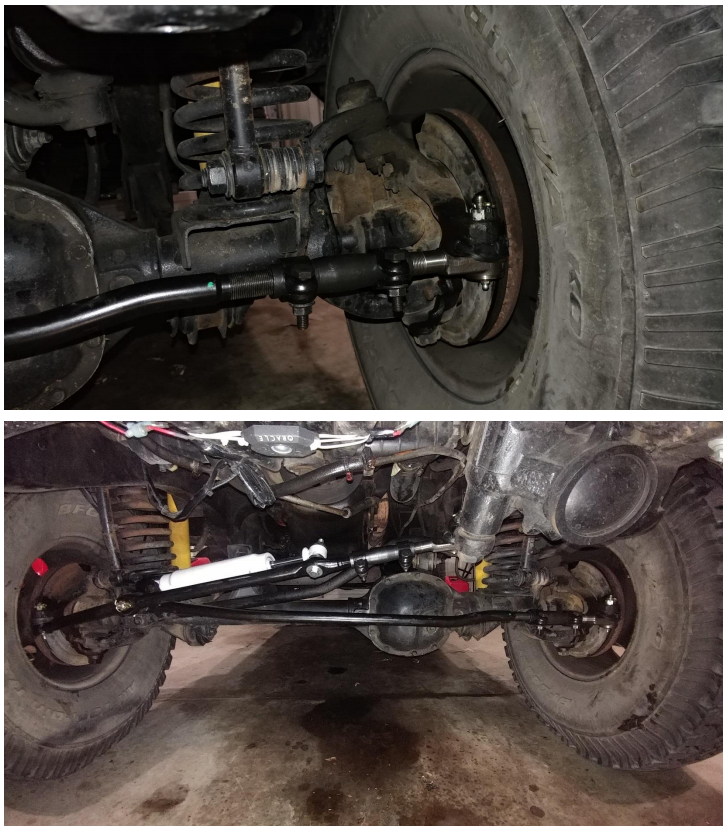
16. For a easy alignment. Measure the front of the tires on the outside tread and compare to the back of the tires on the outside tread. Make adjustments on the tie rod. For the centering the steering wheel make adjustments on the drag link near the pitman arm.
Installation Instructions Written by ExtremeTerrain Customer T. Boyer 11/27/2017

