

How to Install CARR XRS ROTA LIGHT BAR - BLACK POWDER COAT on a 07-17 Wrangler
Installation Time
50 minutes
Tools Required
- Ratchet
- Torque bits (8mm)
- Allen wrenches 3/16”
I did not tighten everything down until the very end to ensure proper fit. I also did most of the assembly inside BEFORE mounting them to my 08 Jeep Jk. Also ensure the side mounts are not interfering with the door when opening during final phase. Installation Instructions:
1. Instruction one: I started by assembling the left side of the mount first (or right side) by placing the 3/8” bolt and washer into the Rota Square Casting, and secured the Rota Hood Casting to the Welded Nut.
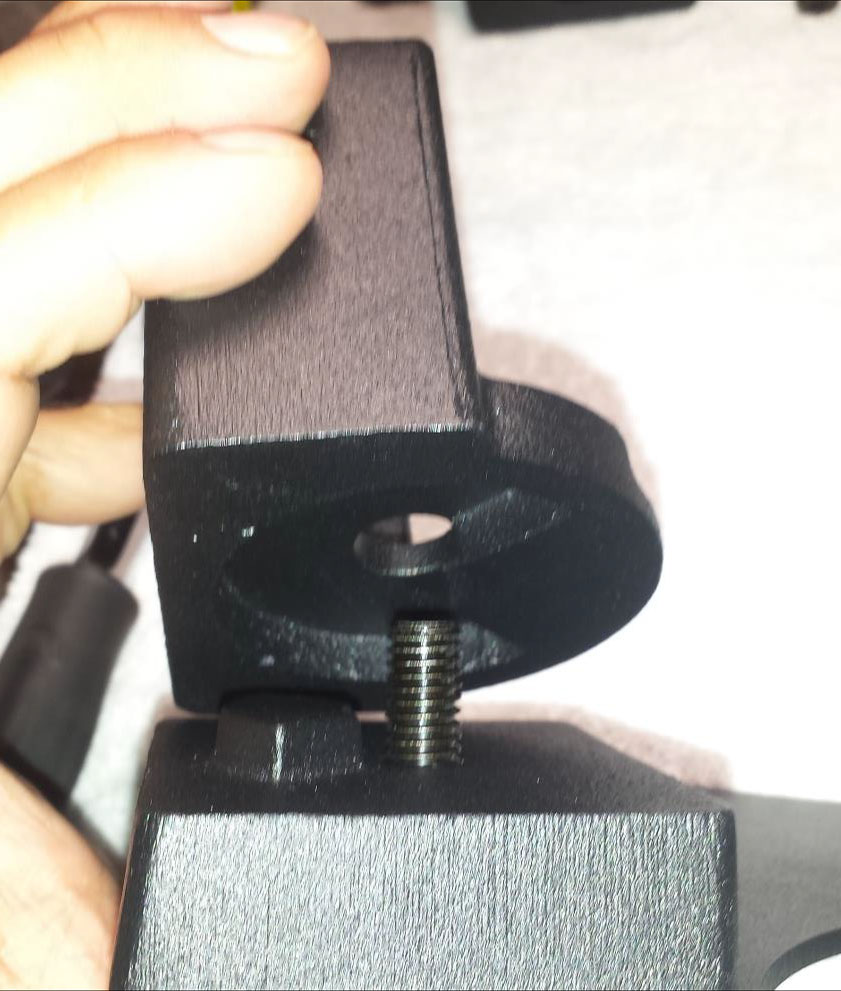
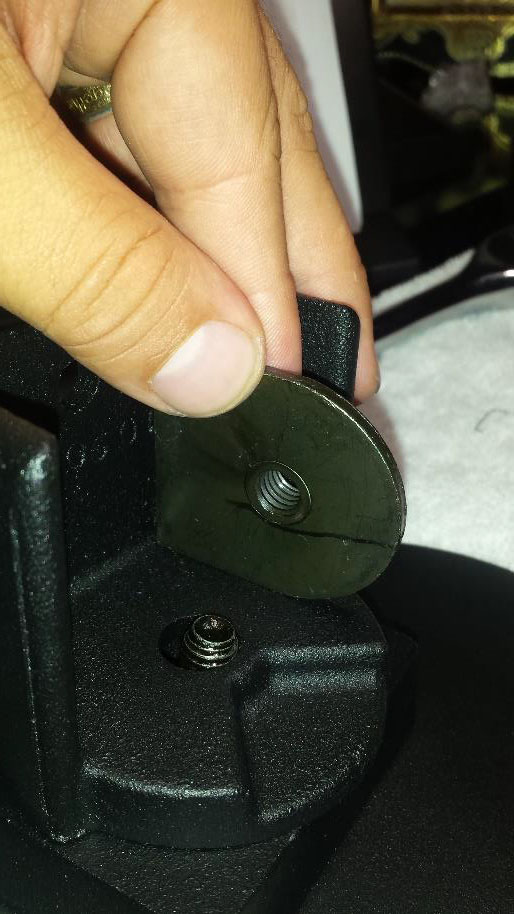
2. Then secure the Mounting End Bracket to the Rota Square Casting (and the rest of the assembly) by using the 1/4 “socket bolts & Nylon washers and screwing them into the Rota square casting.
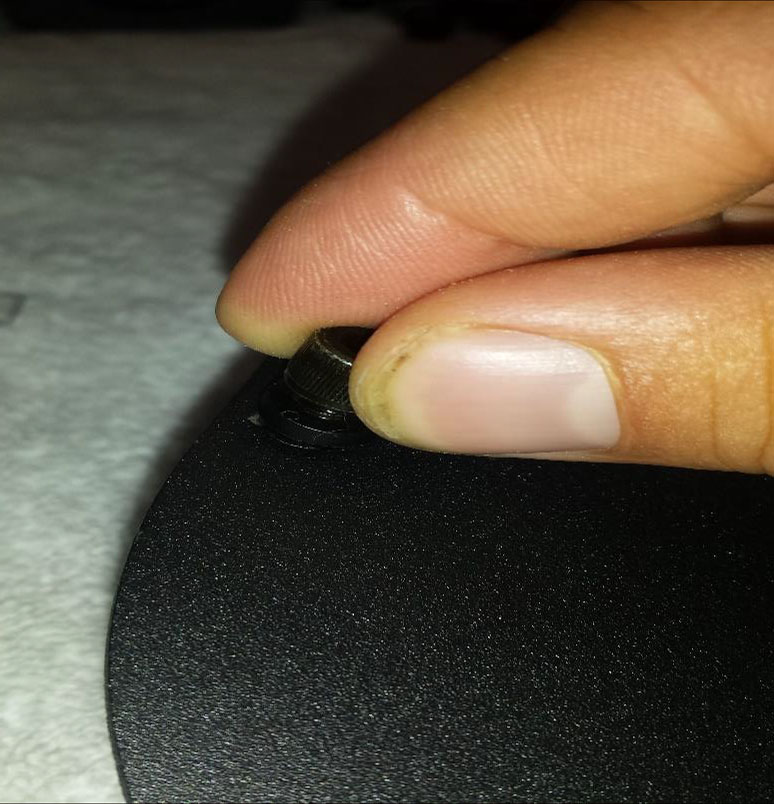
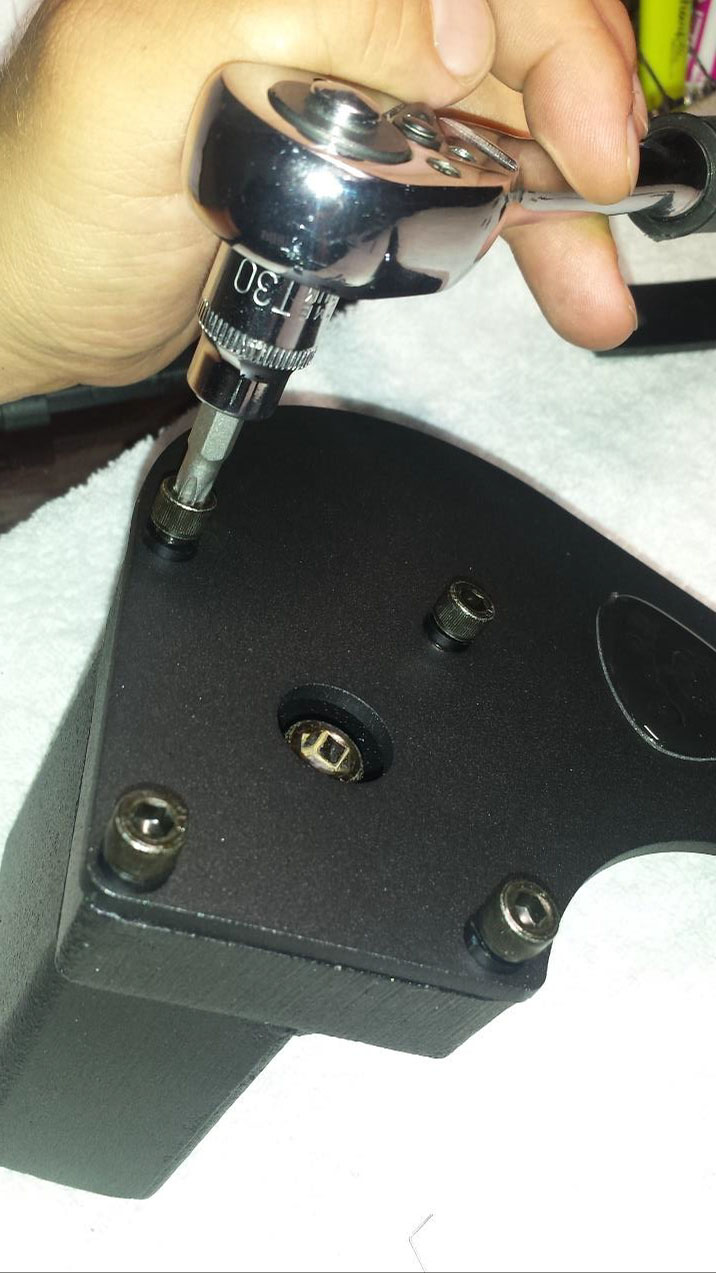
3. Lastly place the Rubber Grommet into the hole in the middle of the Mounting Bracket. I placed a little oil on it and “screwed” it in and it made life much easier. Then that side is complete!
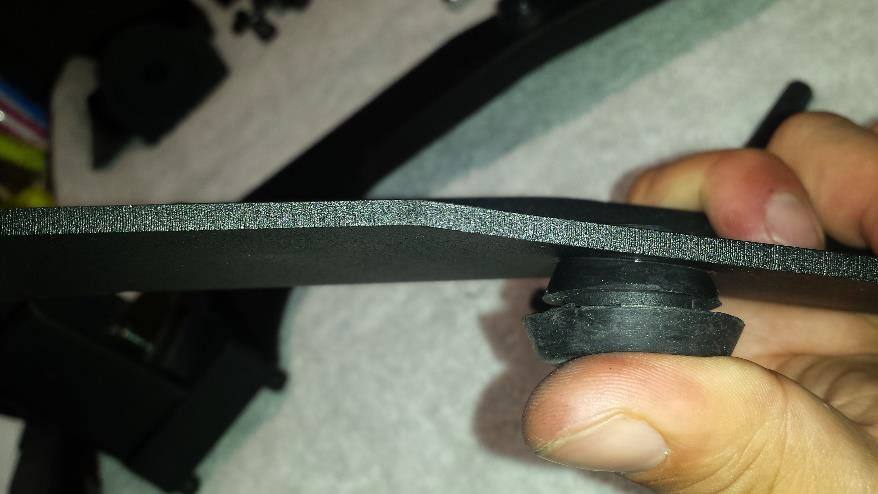
4. Repeat the same steps to assemble the other side.
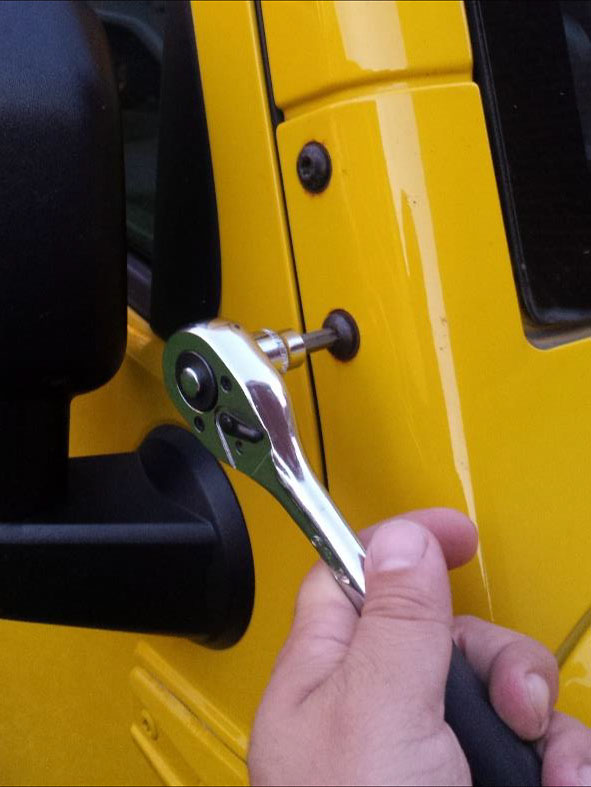
5. Take off the TOP two bolts on the A pillar using a torque wrench and use those same bolts to attach the new mount by adding the black washers to those bolts as well as placing the rubber gasket on the INSIDE of the mounting bracket. (This way your new mount does not have metal to metal contact) Note: DO NOT TIGHTEN ALL THE WAY DOWN! Since the Cross bar has to slide into place its easier to do without everything super tight.
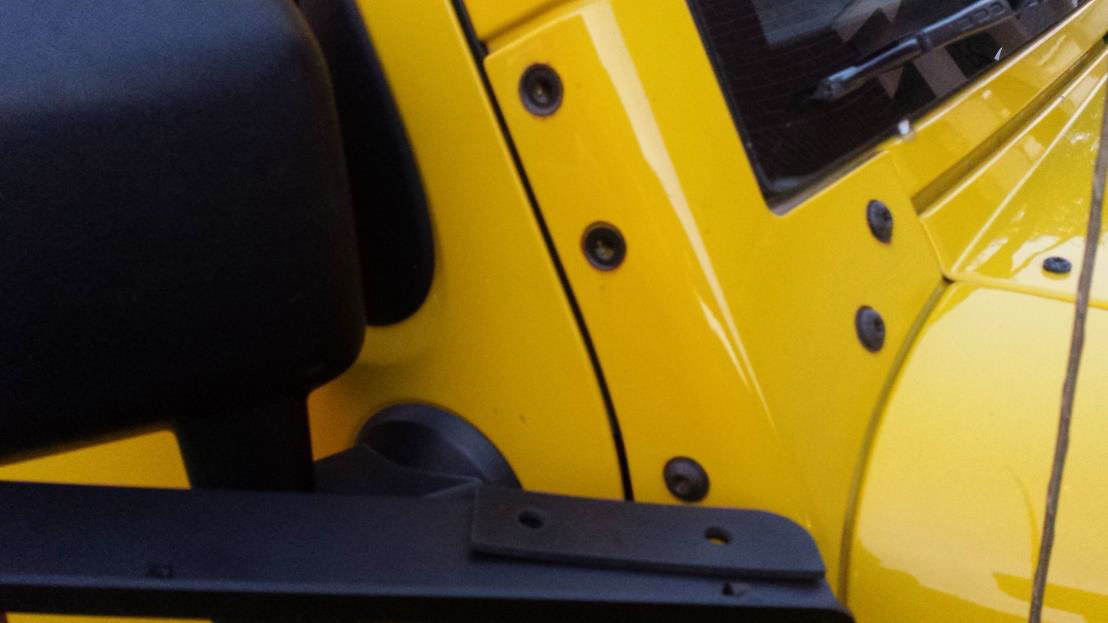
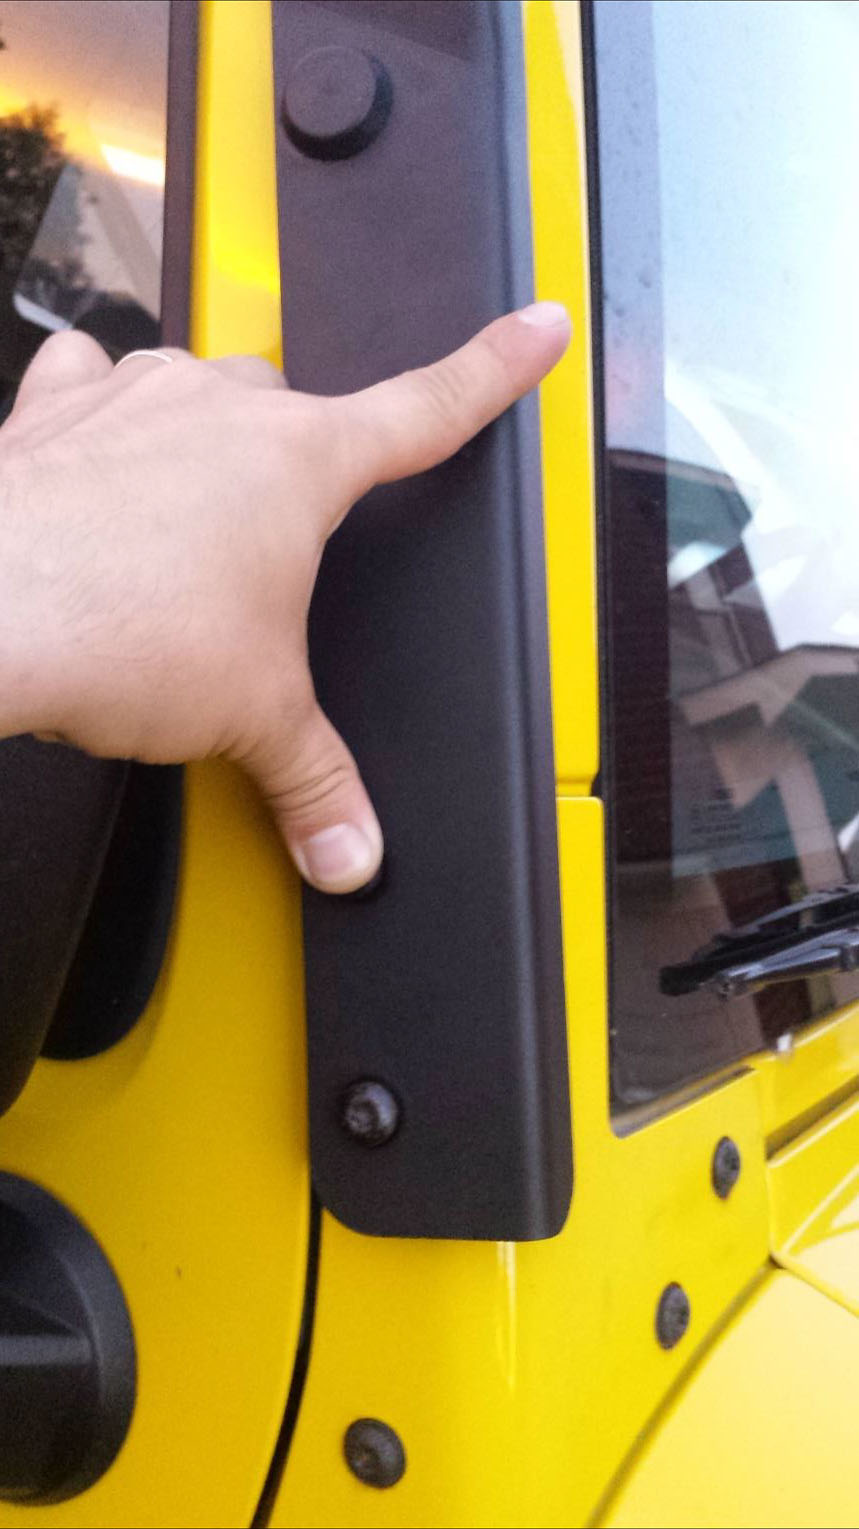
6. After you mount one side repeat the process to the other side. 7. Take the cross bar and slide it onto the Rota Hood Casting and then place the 5/16” bolt through the Rota Hood Casting, through the cross bar, the holding plate (metal piece with two holes) and then add the washer to hold it in place. Repeat to the other side.
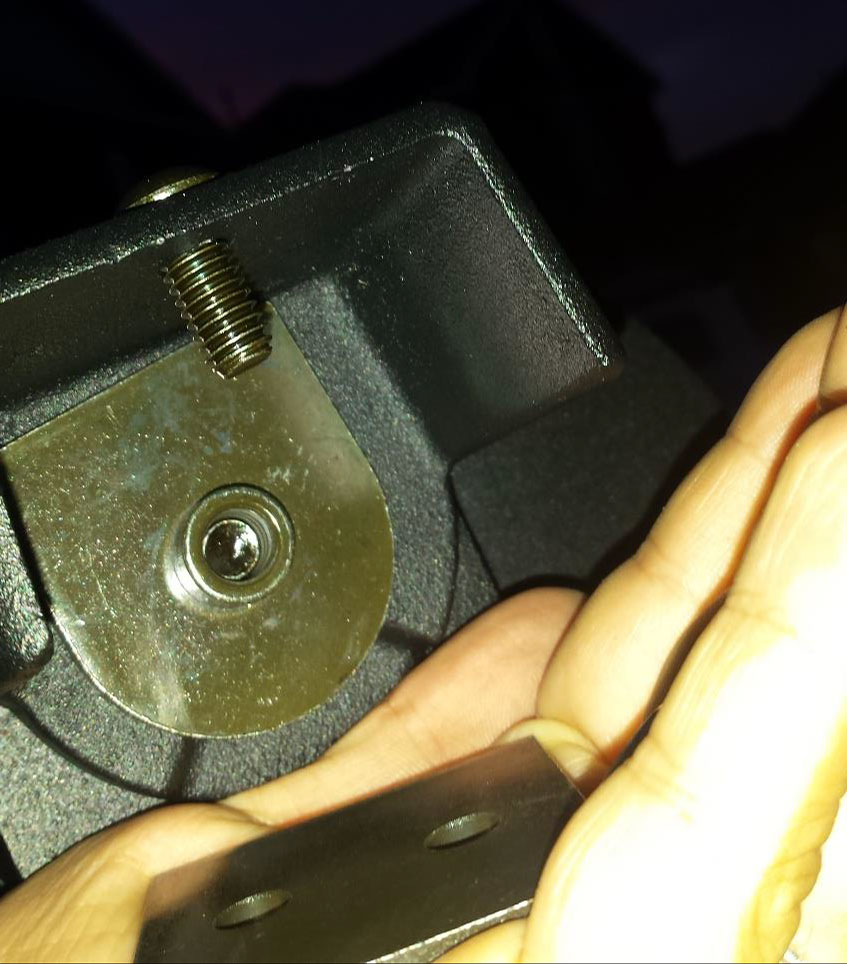
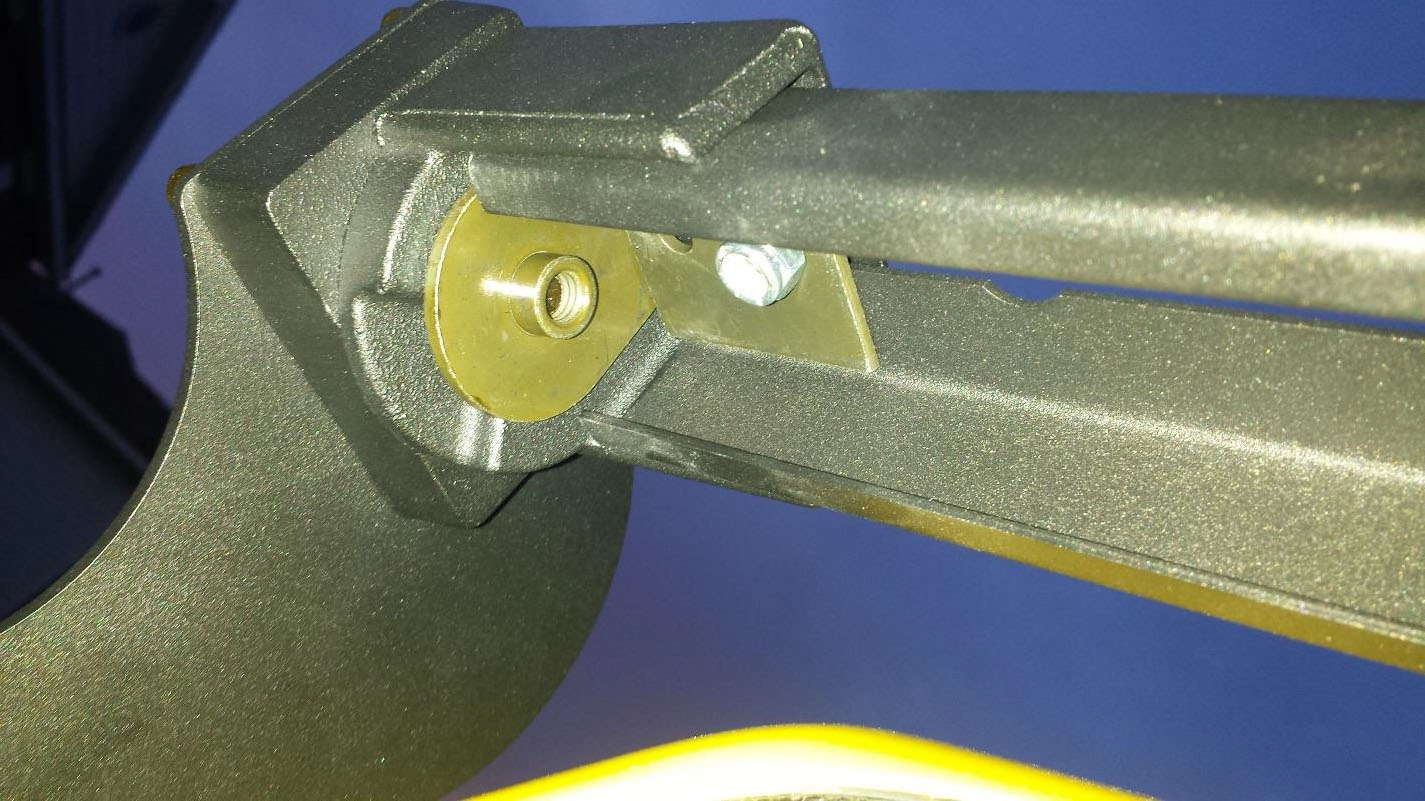
8. Once the Cross bar is in place go back and tighten all the bolts into place. May be a good idea to check them here and there to ensure bolts remain tight.
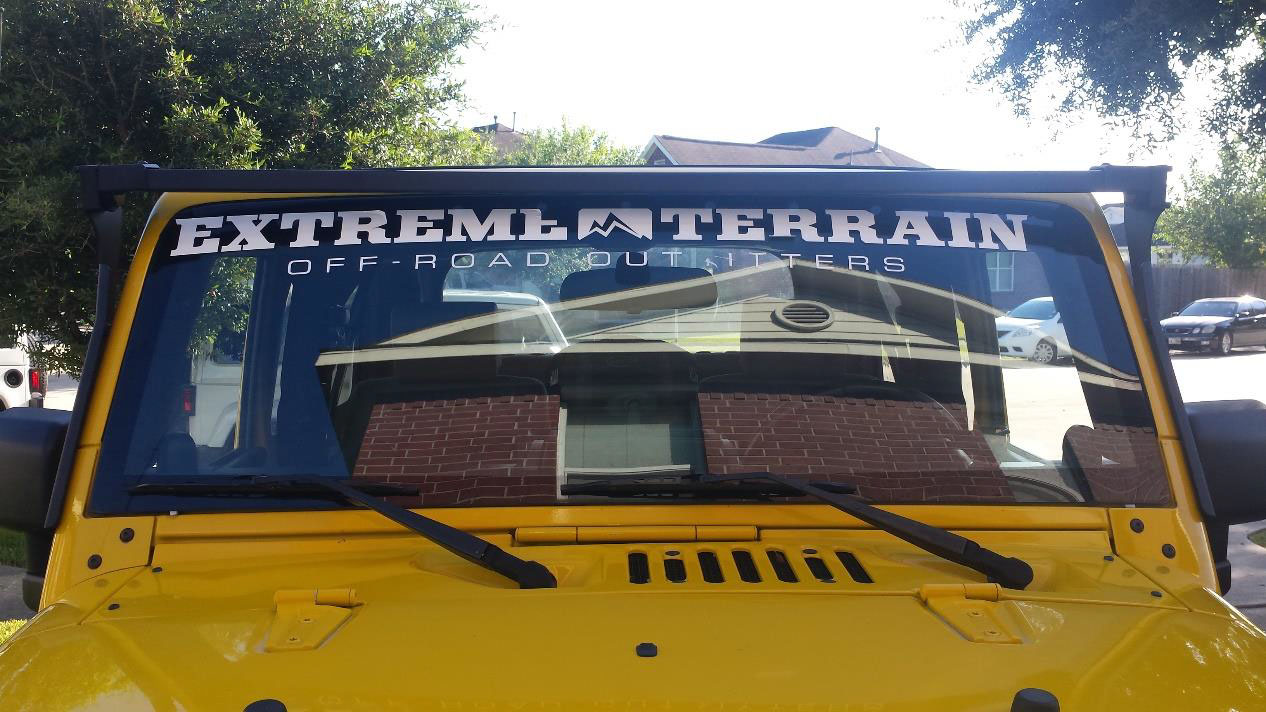
9. That is all there is to it!
Installation Instructions Written by Extreme Terrain Customer Adam A. Erlewein 07/19/2016