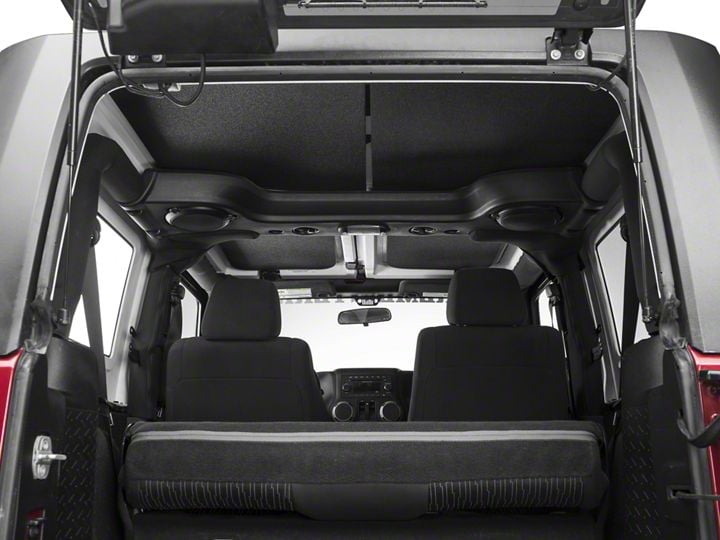

How to Install Boom Mat Sound Deadening Headliner - Black on your Wrangler

Shop Parts in this Guide
1.) Remove the hardtop from vehicle following the manufacturer's suggested removal. Placing the hardtop on a blanket is recommended to protect it from scratches. Make sure to place the hardtop on the blanket in an inverted position.
Figure 1 - Hardtop removed and inverted (4 Door Shown) 2007 & Up
Figure 2 - Hardtop removed and inverted 1997-2006
2.) Once the hardtop is removed, clean the inside surface of the hardtop with isopropyl alcohol. This will ensure a good adhesive bond between the head-liner and the hardtop. *Note: The adhesive will not stick properly to a dirty surface
3.) Install the foam "filler strips" in the molded ribs to ensure a smooth installation of the headliner. Without the "filler strips", the headliner will conform to the ridges in the top leaving an uneven appearance. Make sure to test fit the filler strips into the ribs of corresponding length before peeling the release liner on the strips
4.) Remove the paper release liner from the back of the part about to be installed. Once the liner is removed, center one side as shown in Figure 3
5.) Once the starting edge is adhered, lay down the rest of the part by applying gentle pressure by hand as shown in Figure 4.
6.) Once the parts have been installed, apply pressure by hand.
7.) Once all parts are installed, allow parts to sit in the top inverted for 25 minutes. (See Figures 6 and 7). This will allow the adhesive to set properly. Once the parts have set, you are ready to install the top back on your Jeep.
Figure 6 - Hardtop removed and inverted with headliner installed. (4 Door Shown) 2007 & Up
Figure 7 - Hardtop removed and
inverted with headliner installed. 1997-2006
8.) Reinstall the hardtop according to the manufacturer's suggested installation.
NOTE: 2003 TO 2006 TJ models with factory speaker pods will have cutouts to fit around pods, (not shown)

