

Top Sellers for Tacoma
How to Install Bestop Fabric Replacement Upper Door Skins on your 1997-2006 Jeep Wrangler TJ
Installation Time
1 hours
Tools Required
- Box cutter or razor
- A blanket (optional)
- Cleaning solution (optional)

Shop Parts in this Guide
Kit Contents:
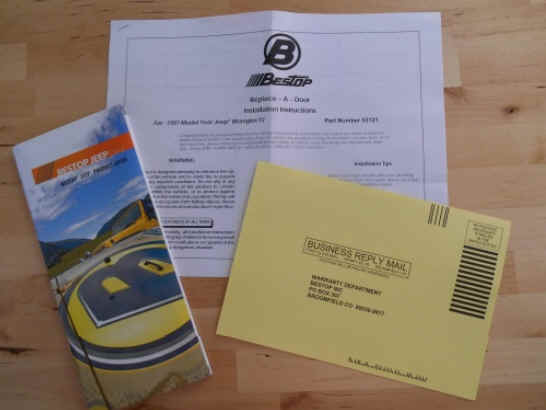
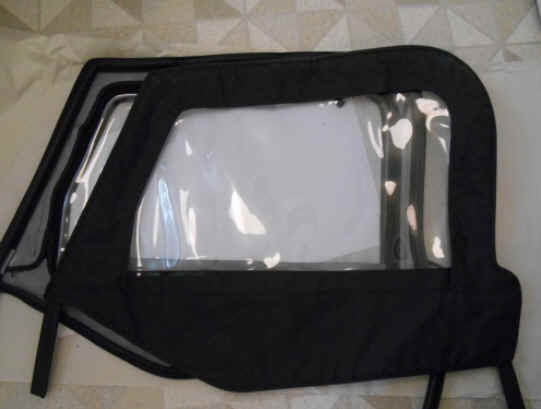
• Driver side door skin
• Passenger side door skin
• Instructions
• Warranty registration card
• Bestop pamphlet
Instructions:
PREP: Lay out your new door skins in the sun to ensure they’re easy to work with. Cold skins will not be installed and could end up tearing or cracking
1. Uninstall upper factory doors
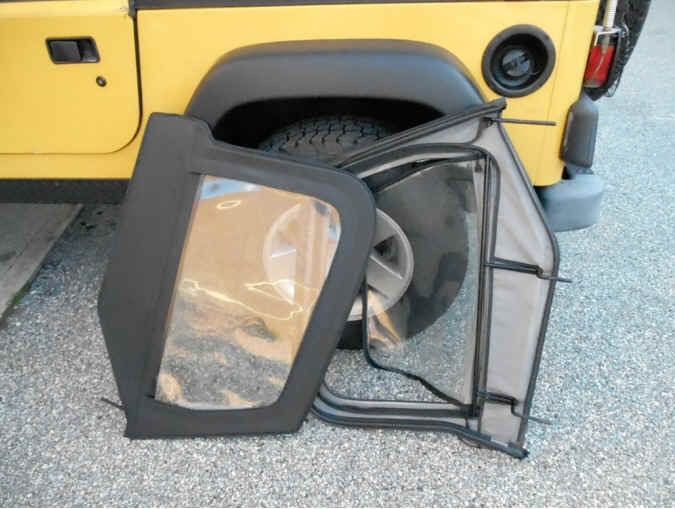
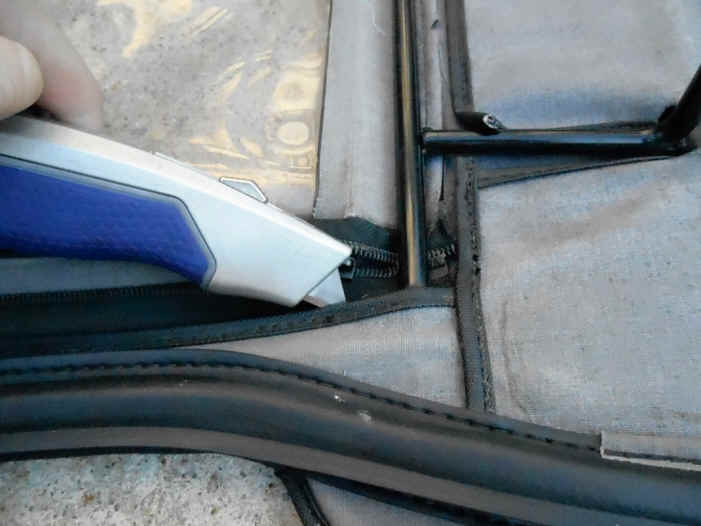
2. Using a box cutter or razor work along the seams to remove factory door skin from factory frame
3. Clean up your door frames if you have rust or grime (optional)
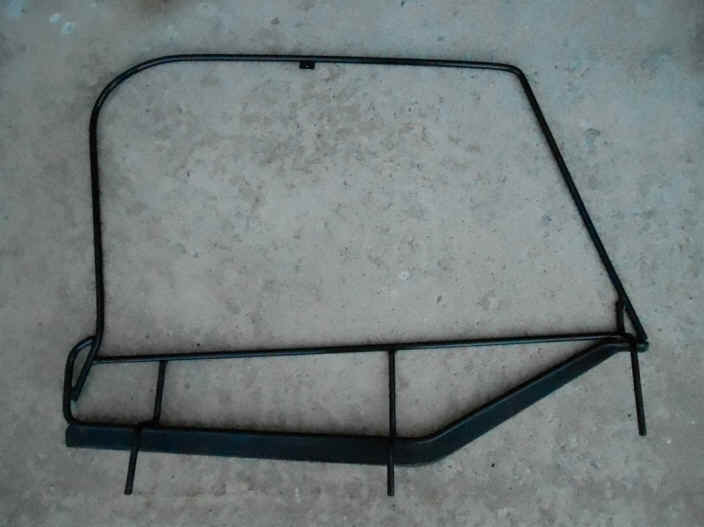
4. Lay down a blanket to provide a work surface that won’t scratch or damage your new windows
5. Starting with the rear lower corner fit the door frame into the new door skin. Do not secure Velcro yet (driver side pictured.) Work the bottom of the frame into the skin moving towards the front lower corner.
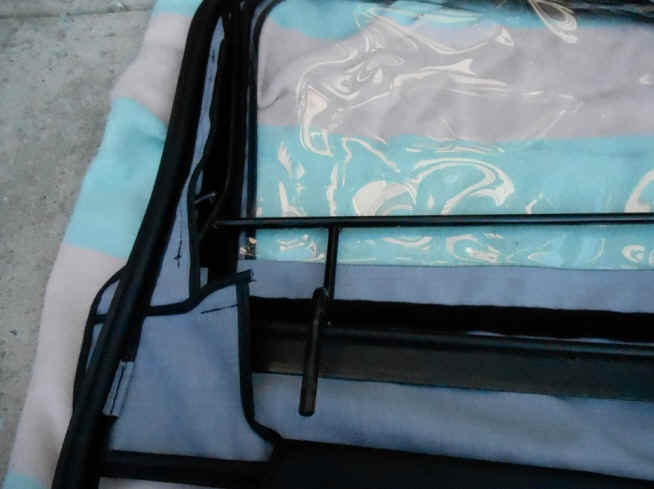
6. Force the front lower corner into the door skin being careful not to snag or damage the skin, do not secure Velcro yet.
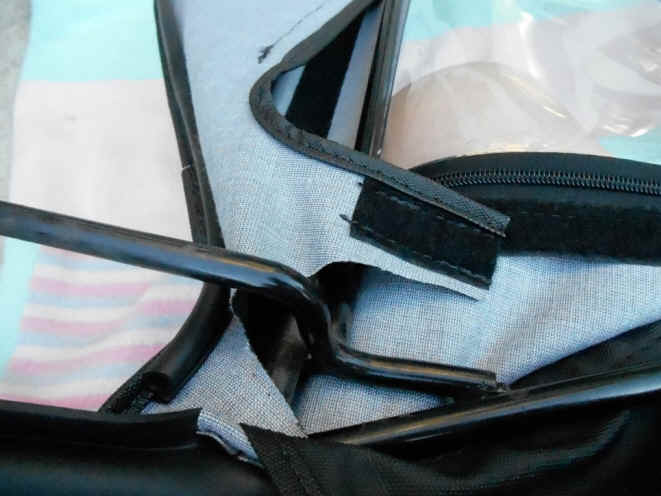
7. Fit the front upper corner into the skin, do not secure Velcro yet
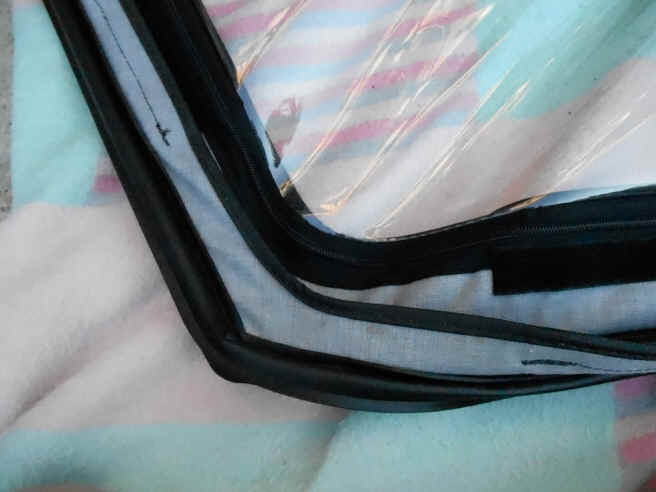
8. Make sure the entire frame is as snug as it can be against the three previous corners and move onto the rear upper, rounded corner. This is the most difficult and requires effort to fit over the frame. If your skins are not warm at this point they will tear or crack.
9. Locate the tab to assist in fitting the skin over the frame, this is a safe place to pull from. Do not pull on the weather-stripping as it will tear. Work the skin around the frame with extreme care and extra force. (At this point if you’re unable to force the skin over the frame, a pen or nonsharp object can be used in the same nature as a shoe horn to assist in slipping over the frame.)
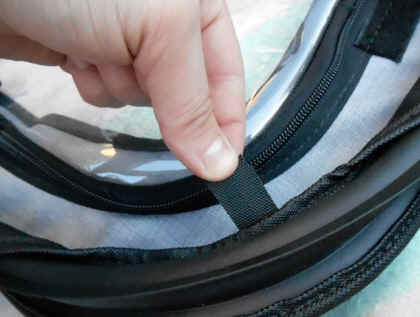
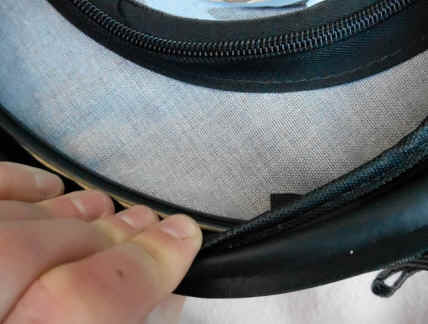
10. Starting at the bottom secure the Velcro pulling tight the bottom of the skin and frame for a snug fit. Adjustment to the Velcro for the proper tension and fit may be necessary.
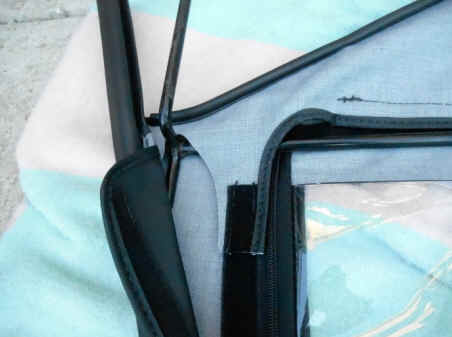
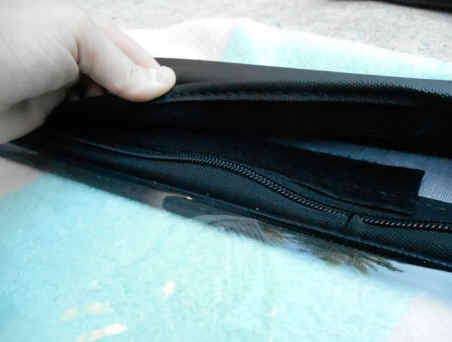
11. Complete! Repeat for other side and reinstall upper doors on your Jeep

Installation Instructions written by ExtremeTerrain customer Nicole D. on 3/3/2015


