
Top Sellers for 4Runner
How to Install Barricade Extreme HD Rear Tire Carrier (07-18 Wrangler JK) on your Jeep Wrangler
Installation Time
1 hours
Tools Required
- 13mm-19mm Sockets
- 13mm-19mm Wrenches
- Allen Key Set (Metric)
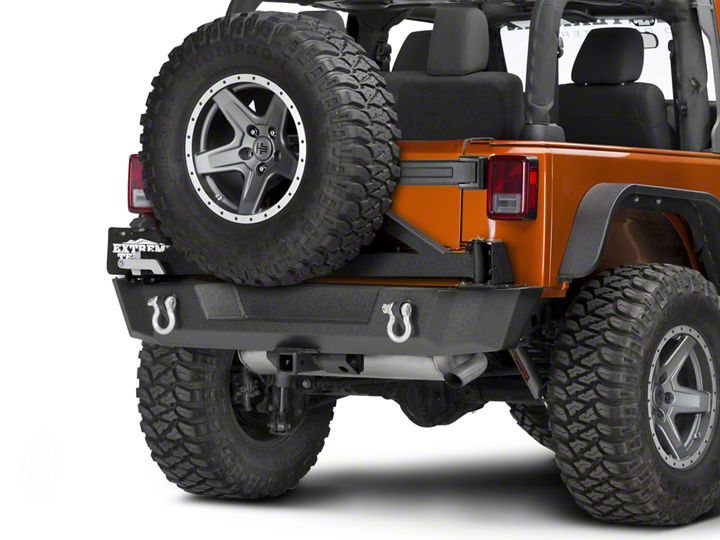
Shop Parts in this Guide
Contents
(1) - Bumper
(1) - Tire Carrier w/ Hardware
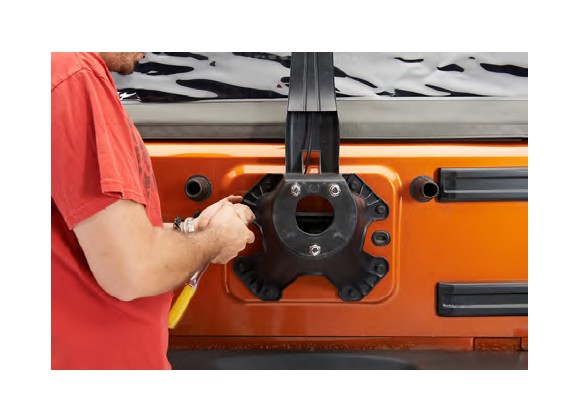
STEP 1 // Remove the rear tire and the (8) 13mm bolts holding the tire carrier to the tailgate.
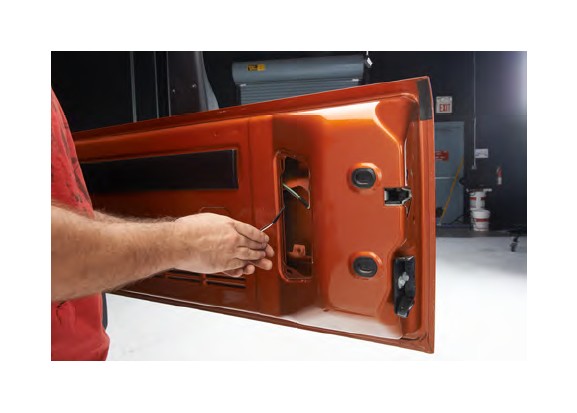
STEP 2 // Disconnect the third brake light harness, which can be access through the rear panel of the tailgate.
STEP 3 // Remove the (4) 15mm bolts securing the rear bumper.
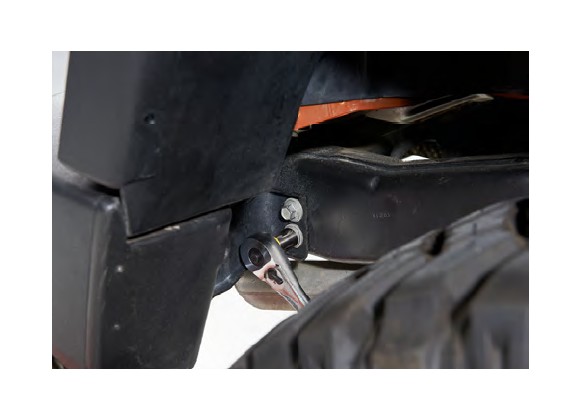
STEP 4 // Next, slide the L-Shaped mounting brackets into the frame rails with the nut backing up to the predrilled hole in the frame.
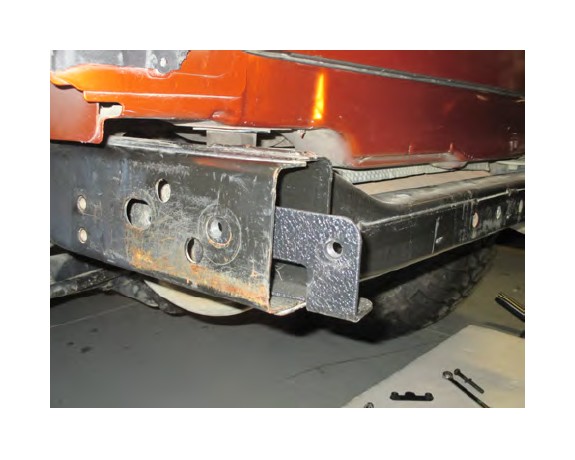
STEP 5 // Slide new rear bumper into place, securing the bump but leaving the bolts loose.
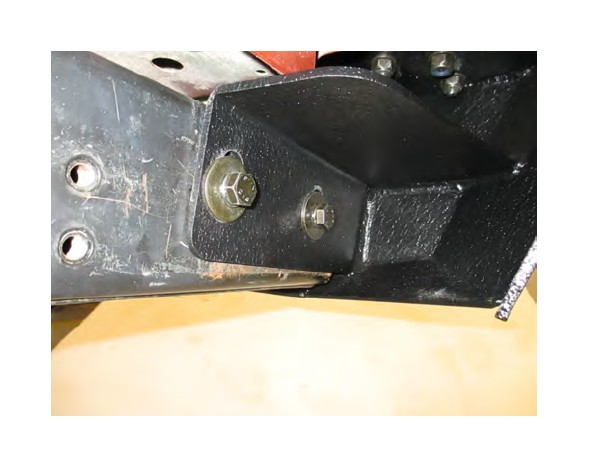
STEP 6 // Secure the backing plate, then tighten all bumper bolts that hold the bumper to the frame.
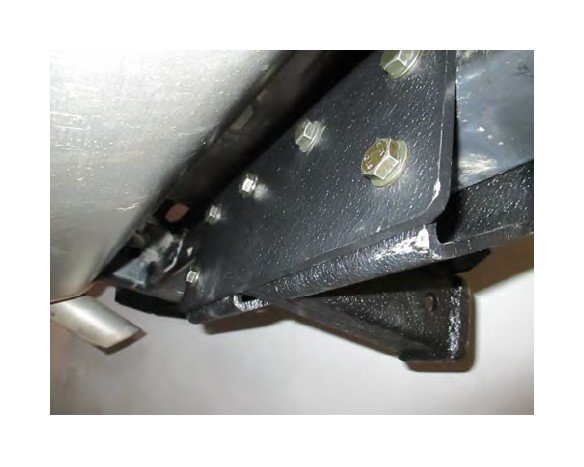
STEP 7 // Attach the supplied bumper plate using the supplied allen bolts. Next, attach the latch bracket.
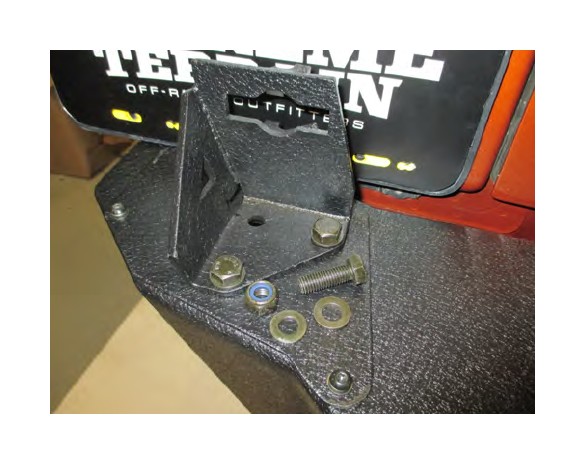
STEP 8 // Attach supplied bumper plate with allen bolts, then slide the carrier hinge into the bumper. The side with the threaded bolt hole goes up.
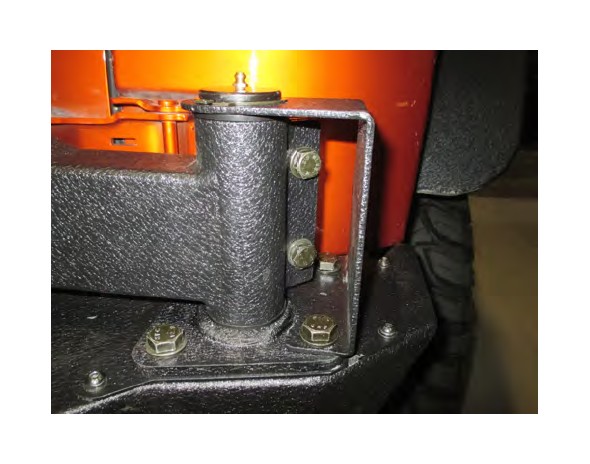
STEP 9 // Install carrier arm, first the plastic bushing, then the carrier arm, then another bushing, followed by the bracket to secure the carrier arm to the bracket and the c-clip.
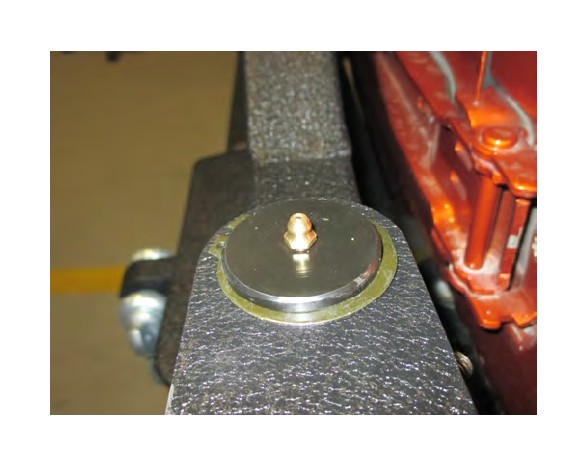
STEP 10 // Install the carrier latch.
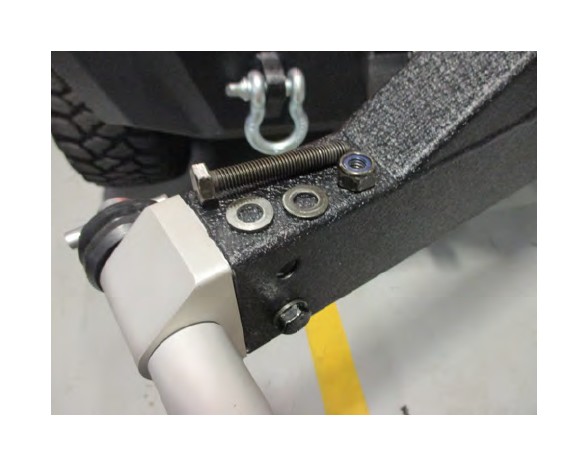
STEP 11 // Install the carrier bump stops.
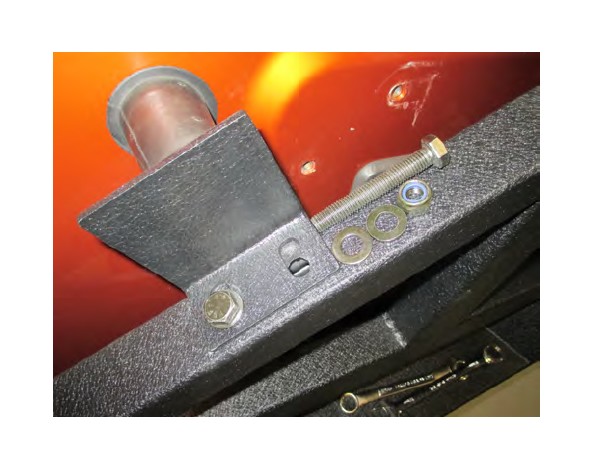
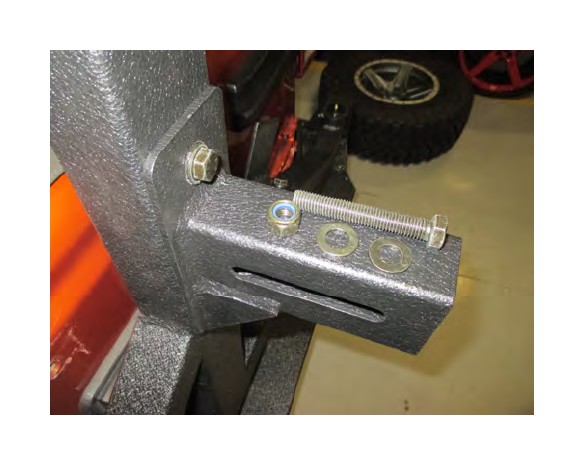
STEP 12 // Install the rear tire carrier and secure it to the rear swing arm at the desired height using the supplied hardware.
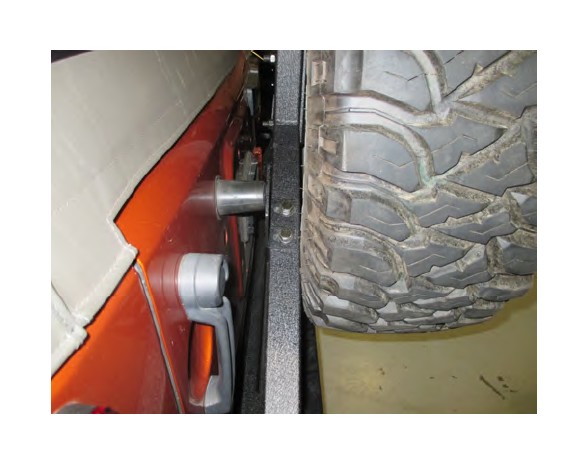
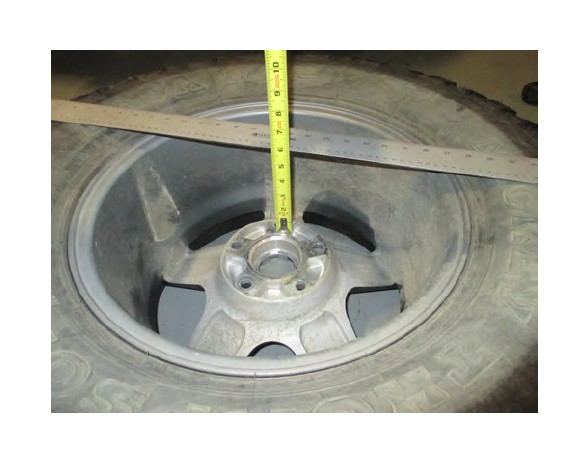
STEP 13 // Measure the backspacing of your wheel and tire by placing a straight edge across the tire. Measure from the mounting hub to the straight edge.
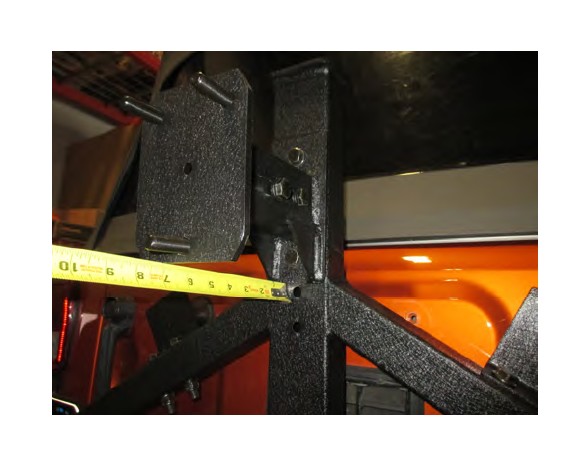
STEP 14 // Subtract a half inch from the previous measurement, and set the carrier to the new measurement. This insures the tire is against the carrier.
STEP 15 // Torque the spare tire lug nuts to the manufactures specified torque spec.
