

Top Sellers for Tundra
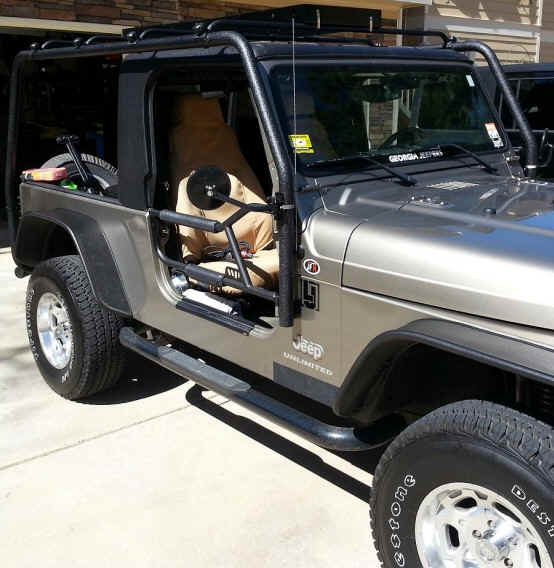
How to Install a Barricade Roof Rack on your 2004-2006 Jeep Wrangler TJ Unlimited
Installation Time
1 hours
Tools Required
- 13MM socket
- 17MM socket
- T40 Torx Bit
- Allen wrench provided
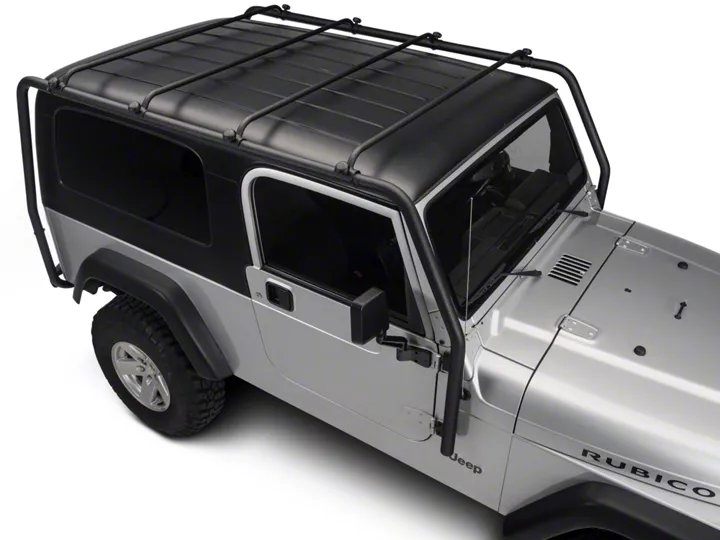
Shop Parts in this Guide
Installation Instructions:
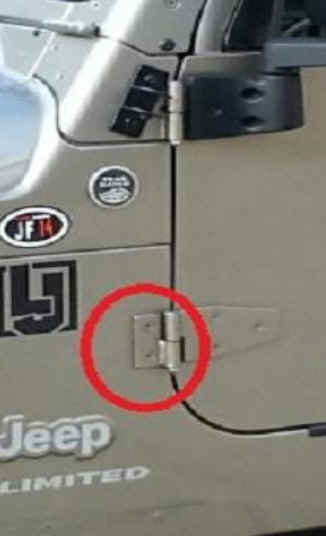
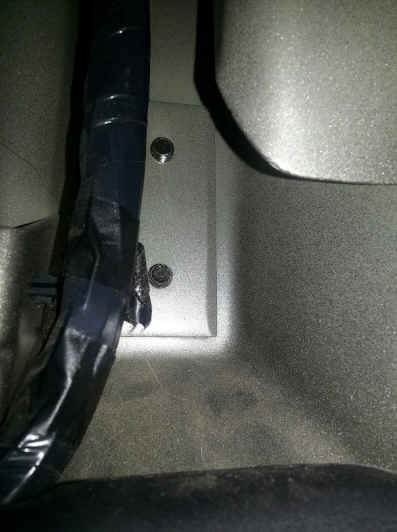
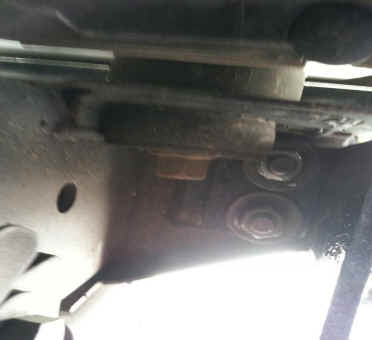
1. Remove the retaining nuts on the doors. Then remove the doors and set them aside. This will make it much easier to install the rack. Next remove the door hinge bracket. (Pic 1) Use the T40 torx bit and be sure it is seated or you can strip the screw. On the bottom hinge catch the support plate behind the lower hinge inside the vehicle. (Pic 2)
Pic 1
Pic 2
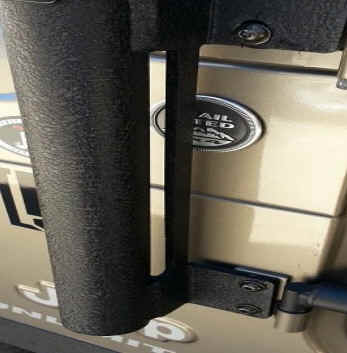
2. Install the front rack support. Insert the supplied shorter bolts with the supplied washer. On the lower hinge install the bolt through the bracket and then through the hinge and into the support plate. (It helps to have an extra set of hands). Don’t tighten the bolts completely until the entire rack is installed. Follow the same instructions for the other side.
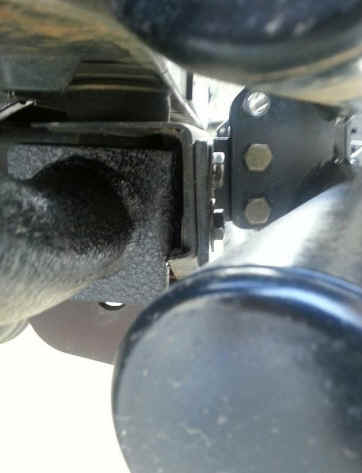
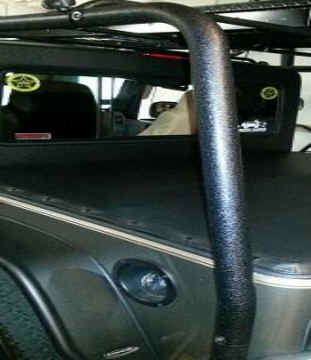
3. Install lower rear supports. Remove the two bumpers bolts on the outside of the bumper, the bolts closes to you. Align the rear rack bracket with the two holes for the bumper mounts. Next insert the supplied bolts with washer and lock nut. (Pic 1 and 2) Again do not tighten the bolts, leave some play for adjustments. Then install the upper rear support poles using the supplied Allen screws, washer and lock nut. (Pic 3)
Pic 1
Pic 2
Pic 3
4. Install the long upper support poles (longest poles in the kit) into the front and rear supports. Note the holes for the cross bars should Be on the outer side for the top holes and on the inside for the lower hole, otherwise the support brackets will not install properly.

5. Install the crossbars using the supplied longer bolts with a washer and black thumb knobs. You will need to use the Allen wrench to hold the bolt while you tighten the knob.
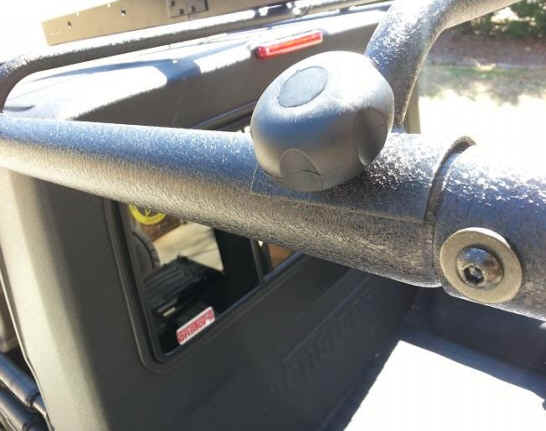
6. Tighten all of the bolts. Reinstall the doors. Might have to make some minor adjustments if the door pins do not lineup or the door does not close correctly.
Note: I used a nut driver to help tighten the Allen bolts. Just insert the Allen handle into the nut driver and use it as a wrench handle. But don’t strip the bolts.

Installation Instructions Written by ExtremeTerrain Customer Clint Powers 3/19/2015


