

How To Install a Barricade Trail Force HD Rear Bumper w/ Tire Carrier on 2007-2016 Jeep Wrangler JK
Installation Time
2 hours
Tools Required
- 13mm,17mm,18mmand19mmsockets
- 13 mm, 17 mm, 18 mm, and 19 mm wrenches
- Allen Key Set (metric)
- Flathead screwdriver
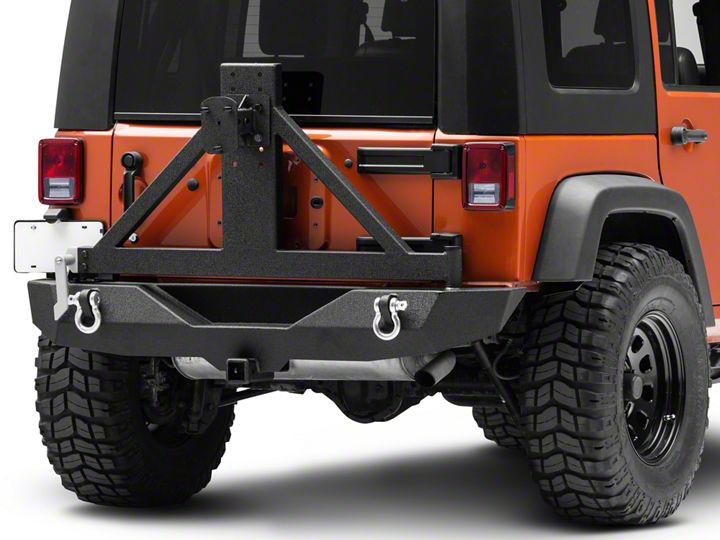
Shop Parts in this Guide
Installation Notes- It is helpful if not essential to have a second person help to hold the bumper in place.
Installation Instructions:
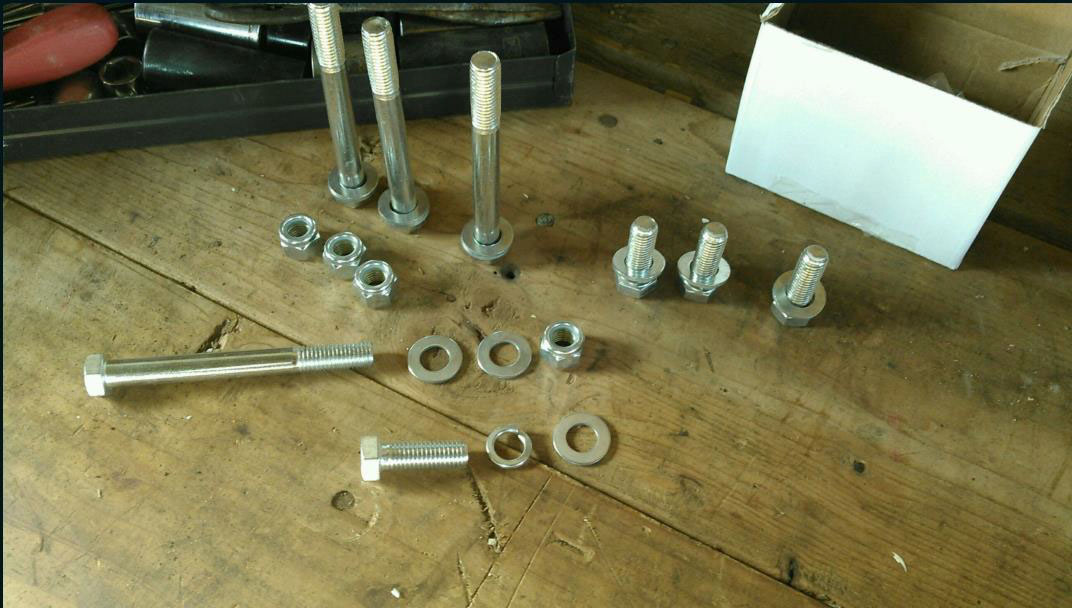
1. Line your parts up for the bumper install first. The lock washer and flat washer go on the shorter bolts as shown, and one washer will go on the end of the long bolt, with the second washer and nut going on the other side of the bumper.
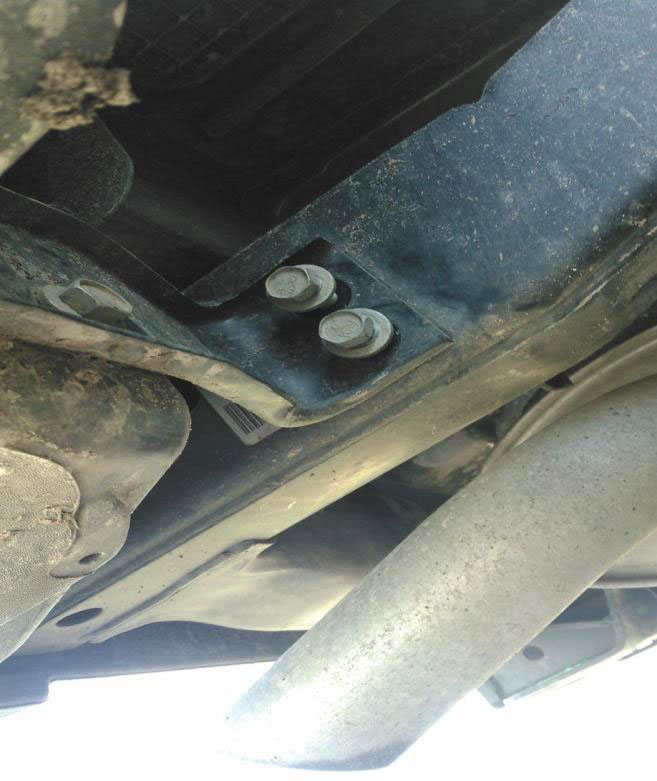
2. Remove the existing bolts holding the current bumper on, two on each side, with your 15 mm wrench.
3. Remove the bolts to remove the tow hook if needed
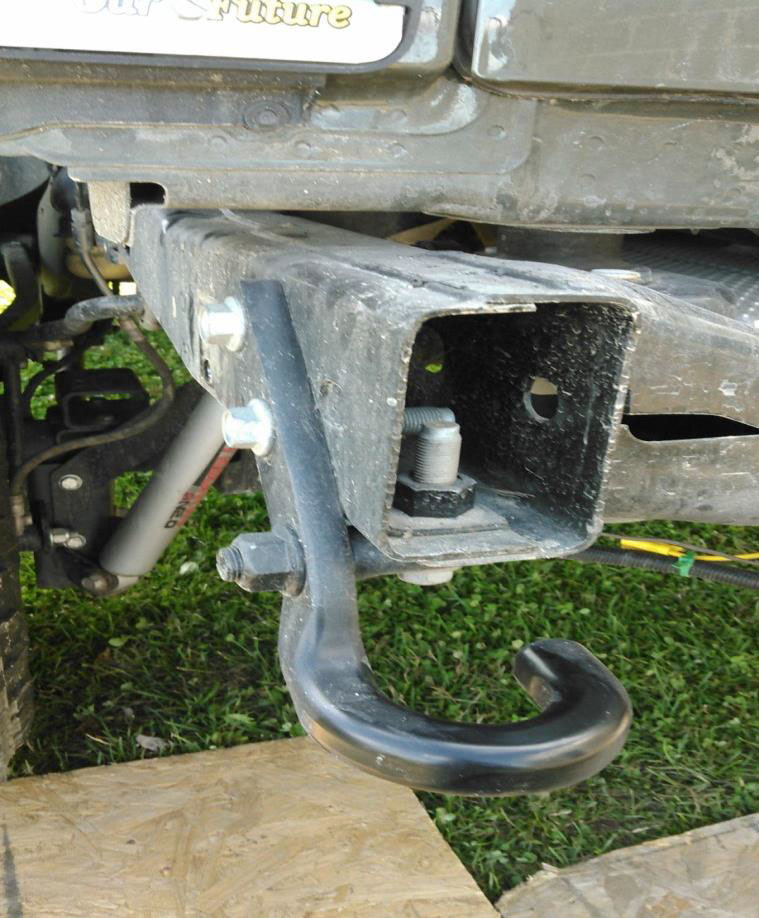
4. Remove the 4 bolts for the receiver if necessary. Take the new mounting bracket and slide behind the remaining beam. Line your long bolts halfway through for now.
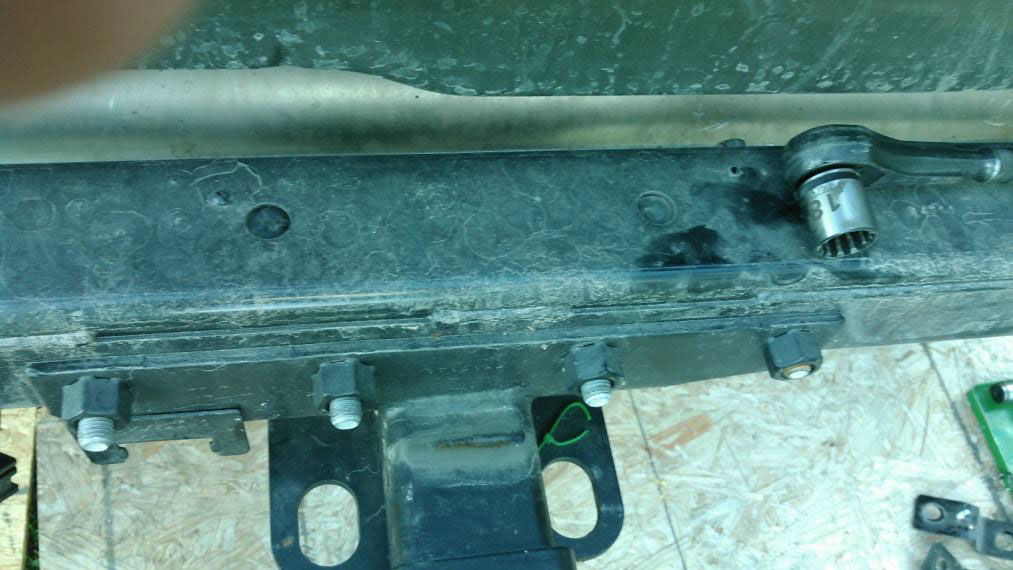
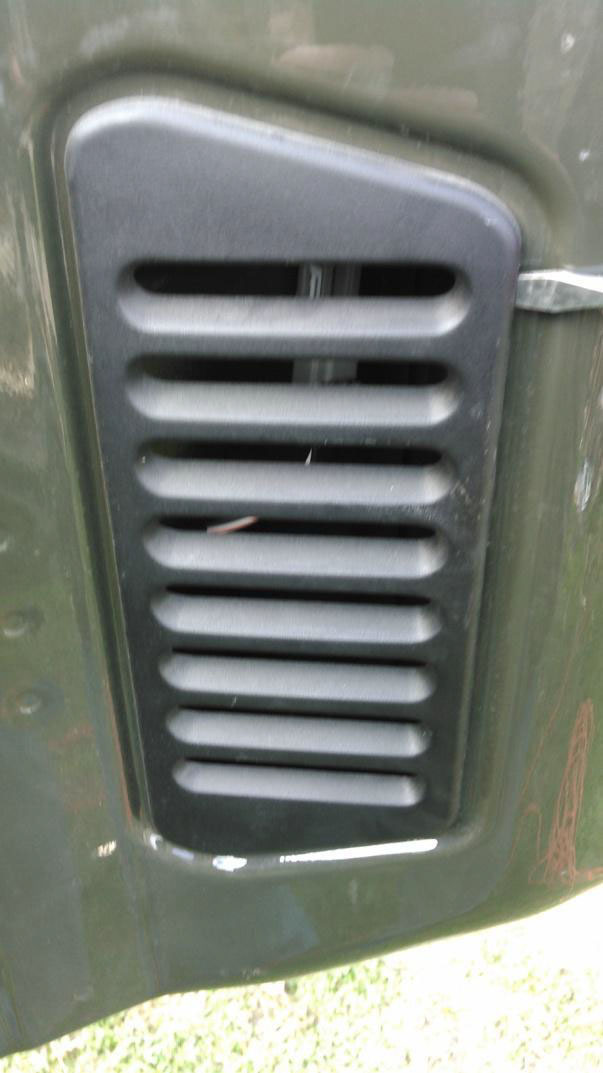
5. Remove the 8 bolts holding the stock tire carrier with your 13 mm wrench. Open your tailgate and carefully pop off the vent using a flathead screwdriver. Unplug the wire connection.
6. Slide the brackets into the frame, using your flathead screwdriver to help line the holes of the frame to the angle bracket. With two people, lift the bumper and set it on the frame. While one person steadies the bumper, start the short bolt with the lock washer followed by the flat washer against the frame, not yet fully tightening.
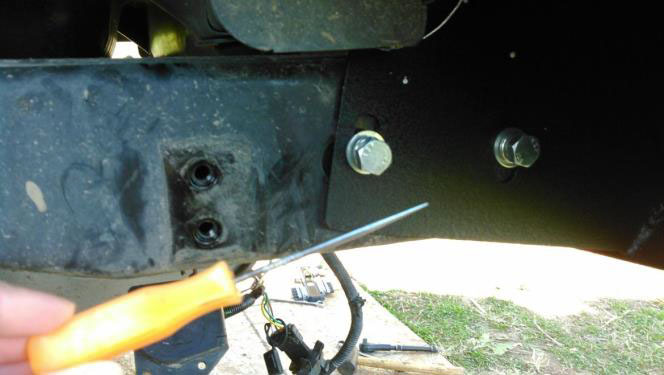
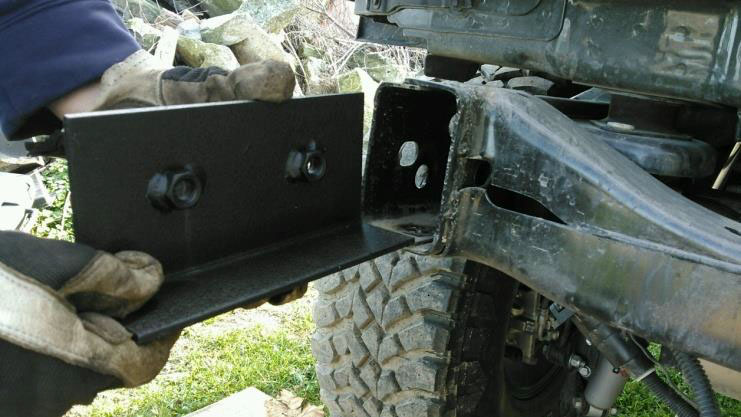
7. Next, go underneath the Jeep and push the bolts through. Tighten the nuts on the opposite side, followed by completely tightening the short bolts on the side. This will complete the bumper portion of the install.
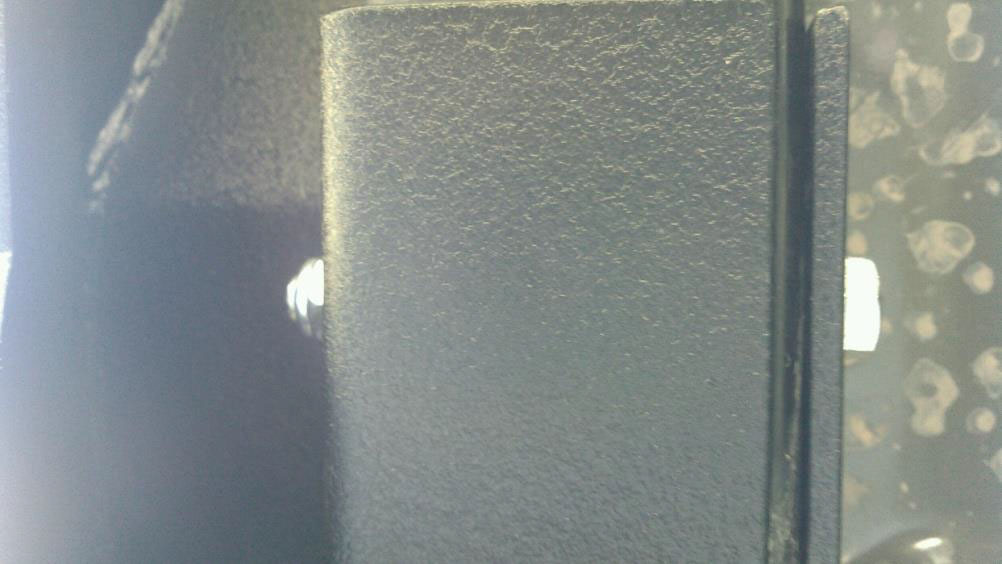
8. Grease the post of the tire carrier that is on your bumper to help with installation and use.
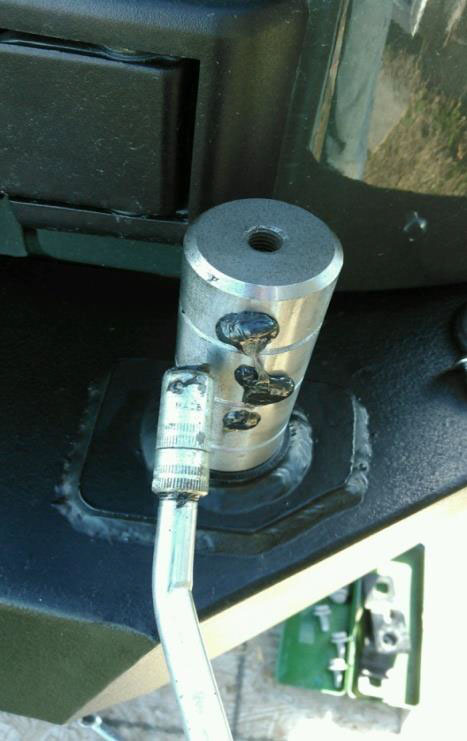
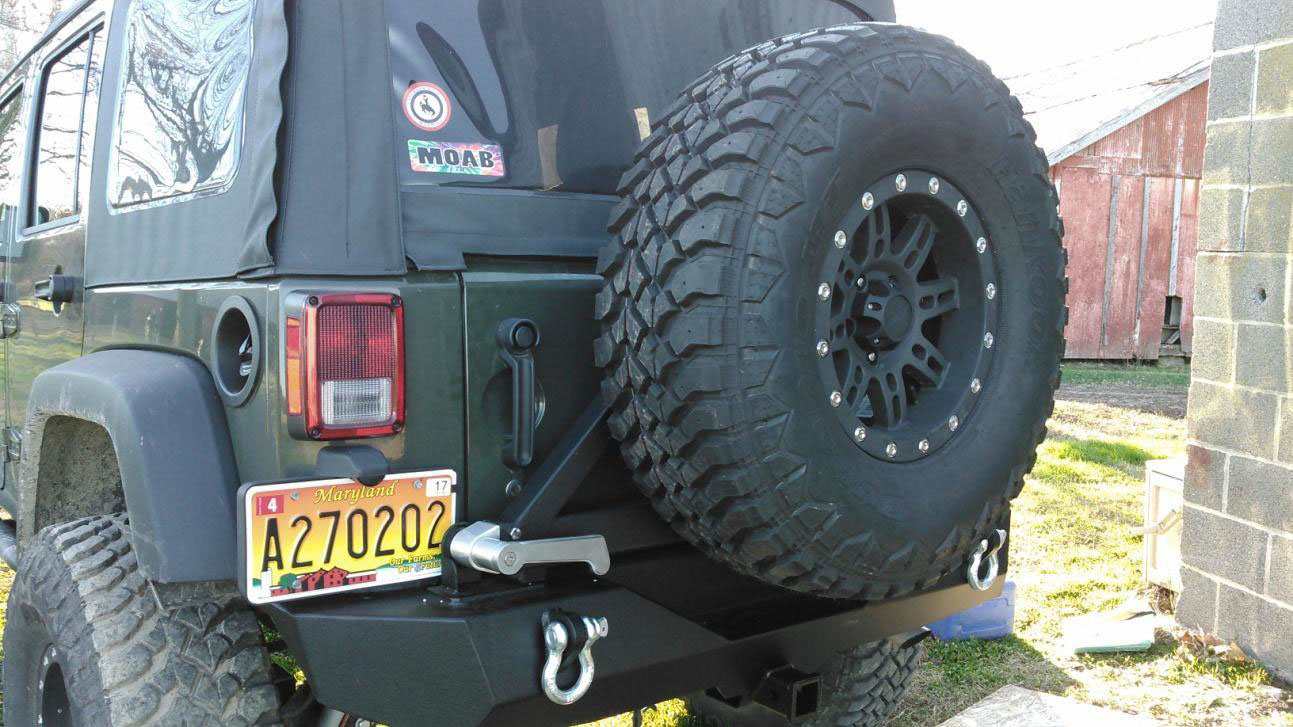
9. Place the tire carrier portion on. Place the black washer and the allen head bolt in to tighten. On the opposite side, install the handle using the two 17 mm bolts. Measure the radius of your tire from one nut hole to the edge of your tire. On the tire carrier, measure from the center stud to bumper where your tire will sit, to ensure your tire will not hit the bumper. This will give you a good idea of where to place your tire so it does not hit your bumper when you shut the gate.
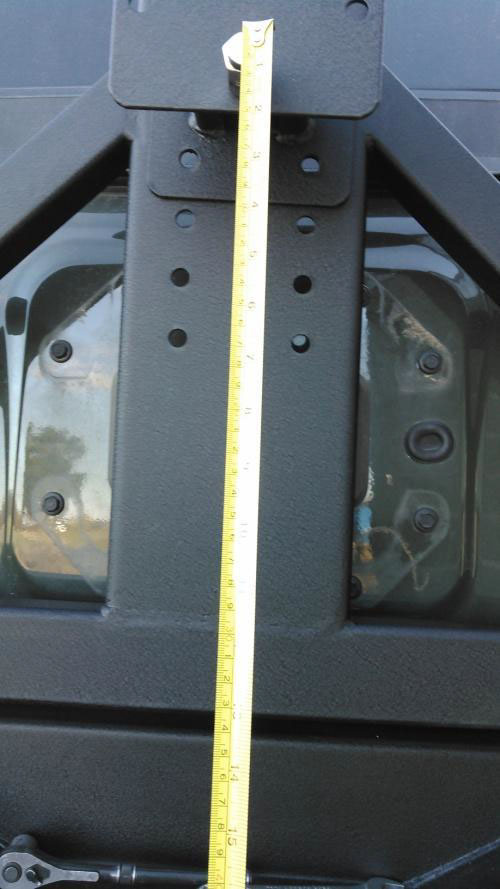
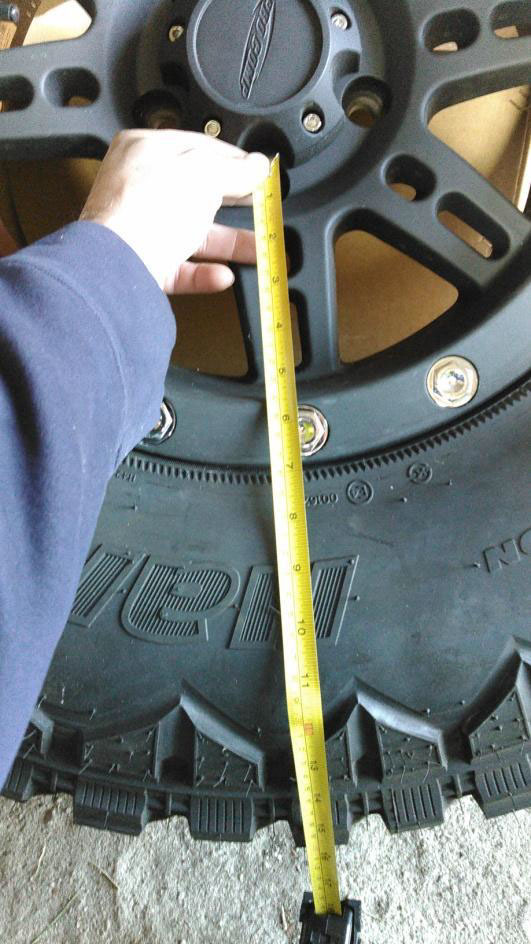
10. Place your tire on. Good Luck!
Installation Instructions Written by ExtremeTerrain Customer L. Milby 11/30/2015

