

How To Install a Barricade Trail Force HD Rear Bumper On Your 2007-2017 Jeep Wrangler JK
Installation Time
1 hours
Tools Required
- 16mm socket
- 18mm socket
- Adjustable crescent wrench
- Metal File (see installation notes)
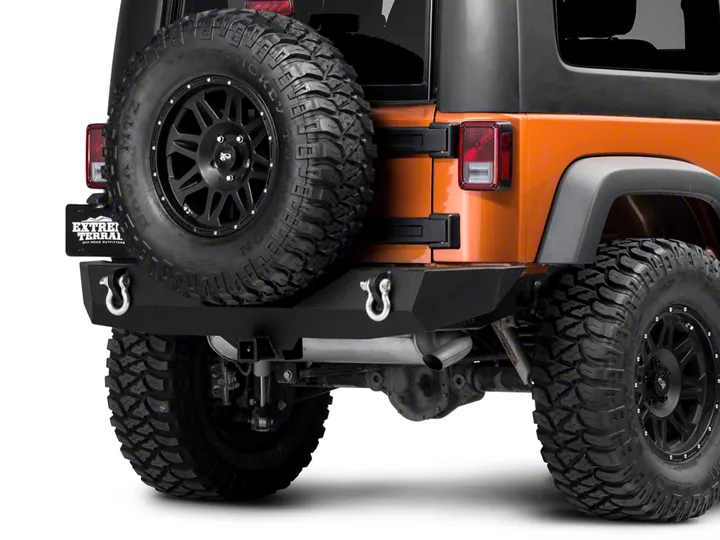
Shop Parts in this Guide
Installation Instructions:
Pre-Installation Notes: My bumper had a seam inside the receiver that had to be filed down in order to fit my ball hitch.
1. Remove the spare tire from the rear door of the Jeep. This makes the removal of the stock bumper much easier.
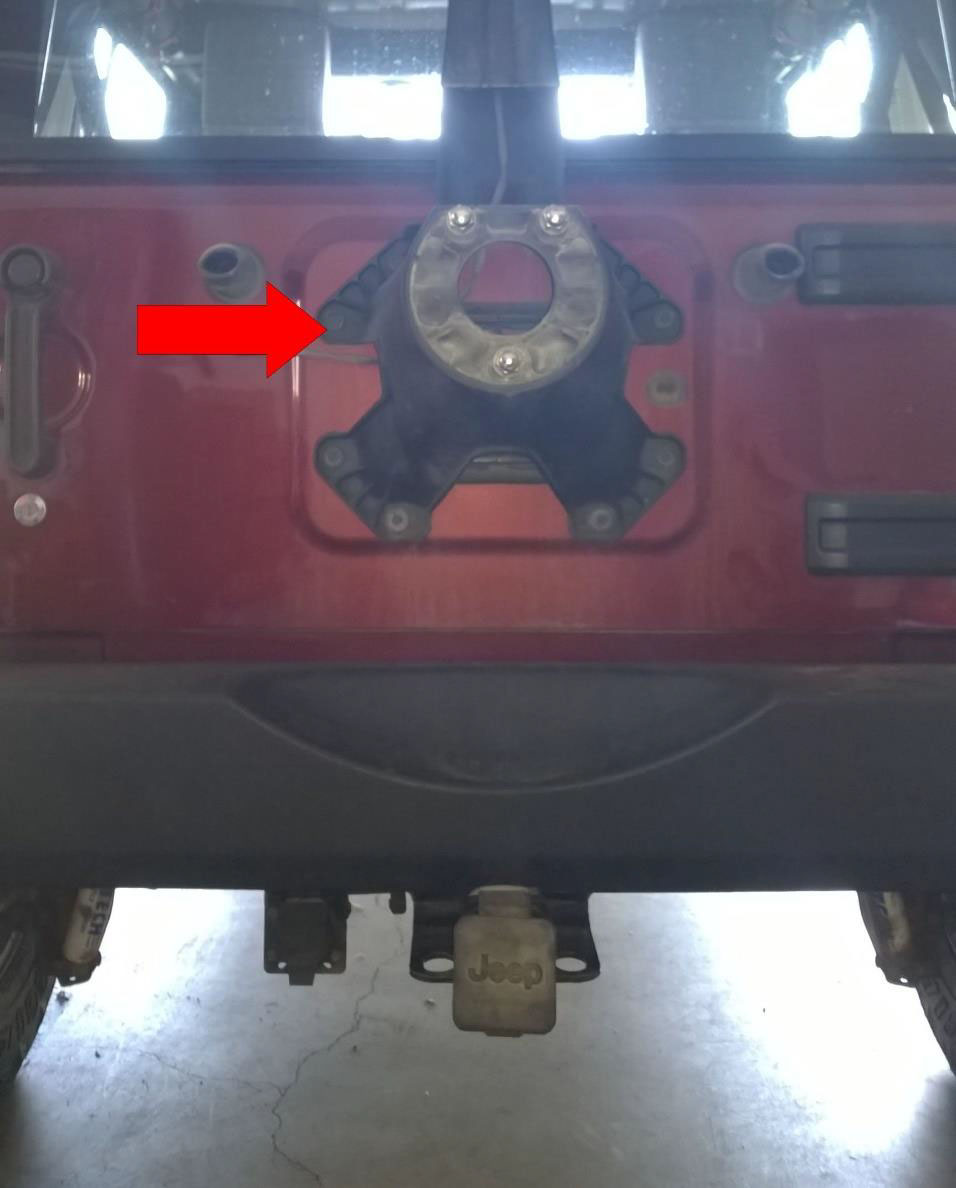
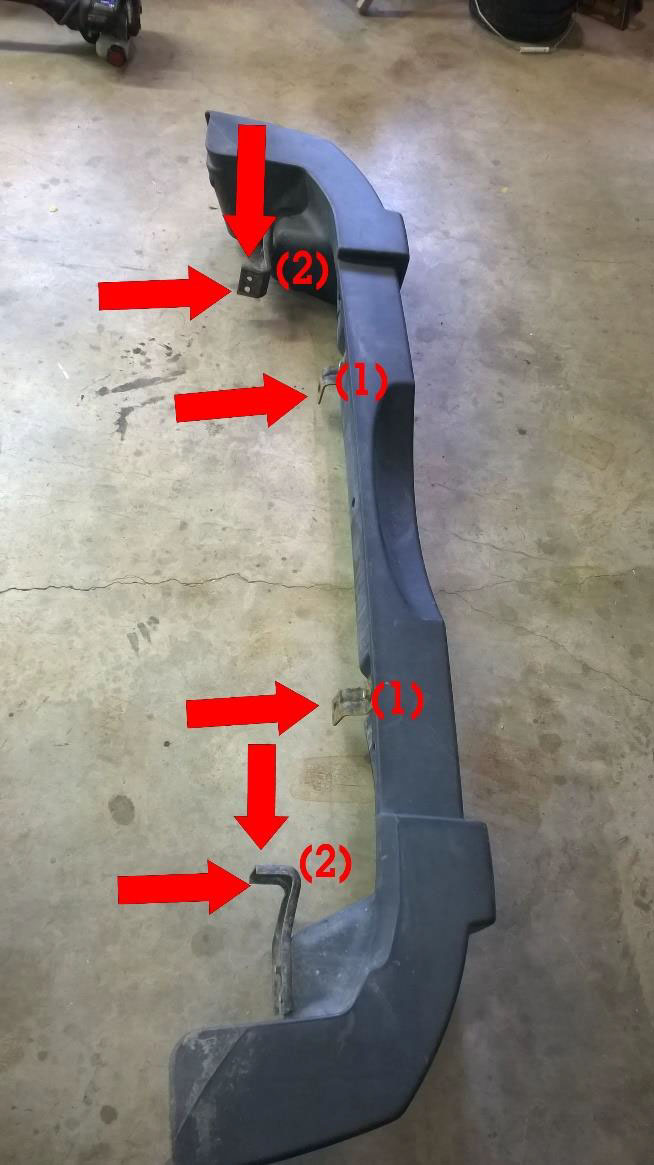
2. Remove the six mounting bolts from the stock bumper using a 16mm socket. Pull up and out to remove the stock bumper.
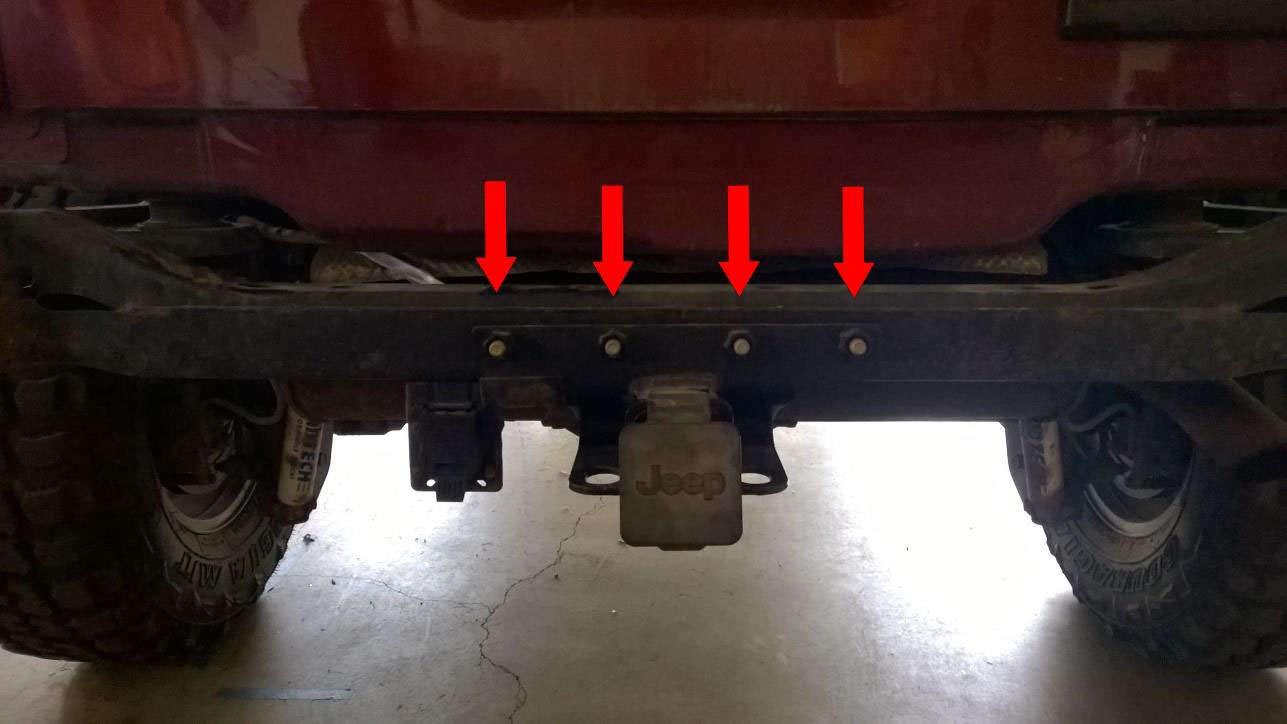
3. To remove the factory hitch receiver (if equipped) remove the (4) 18mm mounting bolts.
4. You are ready to install the Barricade Trail Force HD Rear Bumper using the following parts:
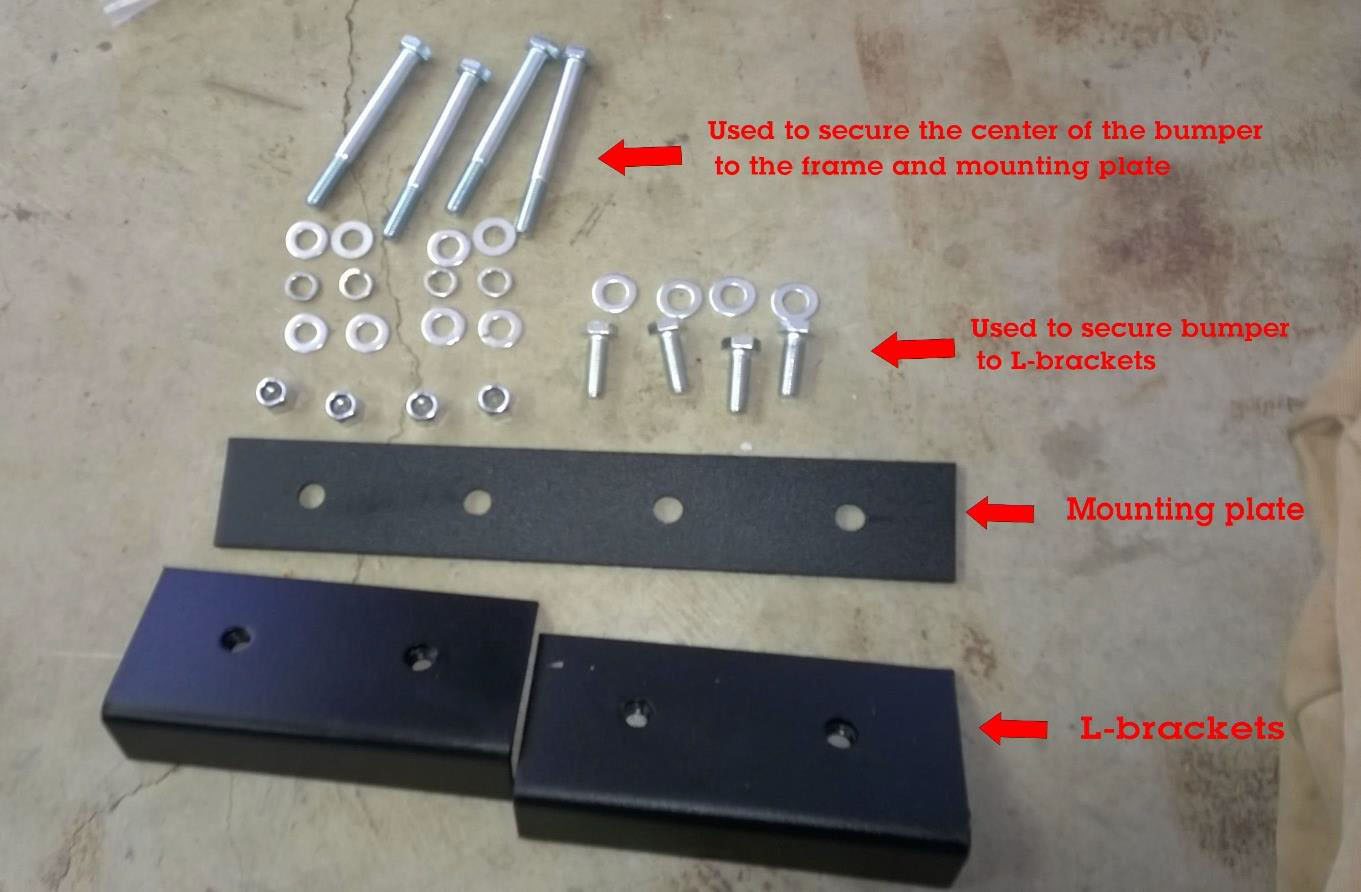
5. Slide the L-brackets into the frame and align the mounting holes.
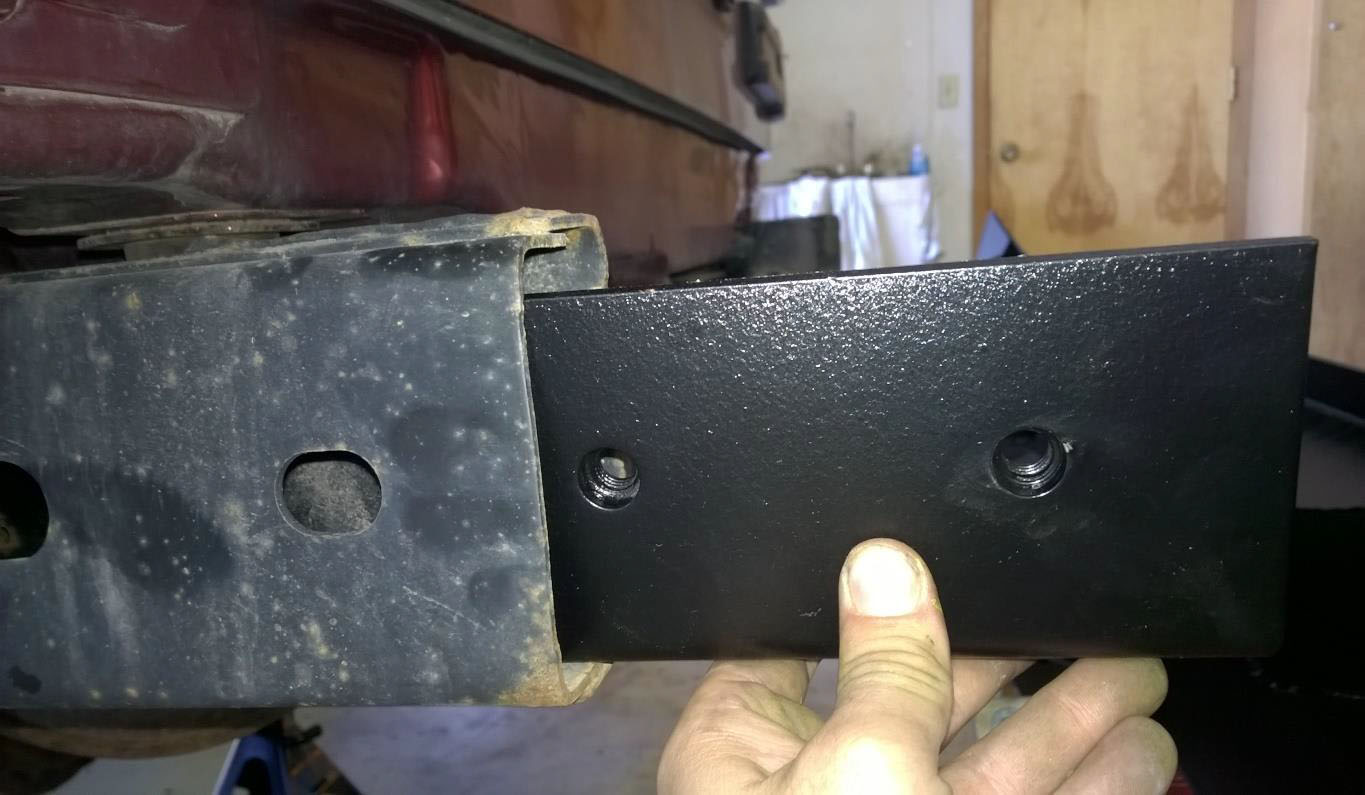
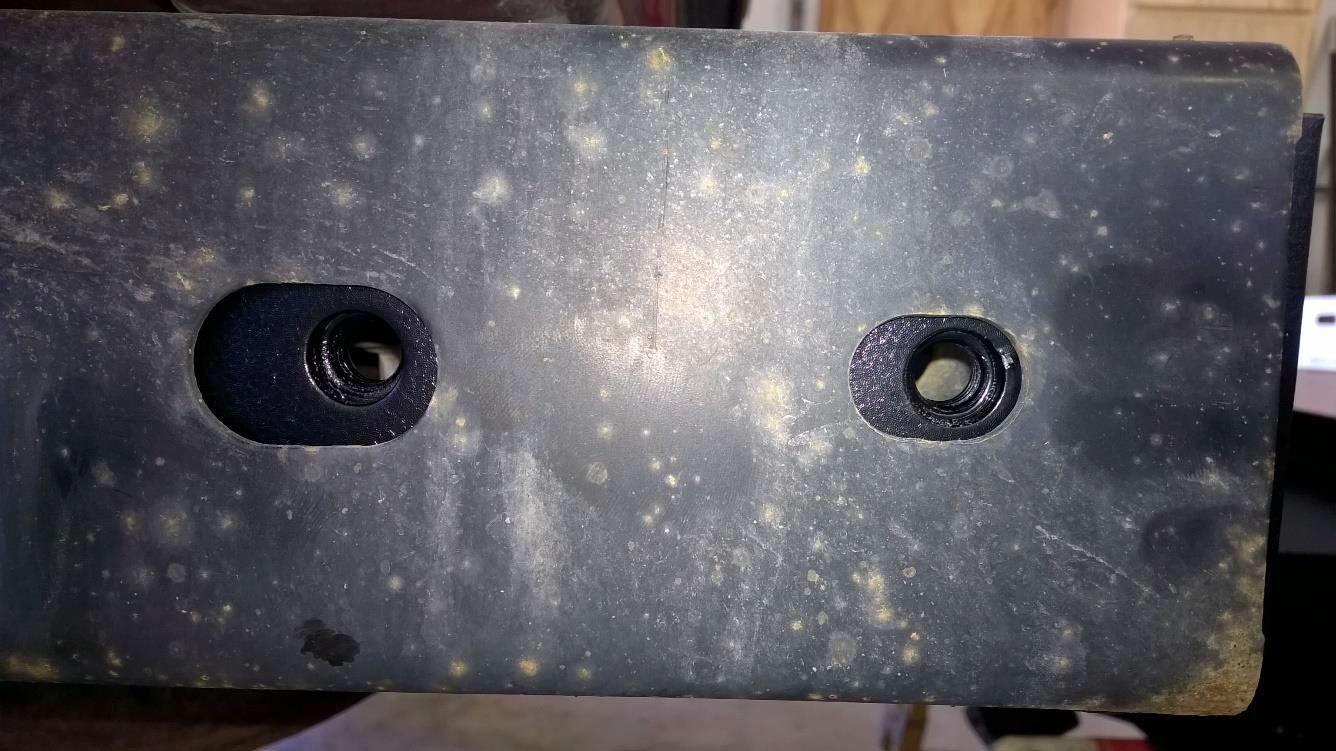
6. Slide the bumper into place, align the holes, and secure it to the frame using the (4) short 18mm bolts and corresponding washers provided. Do not fully tighten until the entire assembly is complete. (Note: the two holes previously used for the stock bumper will be left open for mounting a Barricade roof rack or other option.)
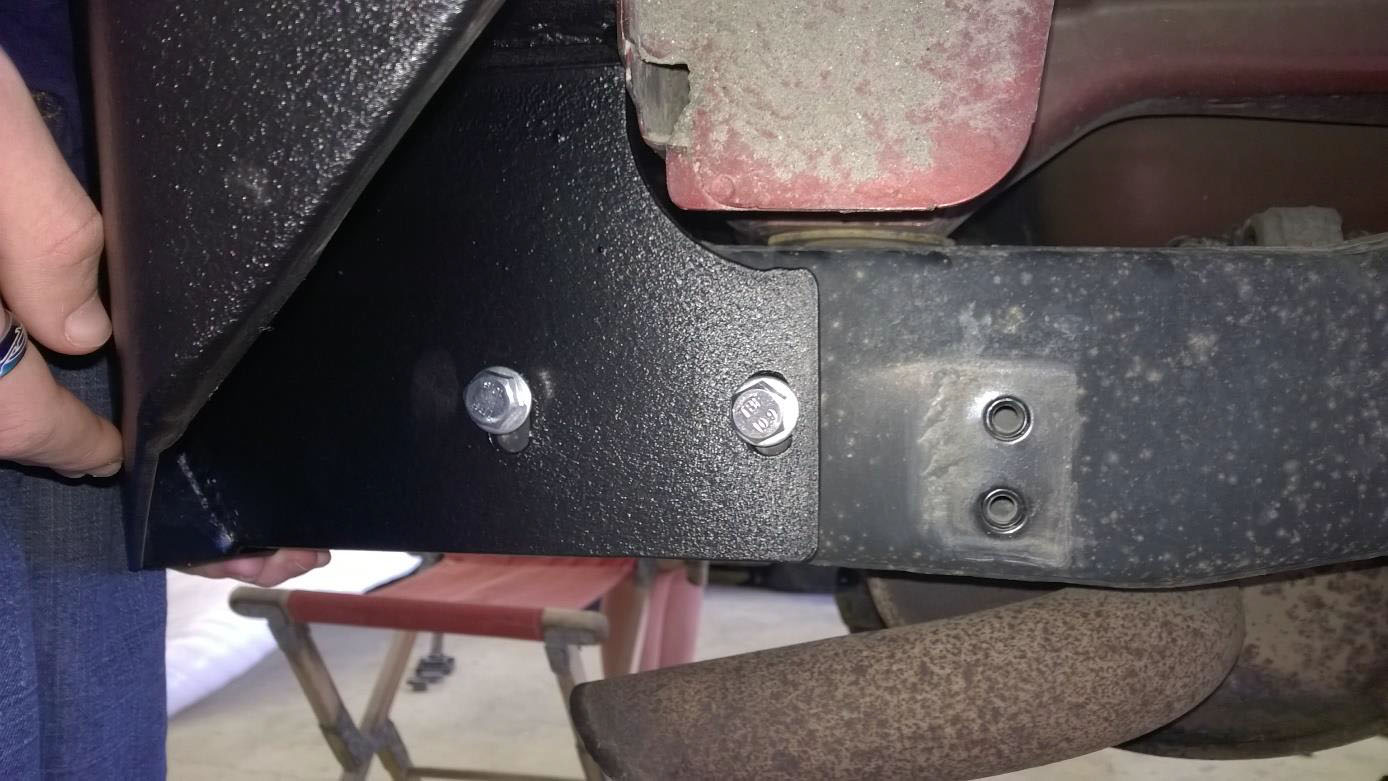
7. Next, install the metal mounting plate on the back side of the frame using the (4) long 18mm bolts and the corresponding washers.
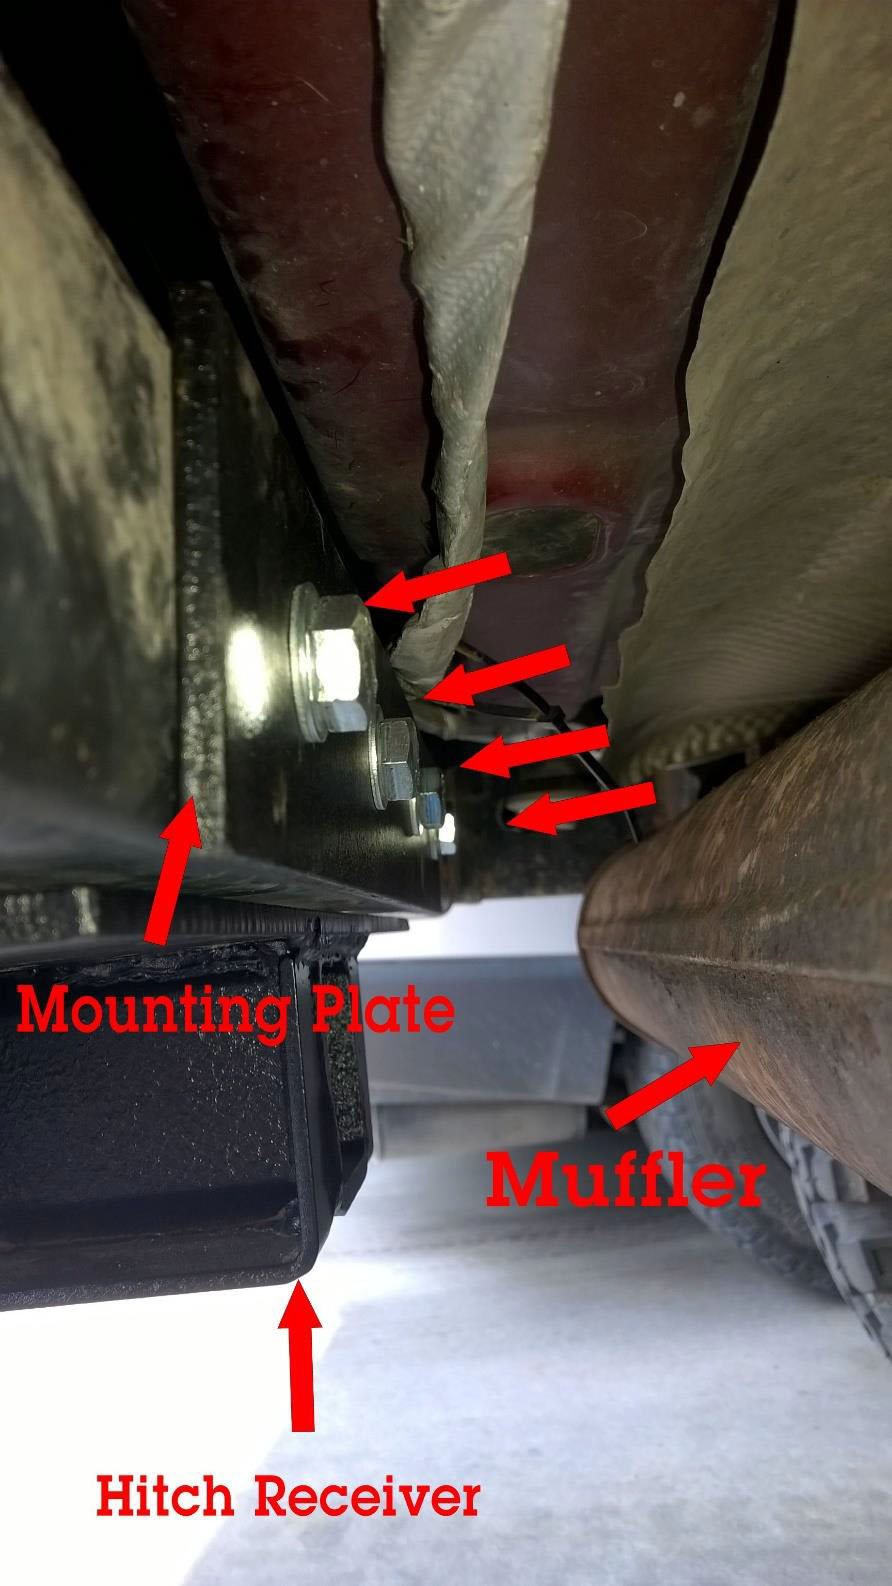
8. Secure the bumper to the frame using the corresponding hardware
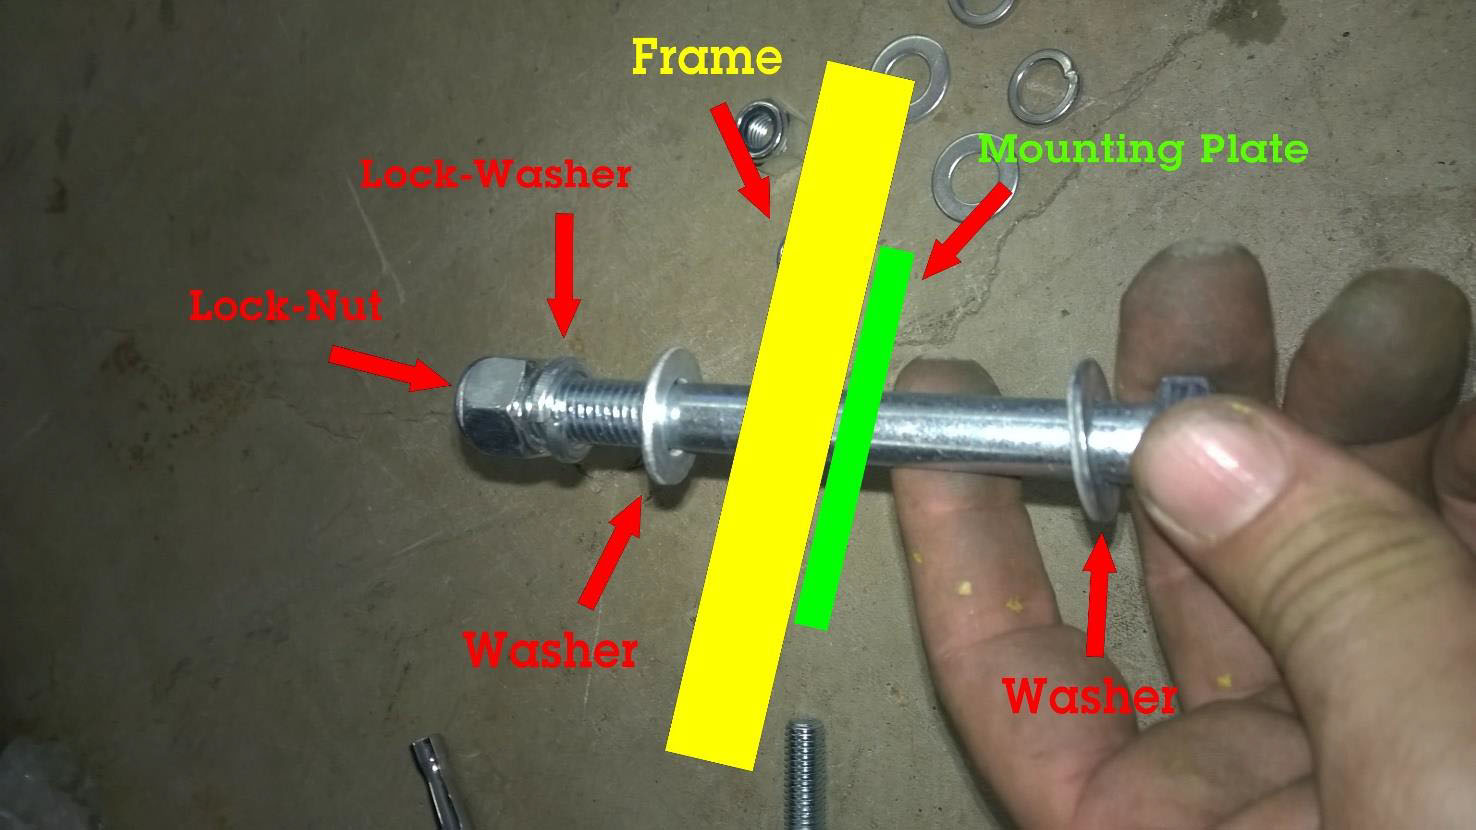
9. Tighten all of the bolts and the installation of your Barricade Trail Force HD Rear Bumper is complete.
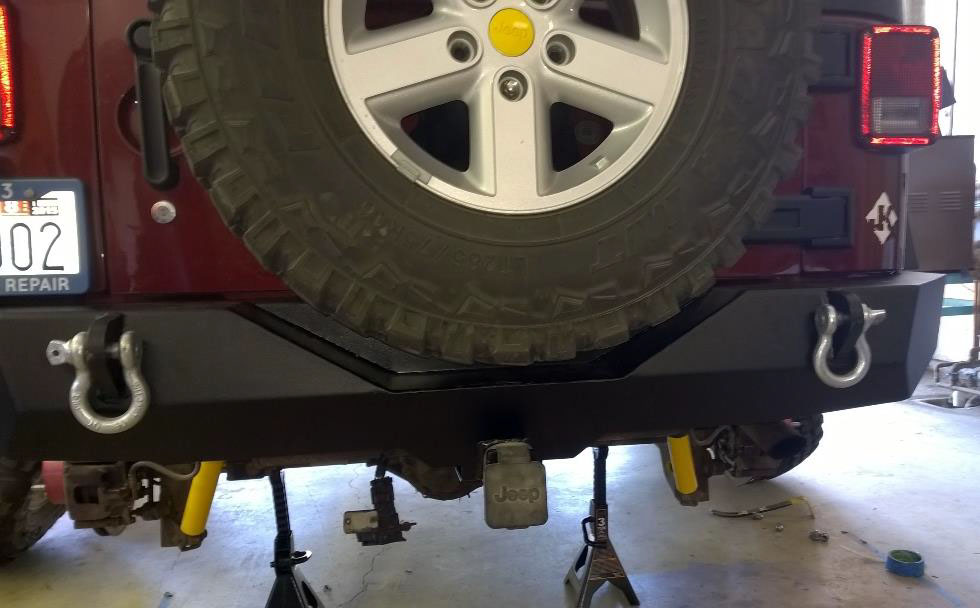
Installation Instructions Written by ExtremeTerrain Customer Dennis Wilkening 07/06/2015

