

Top Sellers for Gladiator
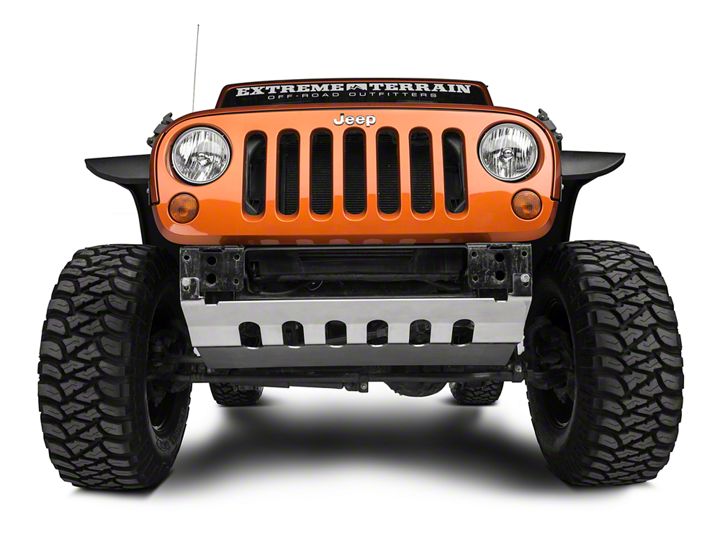
How to Install Barricade Front Skid Plate - Stainless Steel (10-17 Wrangler JK) on your Jeep Wrangler
Installation Time
1 hours
Tools Required
- Socket Wrench
- Socket Extension
- 16mm Socket
- 17mm Socket
- 18mm Socket
- Box Cutter/Knife
Shop Parts in this Guide
Installation Instructions:
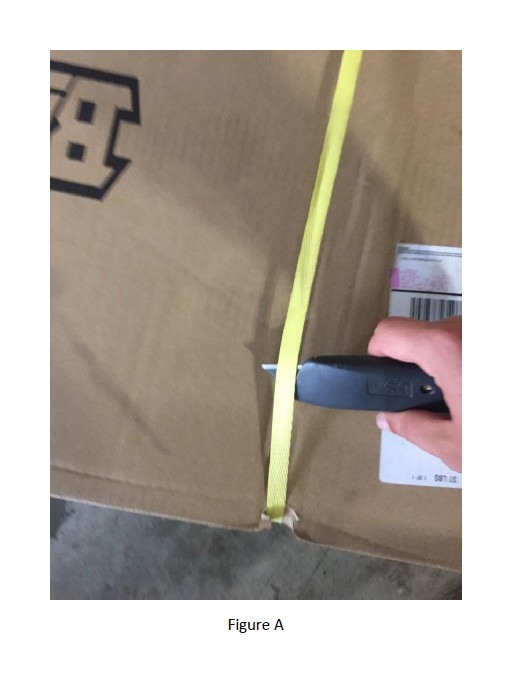
1. Carefully open the package using a box cutter or knife (Figure A).
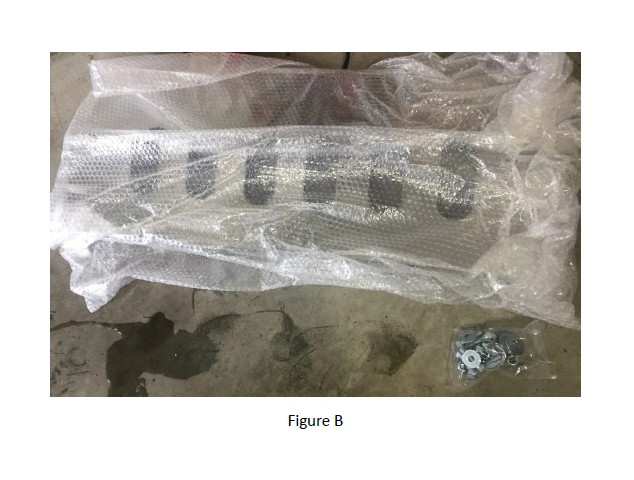
2. Ensure that all hardware and the skid plate are included (Figure B).
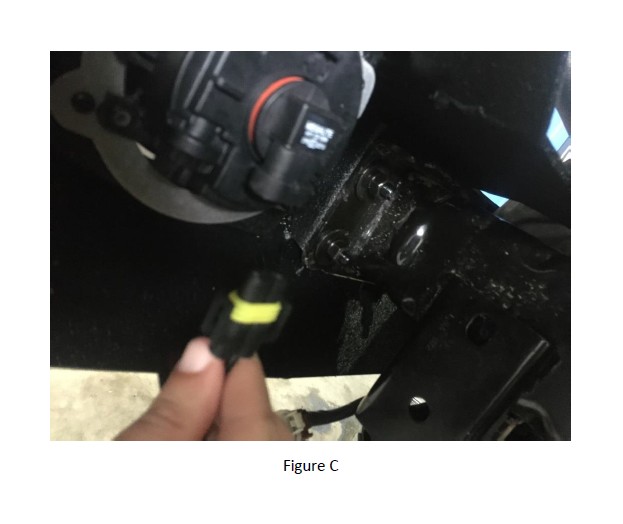
3. If any front bumper-mounted accessories such as lights or a winch are installed, be sure to disconnect them from the battery. Also disconnect fog light harnesses (Figure C).
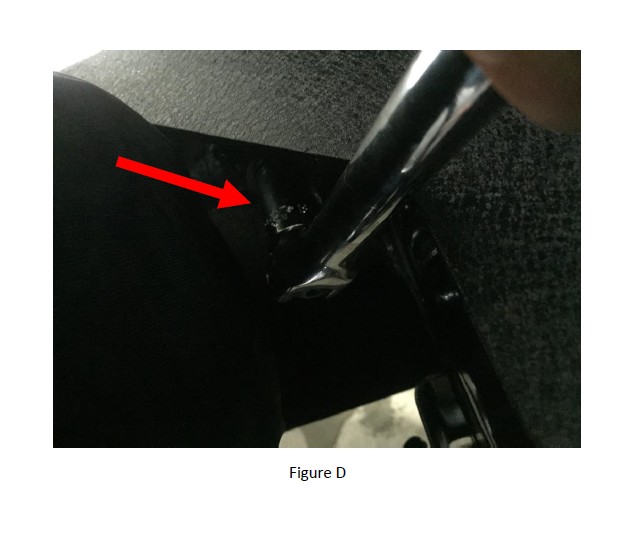
4. Remove the four nuts on each backside mount of the front bumper which attaches it to the frame using an 18mm socket wrench (Figure D).
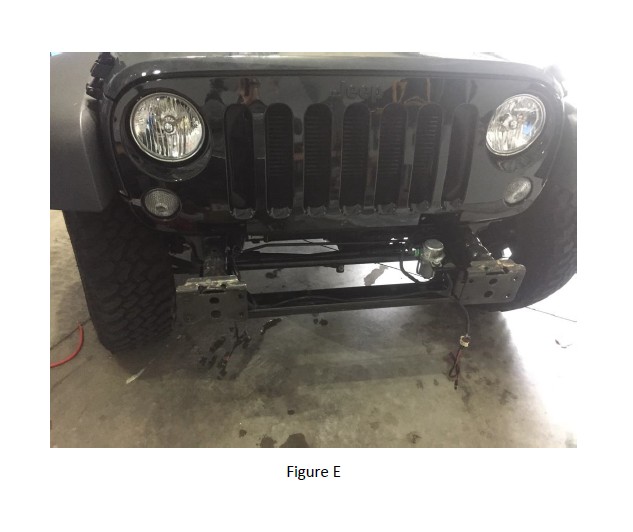
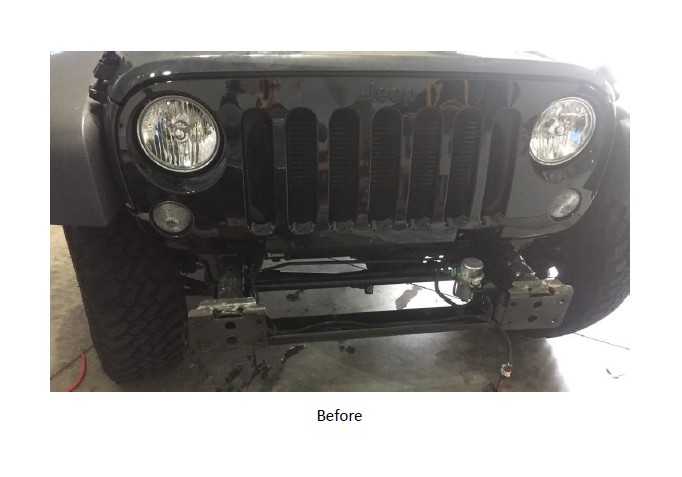
5. Remove the front bumper (Figure E) and place it to the side.
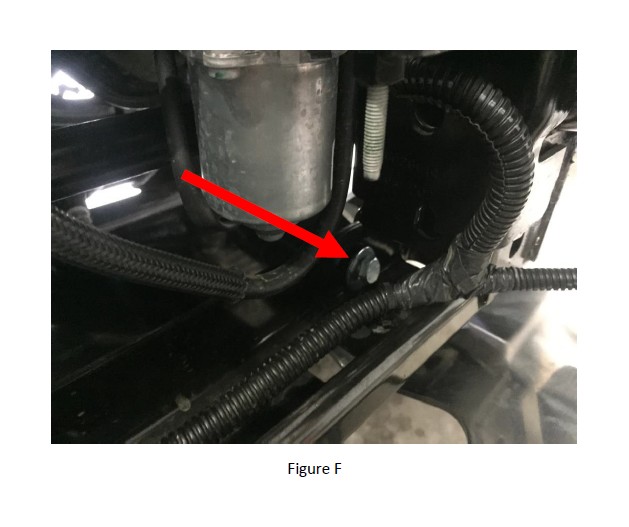
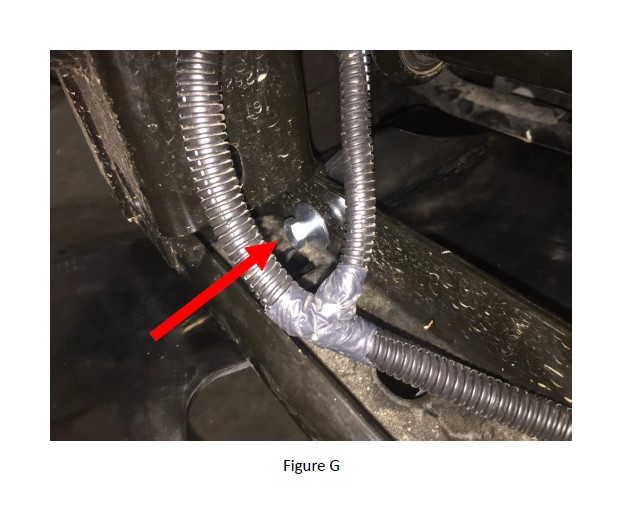
6. The hardware includes two bolts that are smaller than the other four. Thread one bolt (with washers) through each hole of the rear skid plate mount toward the front end (Figures F & G).
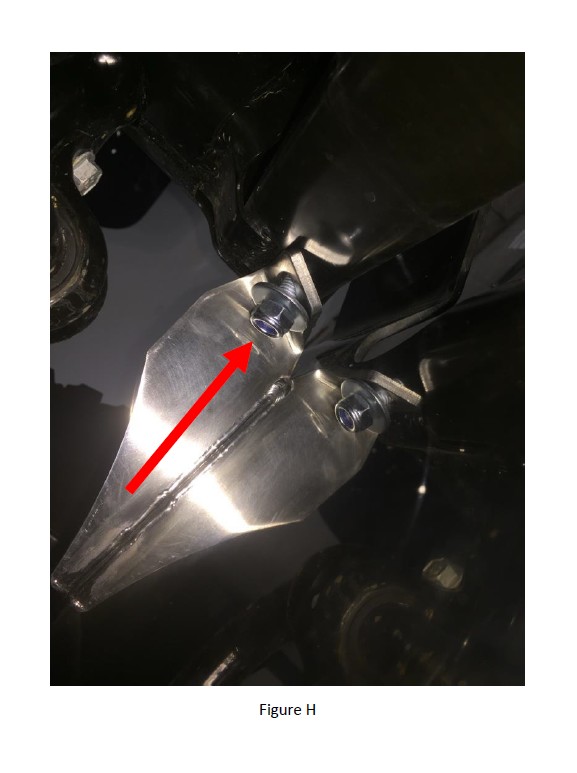
7. Secure both bolts with supplied locking nuts (Figure H) using a 16mm and 17mm socket (Note: Only one bolt/locking nut is run through in the image of Figure H, the stainless steel surface reflects giving the appearance of two).
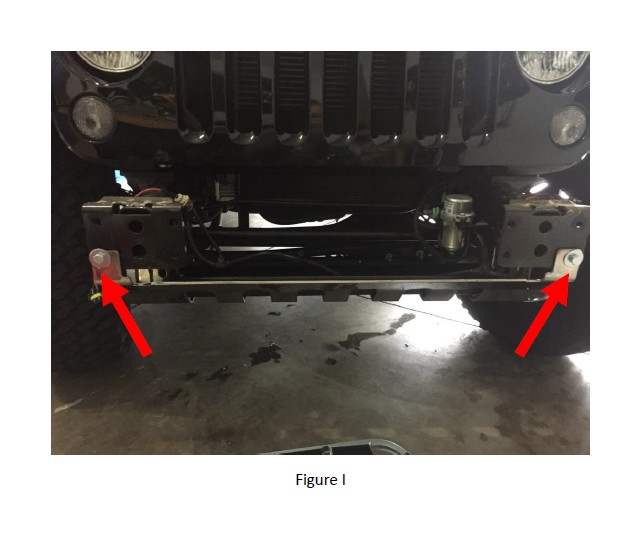
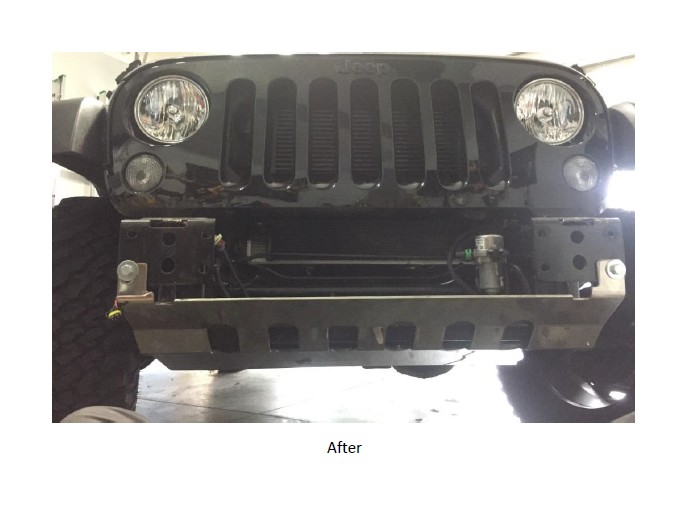
8. If not using an aftermarket front bumper, use the supplied larger bolts and locking nuts to secure the skid plate to the front side of the frame (Figure I), otherwise secure the front of the skid plate using the bolts from your aftermarket front bumper while reinstalling the aftermarket front bumper to the frame. Note: Remember to reconnect fog light harnesses when reinstalling front bumper.
Installation Instructions Written by ExtremeTerrain Customer J. Sandlin 06/22/2017


