
Top Sellers for Gladiator
How To Install a MORryde Heavy Duty TailGate Hinge Set on your 2007-2017 Jeep Wrangler JK
Installation Time
20 minutes
Tools Required
- T-50 Torx bit
- 13mm socket
- deep well socket or extension
- 5mm Allen wrench
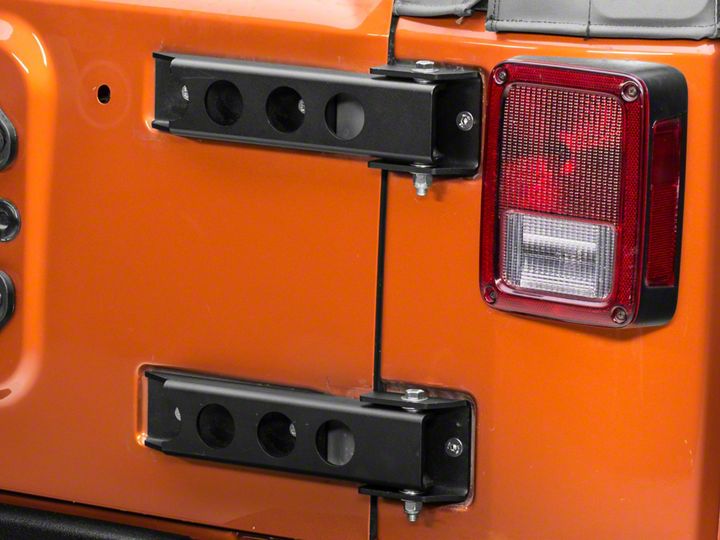
Shop Parts in this Guide
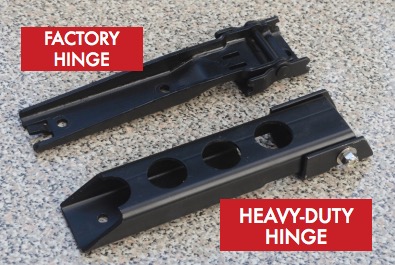
TOOLS LIST
For stock hinge removal: 13mm socket and T-50 Torx bit
For H-D Hinge Installation: 13mm socket (deep well socket or extension needed for HD Hinge Installation) and 5mm Allen wrench
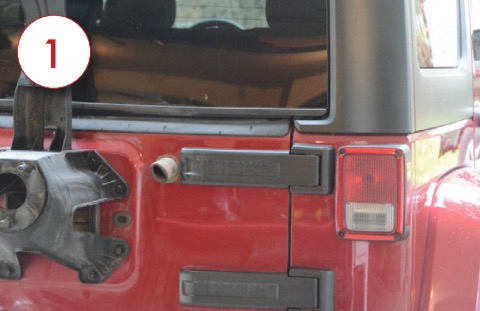
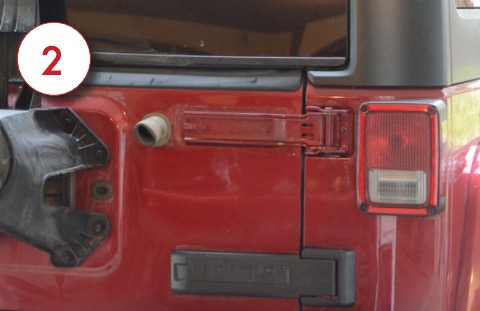
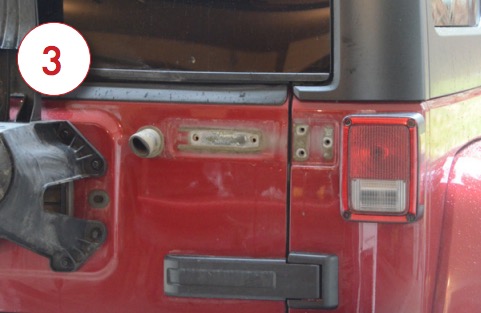
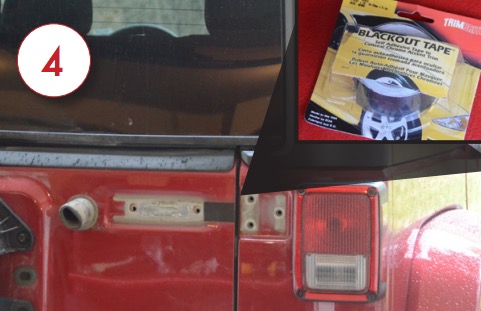
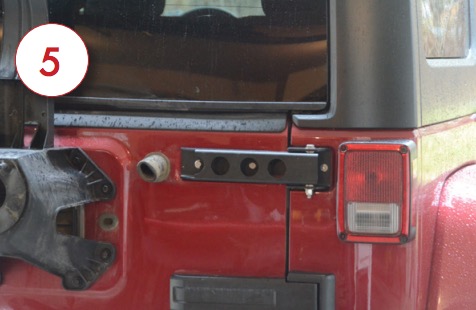
1. Remove spare tire.
2. Remove plastic covers from each factory hinge.
3. Remove hardware from existing top hinge and remove hinge, this will require a t45 torx bit.
4. (Optional) See note below for recommended touch-up scenarios. In image 3, you will see some areas that have no paint or a thin coat of paint. We recommend using automotive blackout tape in these areas that may potentially show through the heavy-duty hinges.
5. Replace with new hinge and hardware provided – use small amount of anti-seize on bolts when installing them to allow for easy installation.
6. Use serrated lock washers with bolts for attaching hinge to tailgate.
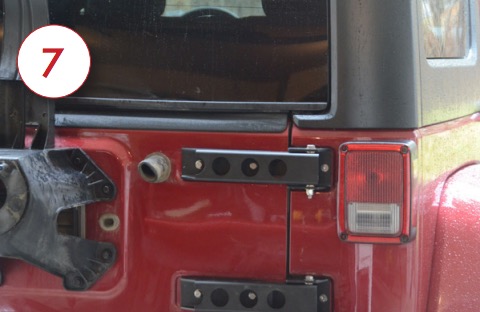
7. Repeat process with bottom hinge.
8. After installation, adjust the hinges to allow the tailgate to latch properly and rest on the factory support below the latch, then tighten all bolts.
NOTE: The hinge includes a grease zerk, we recommend greasing the hinges on initial installation and thereafter greasing the hinges whenever the chassis or other body mounts are greased.
The factory paints Jeeps after they are assembled, and this can result in a thinner application of paint in some areas that are hard for the paint robots to reach. Also, because the factory hinges are installed on the primered body parts before painting, it isn’t uncommon for water to seep between the factory hinge and the tailgate or body tub, which can lead to corrosion that’s evident when the factory hinges are removed in preparation for installing the heavy-duty hinges. If corrosion is present after you remove your factory hinges, we recommend touching up the affected area and any areas of thinner paint coverage with appropriate touch-up paint before installing the heavy-duty hinges.
