FREE 1 to 3-Day Delivery on Orders $119+ Details

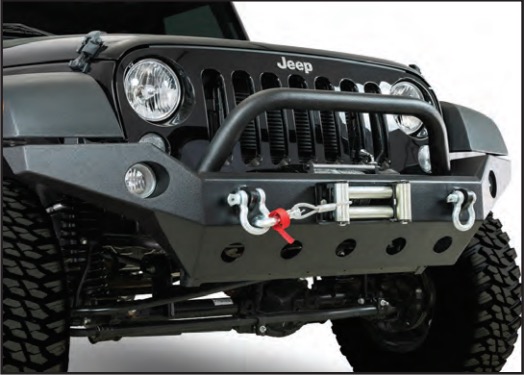
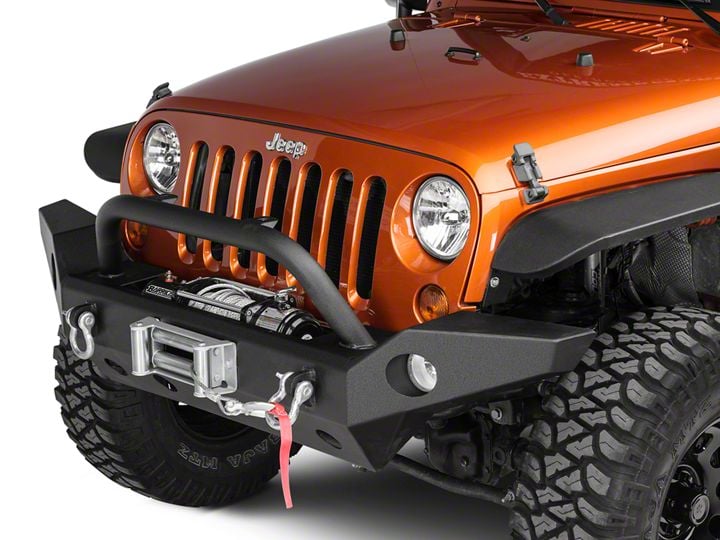
How to Install a Barricade Trail Force HD Full Width Bumper on your 07-18 Jeep Wrangler JK; 2018 Jeep Wrangler JL
Installation Time
2 hours
Tools Required
- 19mm Wrench & Socket
- Flat Screwdriver or Panel clip pliers
- Phillips Screwdriver
Shop Parts in this Guide
Please read and understand all instructions before starting the installation. The manufacturer is in no way responsible for any personal injury or vehicle damage that may occur during the installation or use of this product. CAUTION: This product is designed primarily to enhance the appearance of this vehicle. Do not rely on it in any way to protect against injury or death in the event of an accident.
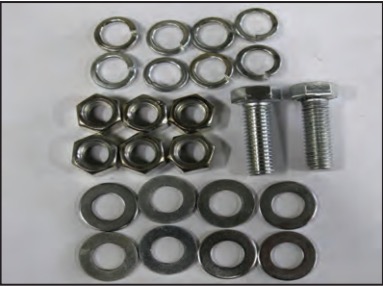
INCLUDED COMPONENTS
(1) Bumper
(8) 12mm spring washers
(8) 12mm Flat washers
(2) M12 Hex head screws
(6) M12 Nuts
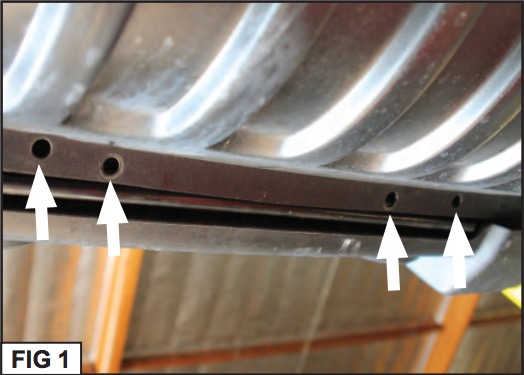
STEP 1
Remove the plastic cover below the bottom of the Jeep. Using panel clip pliers or a flat screwdriver, remove the 4 plastic fasteners along the bottom front of the plastic cover shown in Fig 1.
STEP 2
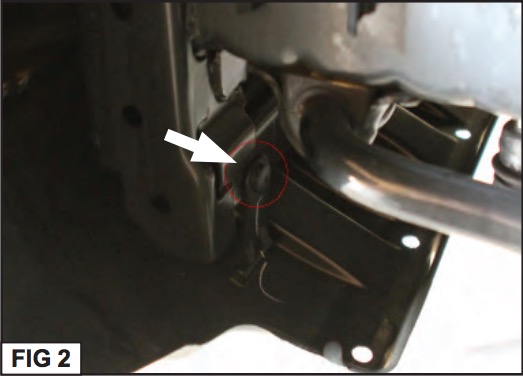
With panel clip pliers or a flat screwdriver again, Remove 2 plastic fasteners from behind the Plastic Shield Cover shown in Fig 2.
STEP 3
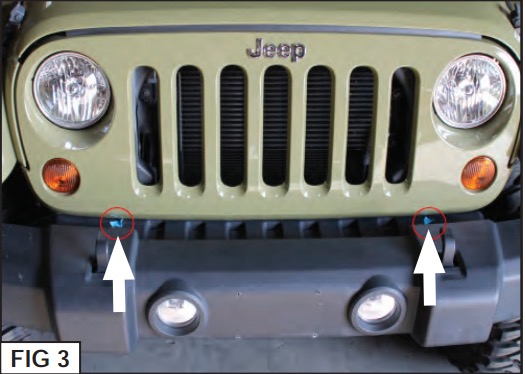
With a Phillips Screwdriver, Remove the 2 plastic screw clips along the top of the plastic cover shown in Fig 3.
STEP 4
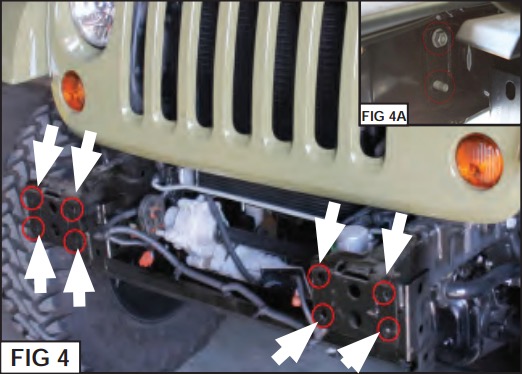
There will be 8 19mm nuts that connect the bumper to the frame, using the 19mm socket & ratchet, remove these 8 nuts (2 on each side of the frame.) shown in Fig 4 & 4A
STEP 5
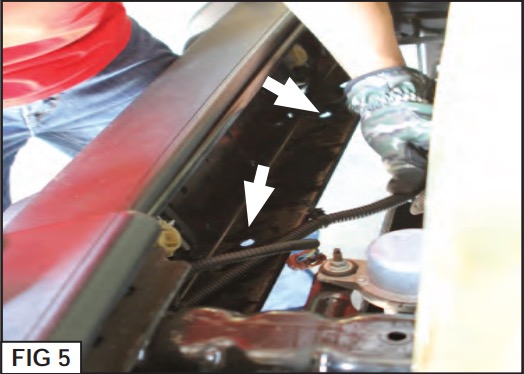
Once you remove the factory OE bumper, unclip the fog light connectors that connect the fog lights to the bumper and unclip the wire harnesses using a flat screwdriver along the bottom edge of the bumper to completely remove the factory bumper shown in Fig 5.
STEP 6
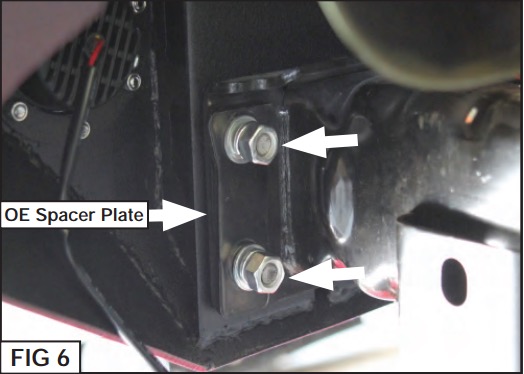
Once you remove the factory OE bumper, install the new bumper through the OE frame, you will notice that on the bumper there are 3 threaded studs and 1 threaded insert on each side, once you install the bumper, install the factory spacer plates, 12mm split washers, 12mm flat washers and M12 Nuts on the threaded studs and place the M12 Bolts through the Threaded insert that is on the bumper shown in Fig 6.
STEP 7
Once you have everything in place you are finished with installation. Congratulations on your new product.