

Top Sellers for Frontier
How to Install Barricade Front Skid Plate - Textured Black on your Wrangler
Installation Time
1 hours
Tools Required
- Flat head screwdriver
- Phillips head screwdriver
- 18 mm deep well socket
- 11/16 inch socket or Flex Head Ratcheting Wrench
- 5/8 inch socket or Flex Head Ratcheting Wrench
- Socket swivel attachment
- Socket extension bar
- Socket wrench
- Optional: Small Pry Bar or Needle Nose Pliers to detach wire harness clips
- Optional: Breaker bar to loosen bumper mount bolts
- Optional: Two jack stands to help position and hold skid plate under front of Jeep during installation
The Barricade Front Skid Plate is a bolt-on install with many Barricade bumpers. However, if the bumper has a recessed winch mounting plate, the skid plate may require modification (e.g. cutting, deburring, and painting) to make it fit. In this install, we removed the factory bumper and installed a Barricade bumper, after modifying the skid plate.
Installation Instructions:
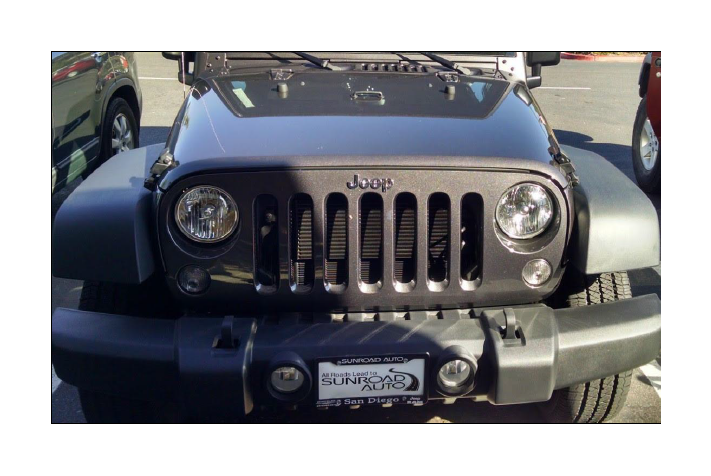
1. Before:
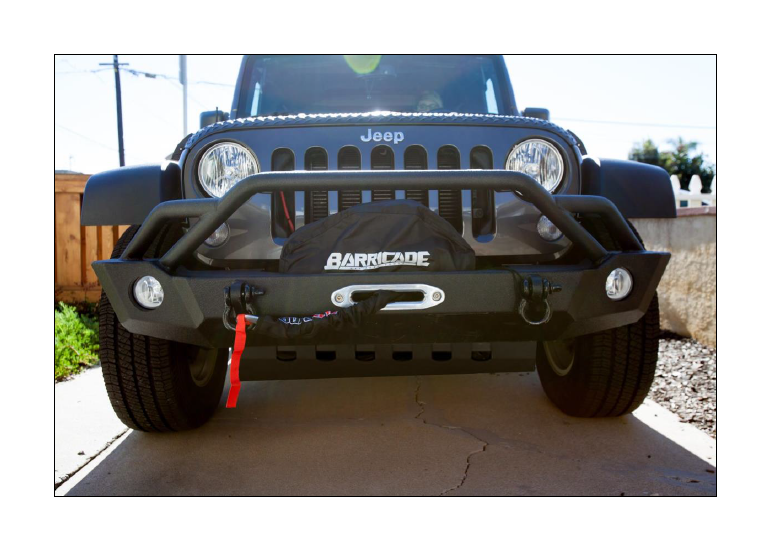
2. After:
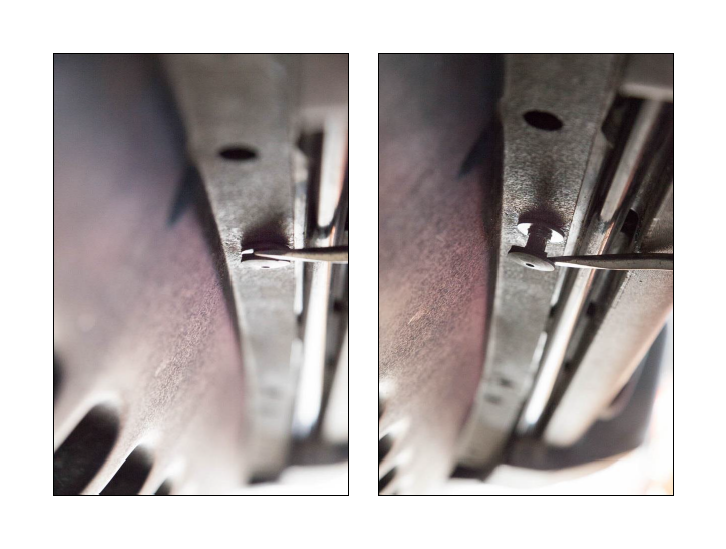
3. Remove lower air dam by sliding a flat head screw driver in between the two layers of the plastic plugs and prying them out. The lower air dam will swing downward. Remove last two plastic plugs to free air dam.
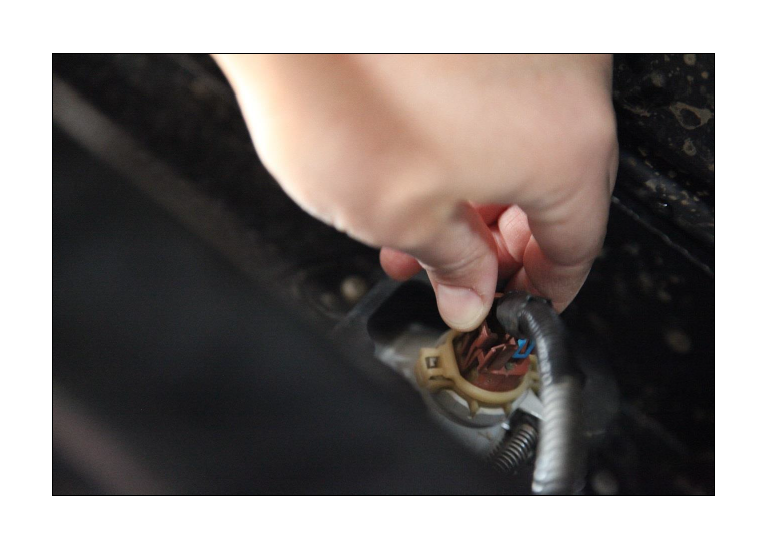
4. Disconnect the factory fog light plugs by depressing the plastic catch and pulling the plug away from the light.
5. Using a combination of some or all of the following: 18 mm deep well socket, socket extension bar, socket swivel attachment, breaker bar, and socket wrench; remove 3 of the 4 front factory bumper mount nuts from each side of the Jeep. Loosen the last nut on each side, but leave in place for safety. Detaching the fog light wiring harness clips may allow for better access to the bumper mount nuts.
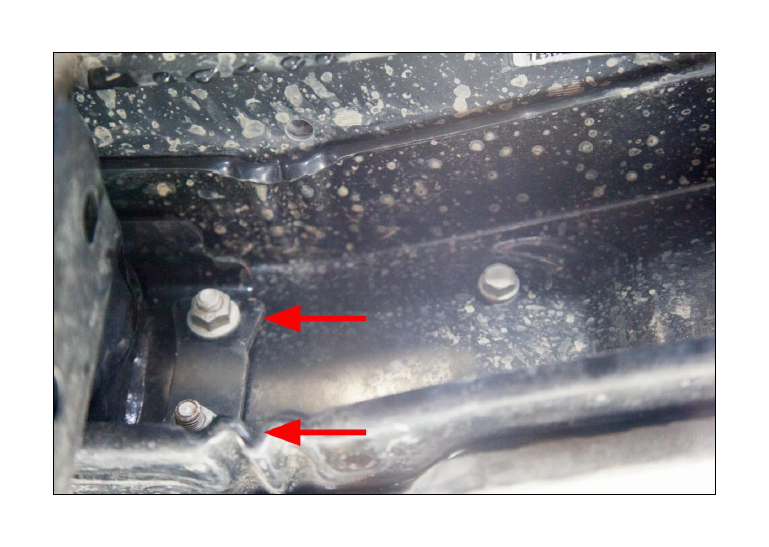
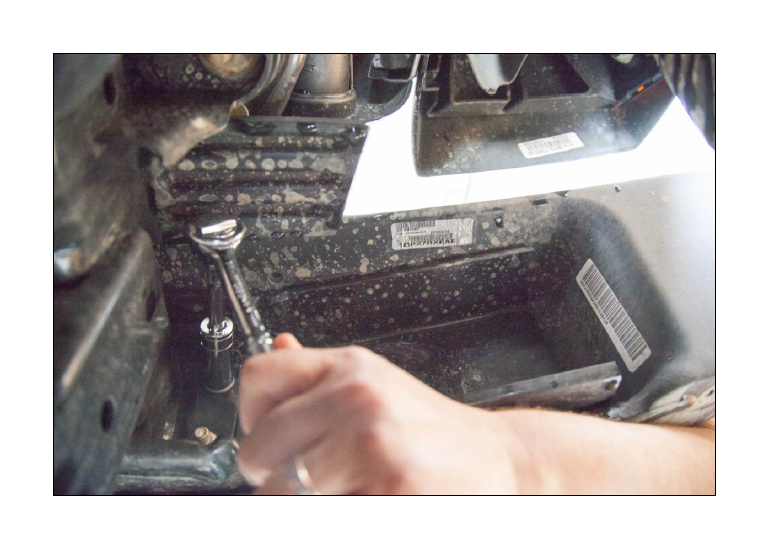
6. Using a flat head screwdriver, pry bar, or needle nose pliers, gently detach wiring harness clips from factory bumper.
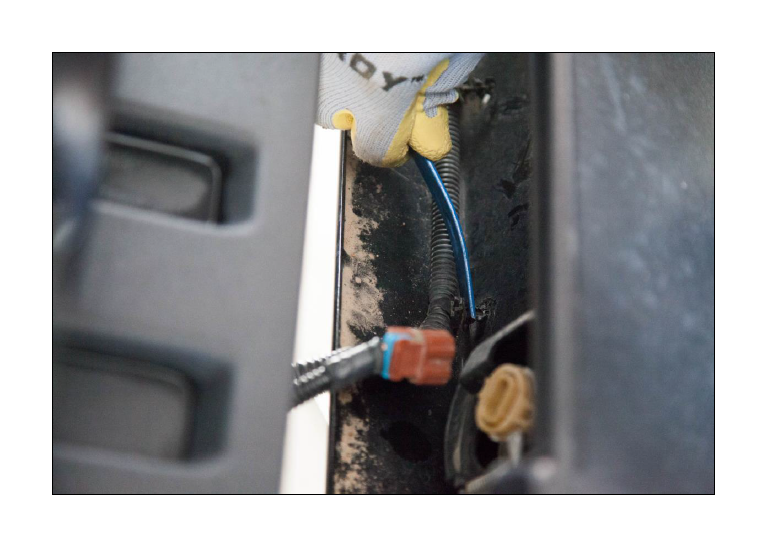
7. Remove last bumper mount nut from both sides of factory bumper. Remove 4 spacer plates and set aside. Grasp tow hooks and gently pull bumper away from mounts, then remove bumper from Jeep.
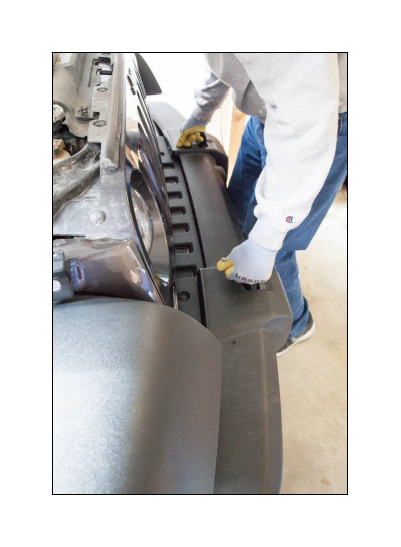
8. Lay Barricade front skid plate in place under front of Jeep, ensuring the bend in the skid plate is aligned directly under the crash bar. Lift the passenger side of the skid plate up into position so the rear mounting tab is directly behind the crash bar. Jack stands may come in handy to help support the skid plate during install.
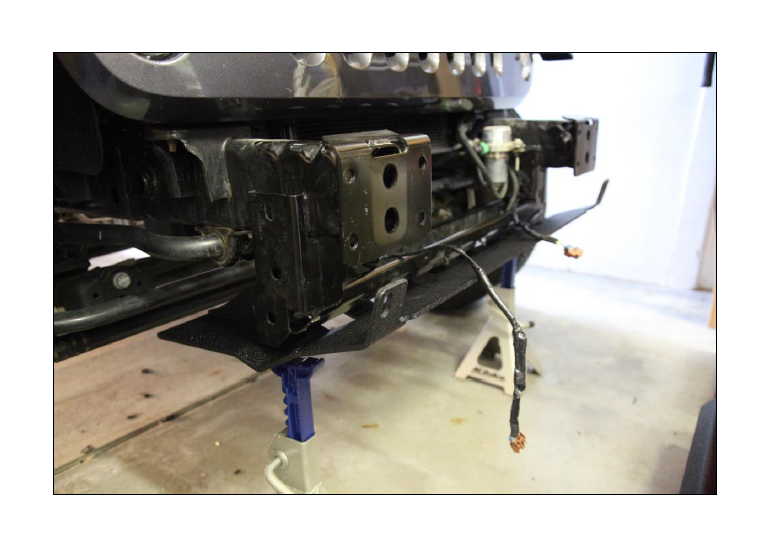
9. Install one flat washer onto one of the provided bolts and insert bolt assembly through skid plate and crash bar mounting holes.

10. Install second flat washer onto bolt protruding into the interior of the crash bar. Install lock nut and make finger tight to keep skid plate in position.
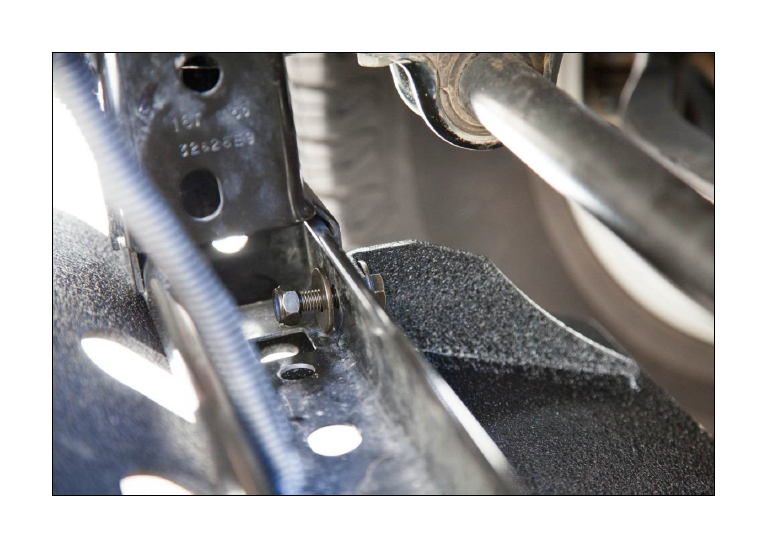
11. Repeat hardware installation steps for the driver’s side of the skid plate.
12. Ensure Barricade front tab mounting holes align with bumper mounting holes.
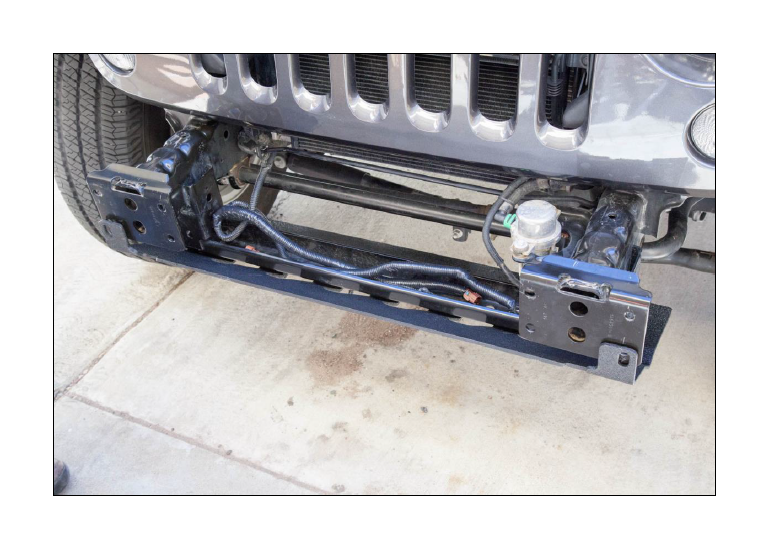
13. Optional: Collect the factory spacer plates and install them on the bumper bolts to create more room for your winch, winch cables, and winch cover when your Barricade bumper and winch are installed.
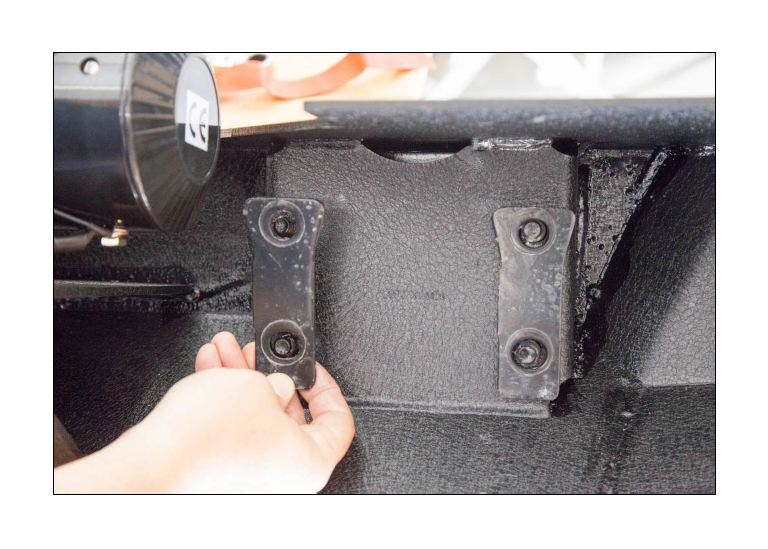
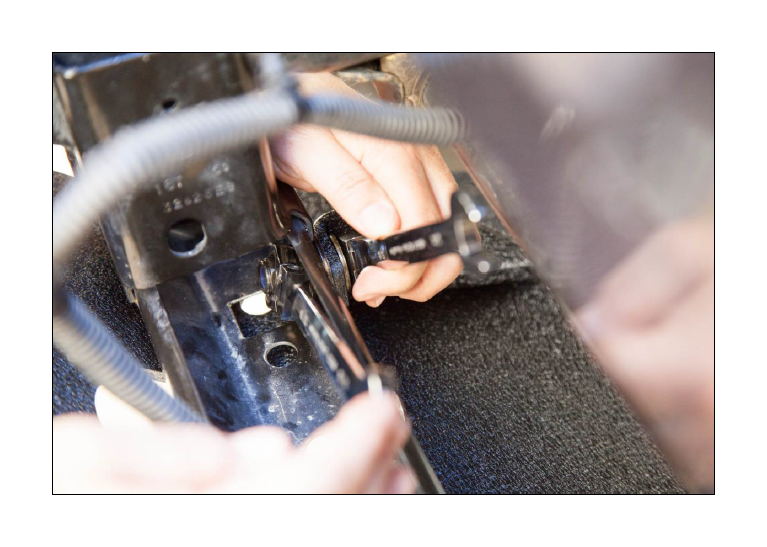
14. Using a 5/8 inch socket or flex head ratcheting wrench and an 11/16 inch socket or flex head ratcheting wrench, tighten the lock nuts on both sides of the skid plate.
15. If reinstalling a Barricade bumper with a winch, this may be a two-person job because of the weight. Lift bumper into place, sliding the bumper bolts into the factory bumper mount holes.
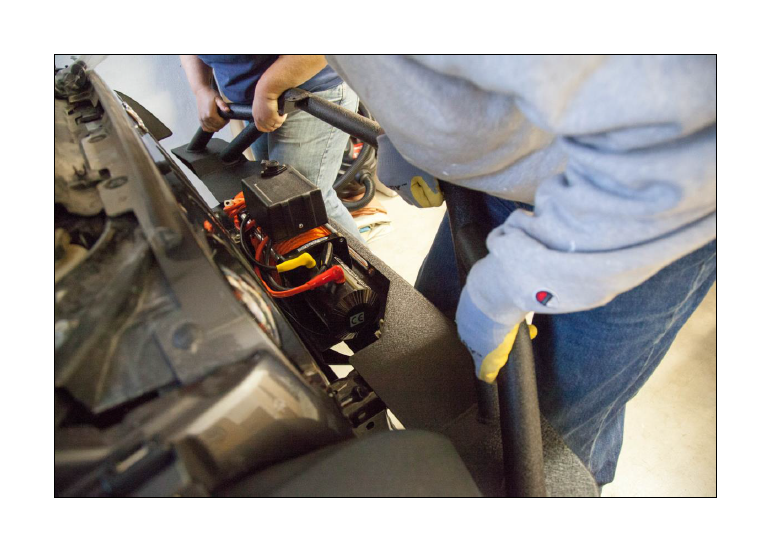
16. Install the provided flat washer, split washer, and nut onto each of the Barricade bumper bolts. Using a combination of some or all of the following: 18 mm deep well socket, socket extension bar, socket swivel attachment, breaker bar, and socket wrench; tighten all 8 bumper mounting nuts.
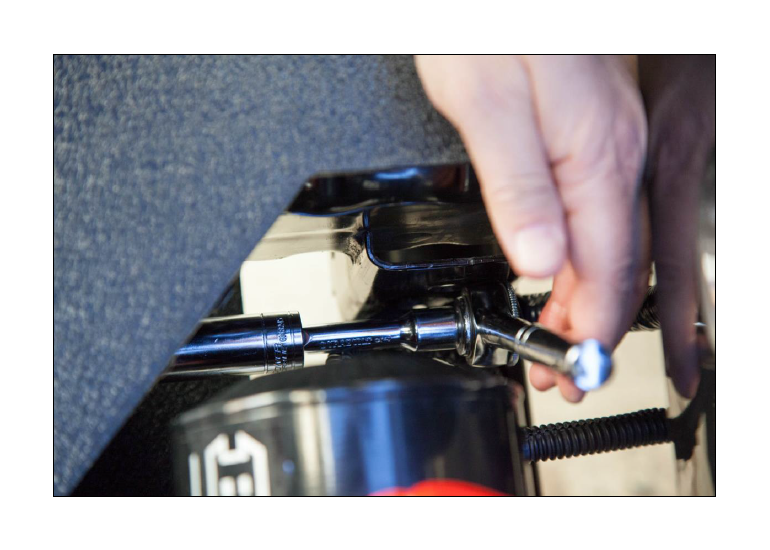
17. Depending on the clearance, you may need to remove the socket extension bar to access the interior bumper mount bolts.

18. Torque all bumper nuts to 66.5 ft lbs.
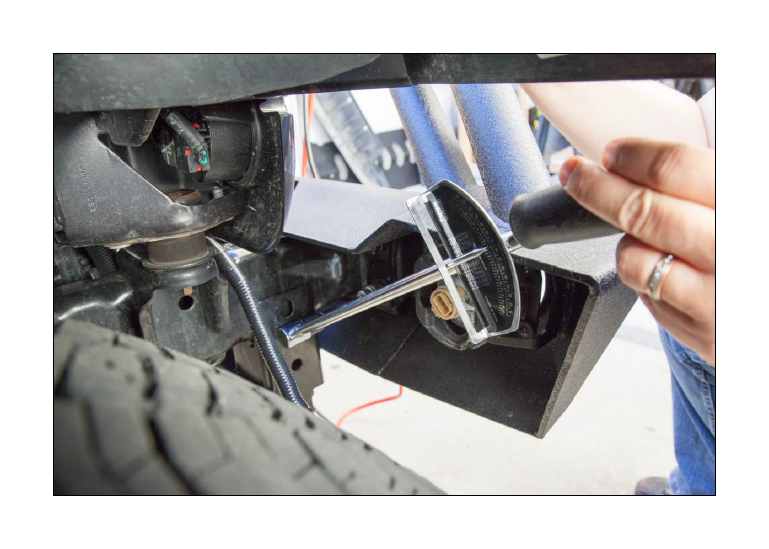
19. Reconnect the plastic fog light wiring clips, if you haven’t already, and test the fog lights. Now, go hit the trail with your new Barricade front skid plate and bumper!


