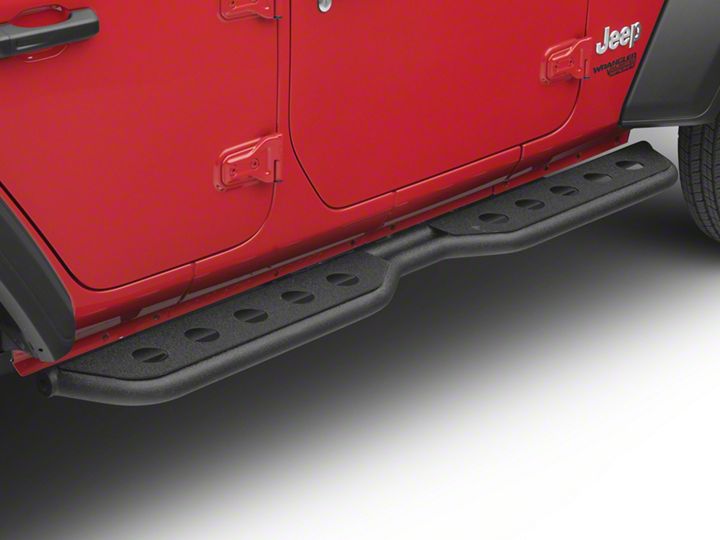

How to Install Barricade Extreme Heavy Duty Rocker Steps (18-19 Jeep Wrangler JL 4 Door) on your Jeep Wrangler
Installation Time
2 hours
Tools Required
- 1/2” Socket
- 10mm Socket
- 10mm Open Ended Box Wrench
- Adjustable Wrench
- Second Person (recommended)

Shop Parts in this Guide

Step 1: locate mounting holes on the underside of Jeep on each side of vehicle. There will be a total of 3 holes on each side that will mount the steps to the body. These holes will be pre threaded.

Step 2: Have friend hold up running board under Jeep while you use the provided 1⁄2” bolt, washer and lock washer to lightly secure to Jeep. There will be a total of 3 pre-threaded holes on each side that attach steps to the body. Only hand tighten enough to hold up steps. Leave loose enough to adjust later.


Step 3: After hanging the steps by only hand tightening, locate the pre-drilled “pinch-weld” mounting holes on the body of the jeep. There will be a total of 6 holes on each side. These holes will be used to mount the brackets to the frame and steps.

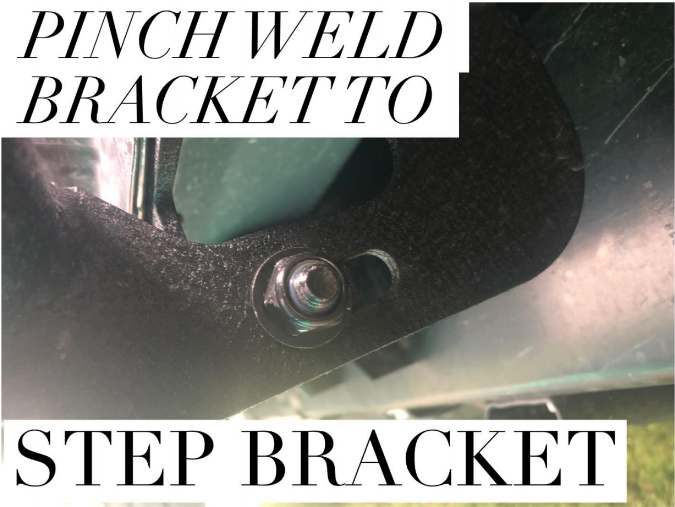
Step 4: locate the front bracket. The front bracket will have a small cutout to go around the “bulge” on the inside of the pinch weld seam. Hold up bracket under car and align pre-drilled holes to holes on bracket. Bracket will be mounted on the inside edge of the pinch weld seam. Insert the 10mm bolt into holes from the outside so the threaded portion is under the jeep. Only hand tighten.


Step 5: After mounting the front bracket to the pinch weld, locate the other 2 brackets. You will have 2 identical brackets... one that will mount in the middle and one on the back of the steps. Follow mounting steps from step 4 for both the middle and rear bracket.


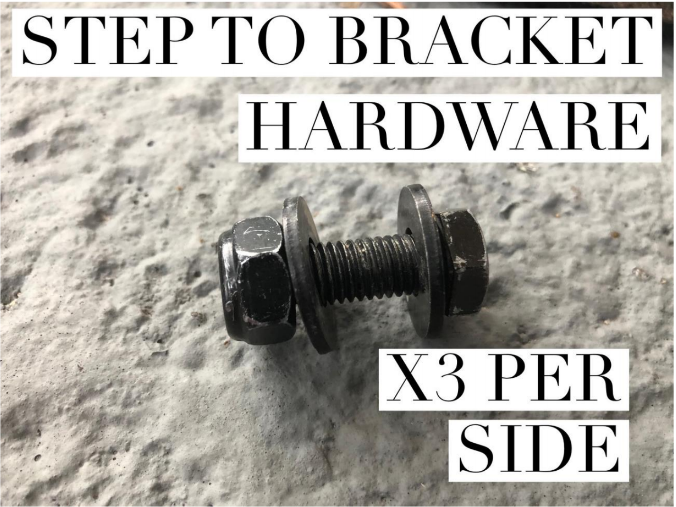
Step 6: After mounting all 3 pinch weld seam mounting brackets, the holes on the bracket and the holes on the steps should be aligned. Use the provided Hardware to attach the Pinch weld Mounting brackets to the brackets built into the steps. Make sure to use a washer on each side! Only hand tighten all nuts and bolts to allow for adjustment later.


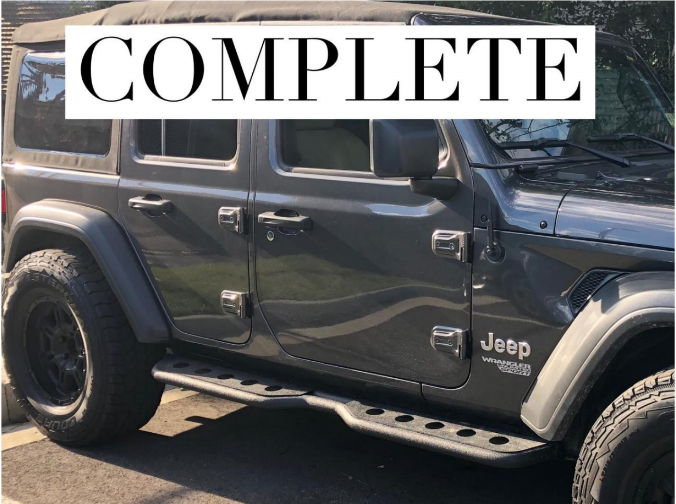
Step 7: You can adjust the steps to your liking. To keep the steps closer to the vehicle simply push the step toward to vehicle. To keep steps outward away from vehicle simply pull them out. After adjusting to your liking go around and tighten ALL bolts to securely attach to vehicle. 3 bolts for the pre threaded body mount holes, the 6 pinch weld mounting bracket nuts and bolts and of course the 3 bracket to step nuts and bolts. Once all nuts and bolts are tightened... repeat steps on opposite side.

Installation guide written by Extreme Terrain Customers Dustin and Megan Evers on 10/16/18

