
Top Sellers for Gladiator
How to Install Barricade Door Storage Hangers (07-18 Jeep Wrangler JK) on your Jeep Wrangler
Installation Time
60 minutes
Tools Required
- Box Cutter/Knife
- Stud Detector
- Drill Bit
- Drill
- 17mm Socket

Shop Parts in this Guide
Installation Instructions:
1. Carefully open the package using a box cutter or knife (Figure A) and ensure the hardware is included and undamaged.

Figure A
2. Using a stud detector, find the stud in the wall (Figure B).

Figure B
3. Measuring for the appropriate height of the doors (not just the brackets), mark the appropriate places to drill for the bracket to rest against a stud (Figure C).

Figure C
4. Line the bracket up and mark the other holes, as well (Figure D).

Figure D
5. If having trouble eyeing a balance for the bracket, use a level (Figure E).

Figure E
6. Drill a pilot hole for each of the three marked holes (Figure F).

Figure F
7. Using a 17mm socket, bolt the bracket to the wall using supplied bolts (Figure G).

Figure G
8. Tighten all three bolts (Figure H).

Figure H
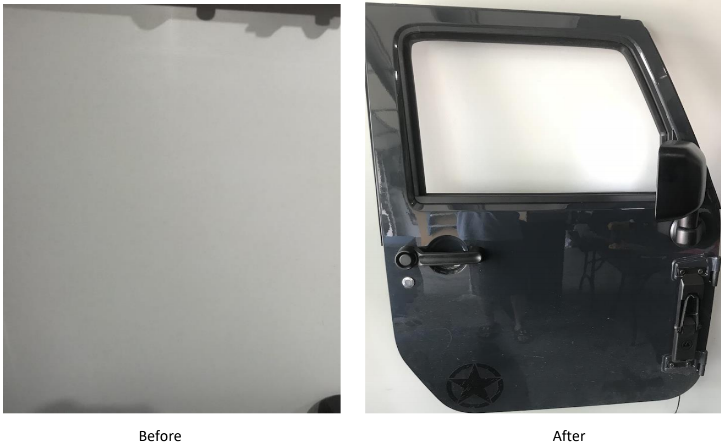
9. Place the door on the bracket so the appropriate length and height for the secondary bracket can be measured (Figure I).

Figure I
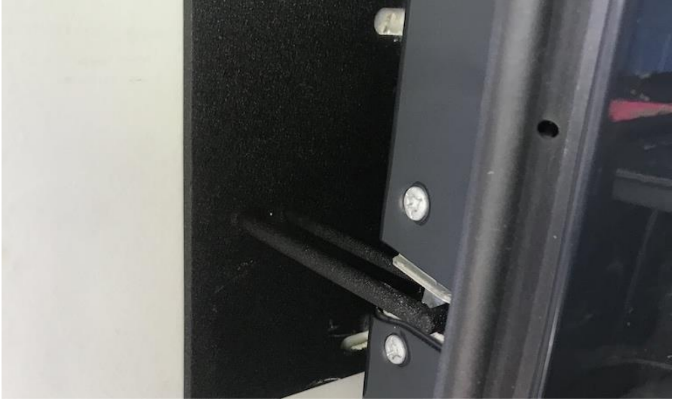
10. Place the bracket into the mechanism in the lower corner of the door (Figure J).

Figure J
11. Mark the bracket holes then check for appropriate studs using the stud finder (Figure K).

Figure K
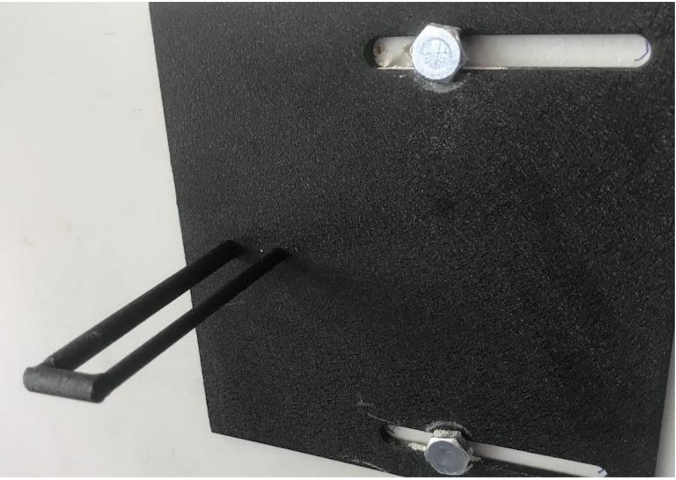
12. Drill pilot holes again and mount the bracket using a 17mm socket and the supplied bolts (Figure L).

Figure L
13. Swing the door back in and ensure it aligns and locks on the bracket piece (Figure M).

Figure M
14. Repeat Steps 2-13 for the second door hanger.

Installation Instructions Written by ExtremeTerrain Customer J. Sandlin 05/22/2018


