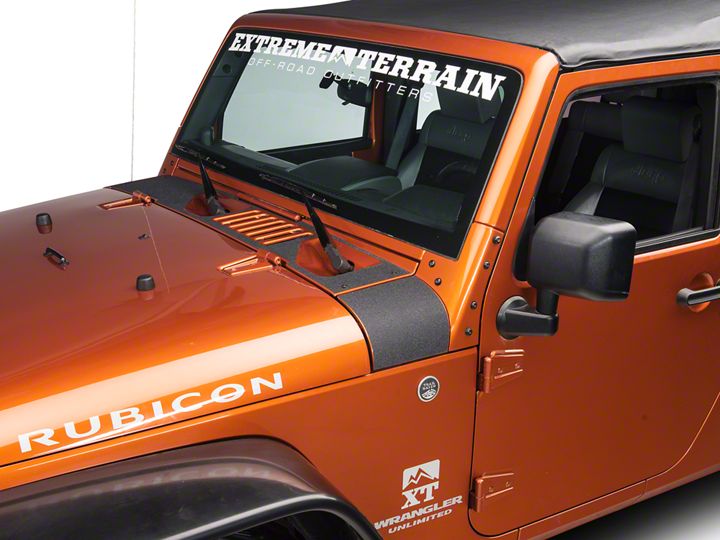

How to Install Barricade Cowl Body Shield Decal - Black on your Wrangler
Installation Time
15 minutes
Tools Required
- X-acto knife
- Spray bottle with dish soap & water mixture
- Surface cleaner– such as Mequiars Deep Crystal System paint cleaner

Shop Parts in this Guide
Step 1:
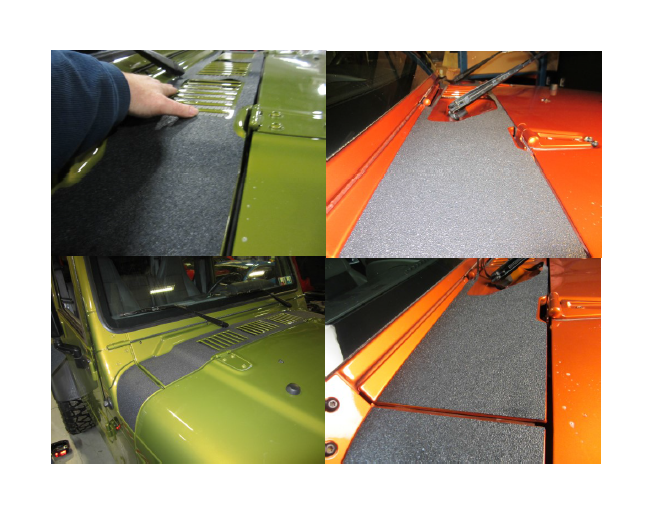
Remove material from backing. lightly mist the back of the material. If you are doing the whole cowl with three pieces do one at a time. It would be recommended to do the middle section first. On the JK model it might be advisable to prop the wipers in their outward position. On the JK remove the cowl mounting screws with a 4mm al-len wrench

Step 2:
Place the material on the vehicle. On the JK it is easier to start by putting the outer two large cut outs around the wipers first. Then lay it flat on the
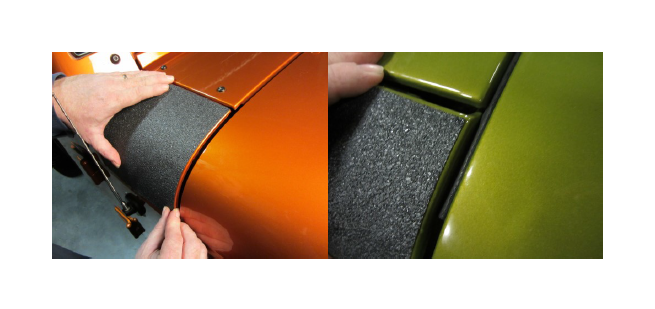
vehicle. Align the material on the vehicle. To do this, it is best to give a balanced spacing or reveal in each area. One the material is in place you can use you hands and rub the surface pushing the excess water out from underneath the material. Don’t rub as hard as to move the material. Use you hand as it would be a squeegee. You can use a squeegee but it may be awkward on the textured surface.

Step 3:
Install the out cowl piece using the same method as before

Step 4:
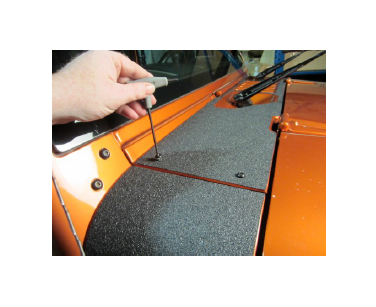
Reinstall the cowl mounting screws. Do this by just poking a small hole through the material after it has dried. Then install the mounting screw.
Dry installation:
You can install the material if you use very light pressure when applying till you get it in the proper location. You can peel back the
material and reposition it. Once in place you can apply full pressure to the material. For this products this technique may be the difficult approach.
After installation you would do best by leaving ample dry time before driving or washing the vehicle, if you installed the recommended
wet method. This is a permanent adhesive on this product. Great care should be taken if it is needed to be removed later.


