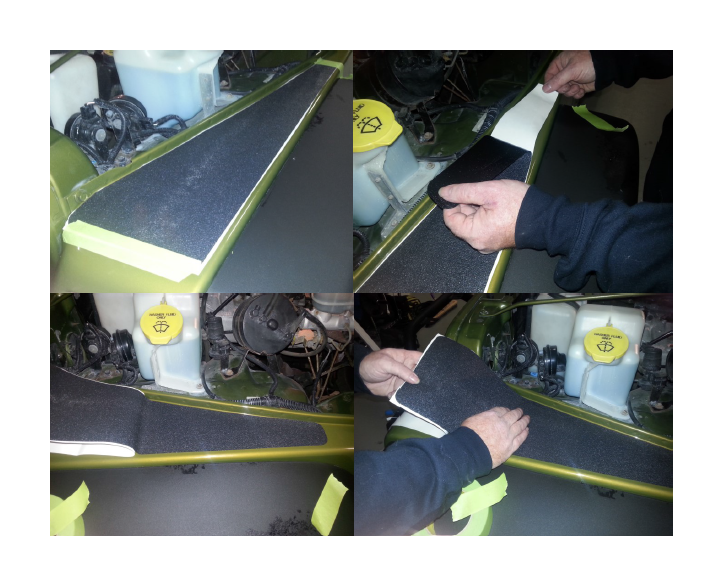

How to Install Barricade BodyShield Top Fender Decal - Textured Black on your Wrangler
Installation Time
15 minutes
Tools Required
- X-acto knife
- Masking tape
- Spray bottle with dish soap & water mixture
- Plastic Squeegee
- Surface cleaner– such as Mequiars Deep Crystal System paint cleaner
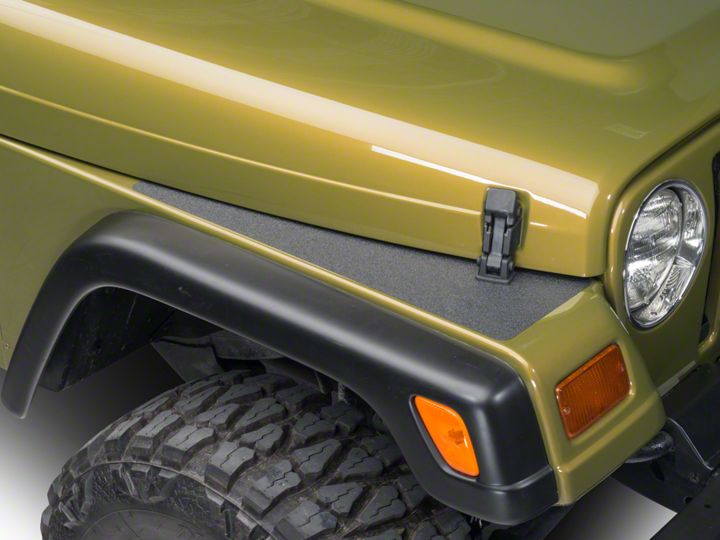
Shop Parts in this Guide
Step 1:
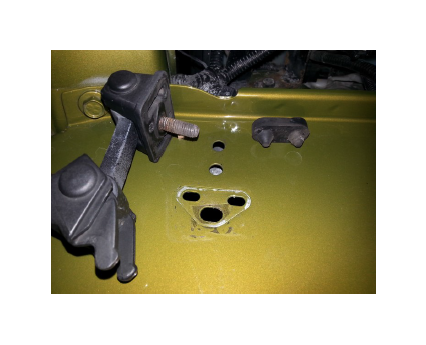
On the TJ and YJ series fenders you will need to the remove hood Latch and bumper . Un bolt the latch from under the fender. For the bumper carefully pry it of f of the fender. Be careful not to damage the part of the bumper that is press fitted into the fender. Other products may require hardware removal as well.
Step 2:
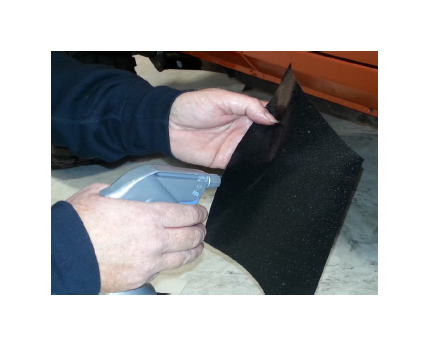
Peel backing from insert exposing the adhesive. Spray material with a light amount of the soap and water mixture. Simply mist the mate-rial This will help the adhesive from not sticking right away till you get it in place.
Step 3:
Place vinyl on vehicle. You will be able to maneuver the decal into position because of the soap and water solution you sprayed on earlier. On this product too much liquid may cause the vinyl to move after its install since it is a heavy product.
Step 4:
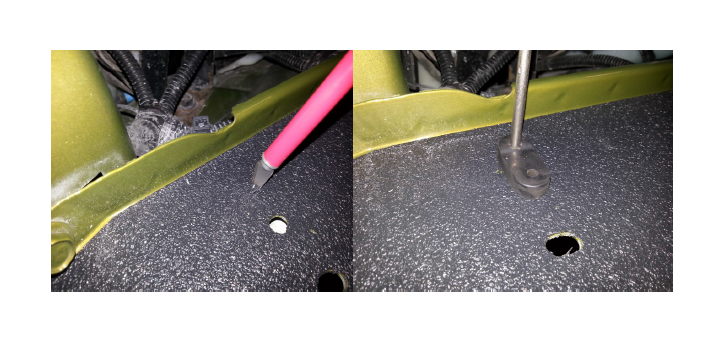
On the fender material you will need to cut out the holes for the hood latch and bumper. You can do this with an x-acto knife. When replacing the bumpers you can carefully push down on the cen-ter with a tool to make sure you seat the bumper into the fender.
Dry installation:
You can install the material if you use very light pressure when applying till you get it in the prop-er location. You can peel back the material and reposition it. Once in place you can apply full pressure to the material. For some products this technique may be the difficult approach. Another technique is Taping it in place to install. Start by taping the vinyl in the position you want it. Use as much tape as you need to keep the vinyl down flat. You then must remove part of the tape to lift the vinyl and peel back the backing. After peeling back the backing you can gently tear that part of the backing off. Then place the vinyl down on the vehicle. Then remove the rest of the backing and lay down the second half of the vinyl.
After installation you would do best by leaving ample dry time before driving or washing the vehicle, if you installed the recom-mended wet method. This is a permanent adhesive on this product. Great care should be taken if it is needed to be removed later.
