
How to Install Barricade Adjustable Brake Light Bracket w/ LED Light (87-18 Wrangler YJ, TJ & JK) on your Jeep Wrangler

Shop Parts in this Guide
Step 1: Remove factory 3rd brake light and spare tire mount.
Step 2: Disassemble factory brake light assembly and cut the light wires close to the brake light.
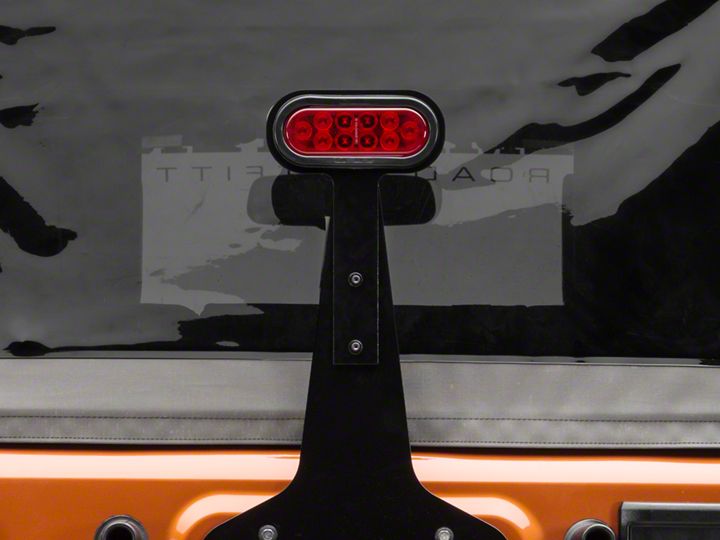
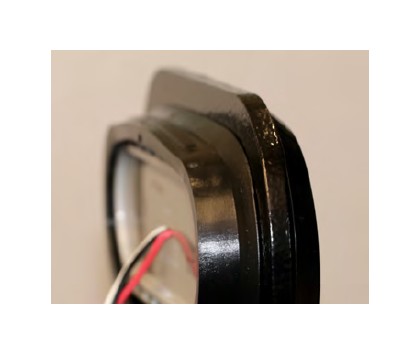
Step 3: Install the new LED light into the 3rd brake light bracket by
removing the light from its rubber grommet, and pushing the rubber
grommet through the front of the oval hole in the top of the bracket
until it locks all the way into place on the back of the bracket, ensuring
that it can’t come back out the front. Finally, snap the LED light back
into the rubber grommet in the bracket. You may need to press harder than you think to fully seat LED in the grommet.

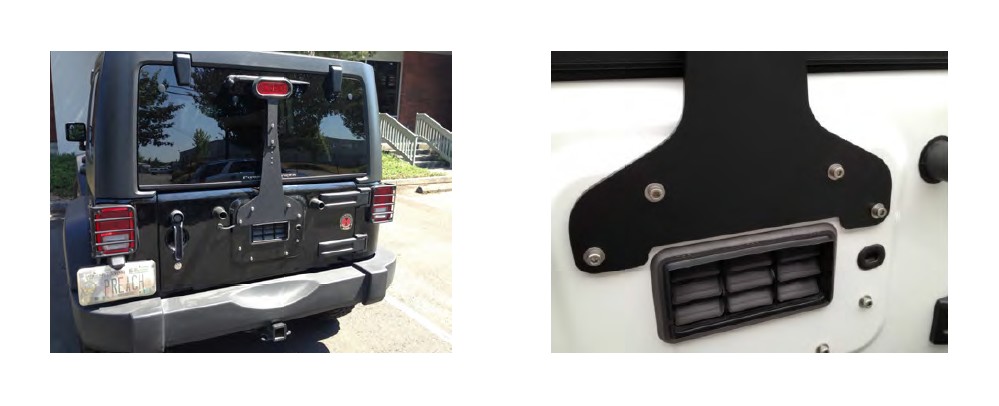
Step 4: Install the WD Automotive 3rd brake light bracket by bolting it into the top 4 holes of the factory spare tire mount. NOTE: For TJ and YJ models, only the top two holes in the base of the bracket will be used.

Step 5: Splice the factory brake light wires to the new LED brake light by using butt connectors. Connect the black factory wire to the white LED light wire and the white/orange factory wire to the red LED light wire. The black wire on the LED light is not needed and can be either cut off at the base or tucked into the wiring harness next to the other wires. The wires can be secured using tape or adhesive tie mounts and zip ties.

