

How to Install a Barricade 9500 lb Winch on your 1987-2017 Jeep Wrangler YJ, TJ or JK
Installation Time
1 hours
Tools Required
- Ratchet and 5/8 inch socket
- Torque wrench
- Metric combination wrench set including 10 mm through 17mm
- SAE combination wrench set including ½ and 5/8 wrenches
- Offset Screwdriver
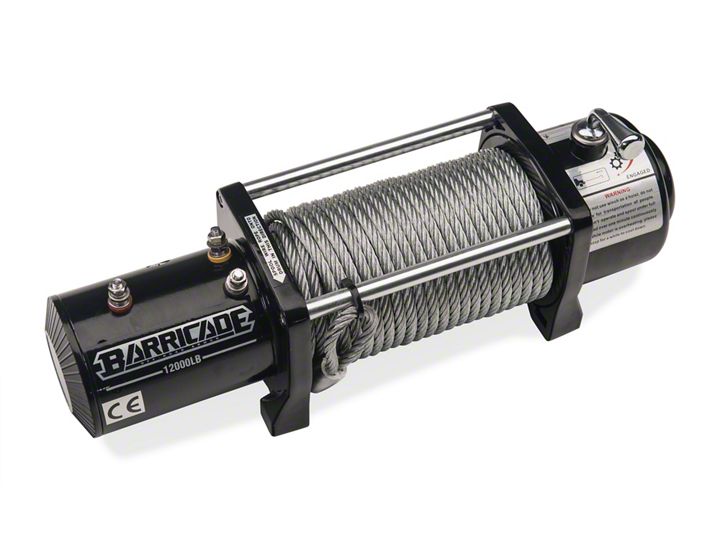
Shop Parts in this Guide
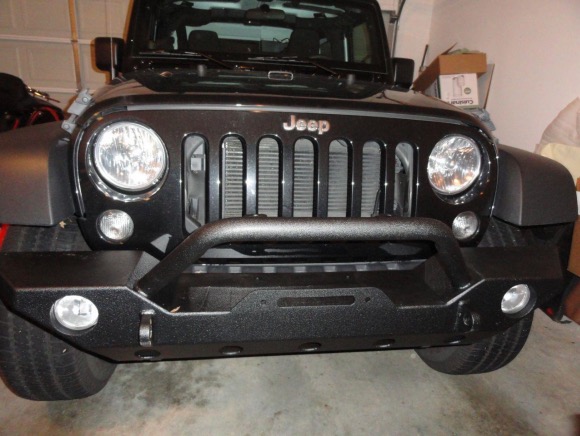
This installation was on a 2014 JK with a Barricade Heavy Duty Rock Crawler Front Bumper (J20850).
Installation Instructions:
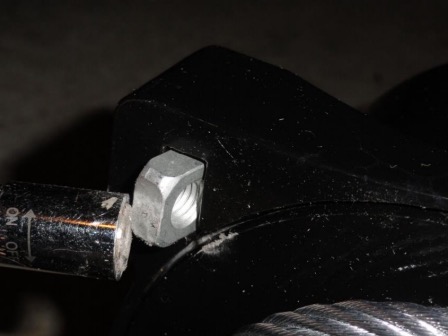
1. Insert square nuts from four supplied ¾ inch bolt/nut/washer sets in to slots in four lower corners of winch.
2. Set winch on bumper, lining up holes in winch with holes in bumper. Install four ¾ inch mounting bolts from bottom side of bumper using ratchet and 5/8 inch socket, torque to 35-40 pounds.
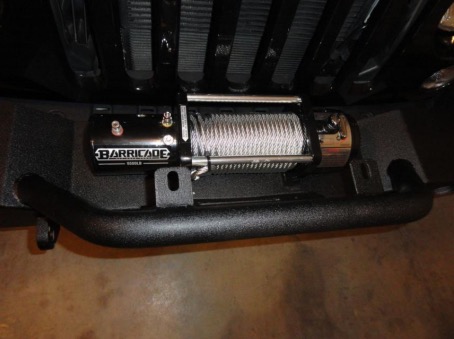
3. Mount fairlead (winch cable guide) in bumper slot using two supplied bolt/nut/washer sets.
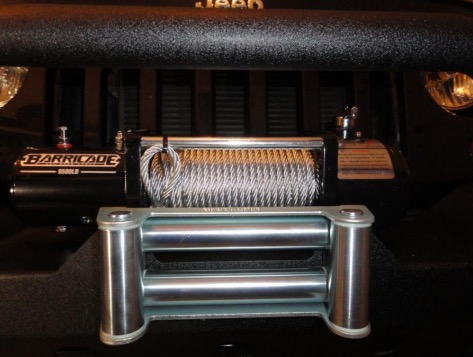
4. Mount control box on top of winch rails using bracket, tightening two set screws with offset screwdriver. Attach control box wires and supplied long black wire.
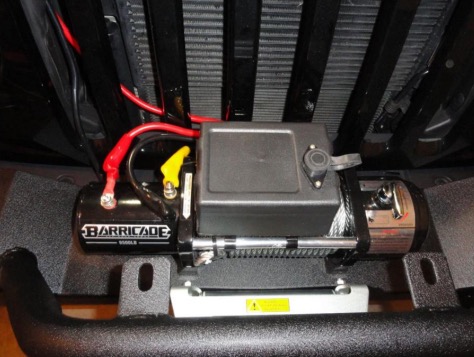
a. Short red wire from the control box to the red terminal (white arrow) on the winch motor.

b. Short black wire with yellow jacket from the control box to the yellow terminal (white arrow) on the winch motor.
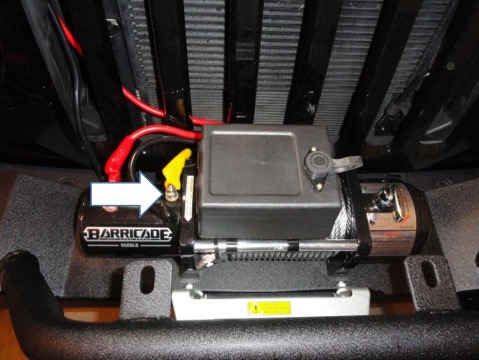
c. Short black wire with black jacket from the control box to the black terminal (white arrow) on the winch motor.
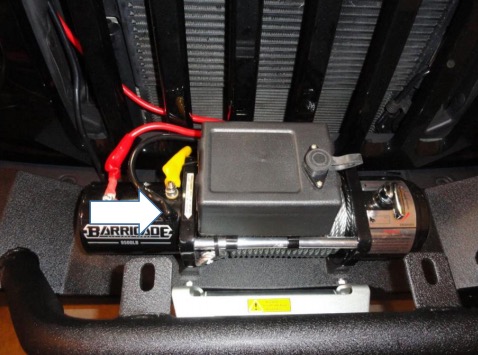
d. Thin black wire from the control box to the bottom terminal of the winch motor.
This connection is below the winch motor (blue arrow) and cannot be seen from the top. The fastener for the bottom terminal is a bolt and washer rather than a nut and washer. This wire shares the bottom terminal with the ground wire running to the battery (see step 4.f.).
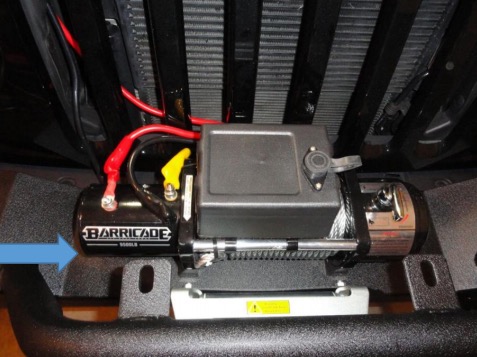
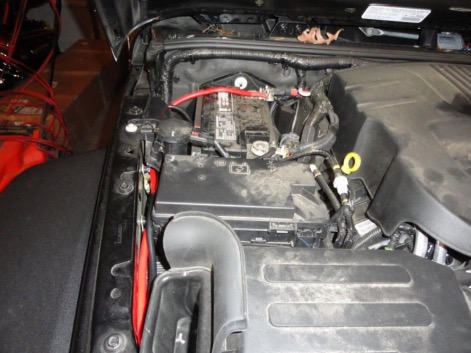
e. Long red wire from the control box to the positive terminal of the battery
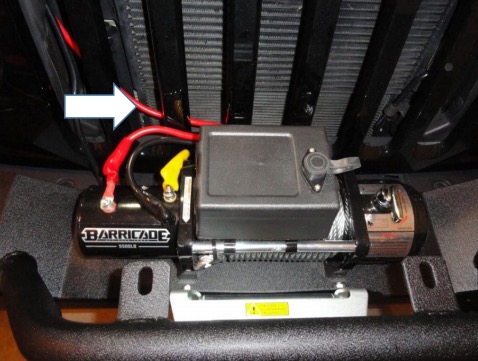
f. One end of the supplied long black wire (white arrow) to the bottom terminal of the winch motor (sharing this terminal with the thin black wire from the control box) and the other end of the supplied long black wire to the negative terminal of the battery.
This connection is below the winch motor (blue arrow) and cannot be seen from the top. The fastener for the bottom terminal is a bolt and washer rather than a nut and washer. This wire shares the bottom terminal with the thin black wire from the control box (see step 4.d.).
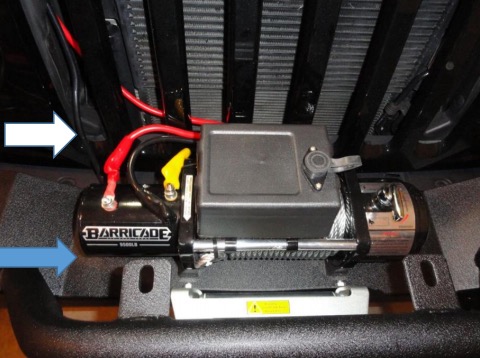
Tighten retaining nuts/bolt on each connection and slip insulating boots over connections on top of winch motor.
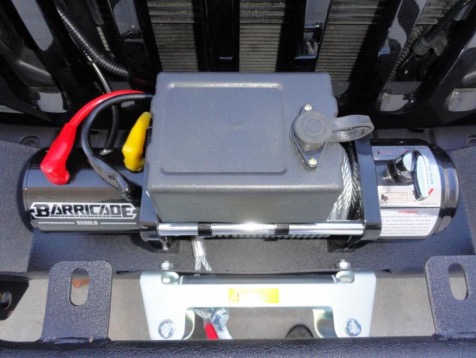
5. Route long red wire from control box and supplied long black wire from winch motor to battery. Attach the red wire to the positive battery post and attach the black wire to the negative post of the battery.
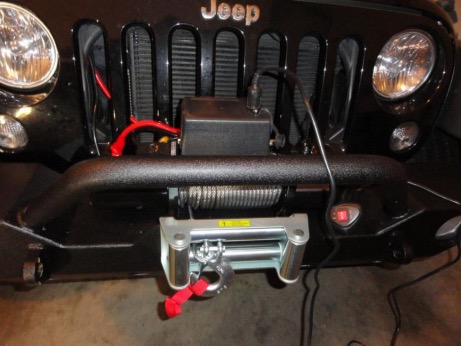
6. Plug in and test the hand control to assure proper operation. Thread winch cable through fairlead (cable guide) and attach hook to end of cable.
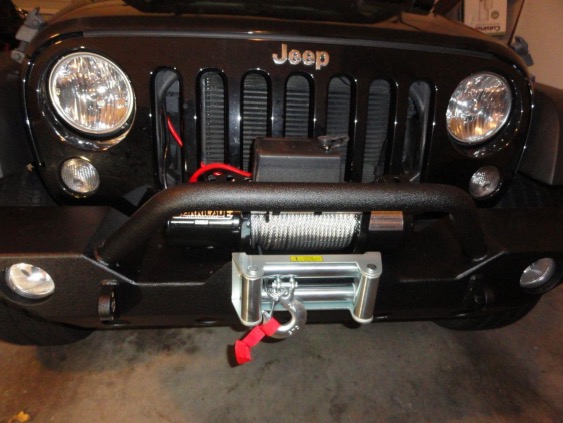
Project complete!
Installation Instructions Written by ExtremeTerrain Customer Ralph Wilmoth 11/29/2014

