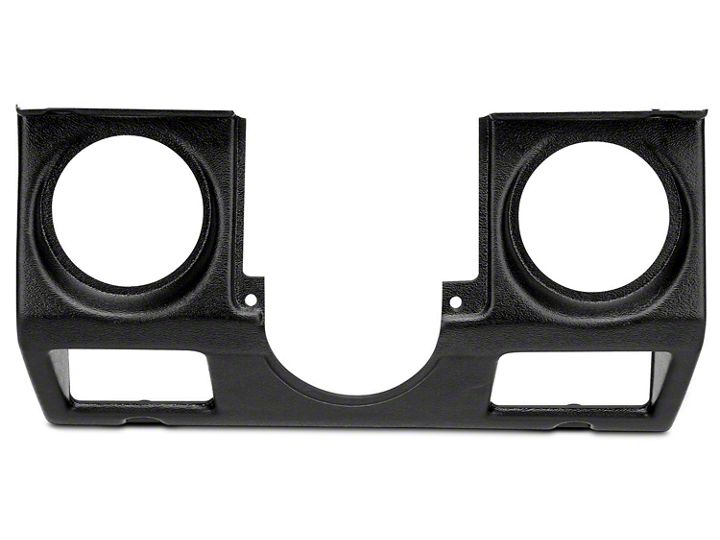

How to Install Auto Meter Direct Fit Tach/Speed Gauge Cluster Bezel on your Wrangler
Shop Parts in this Guide
NOTE: Due to normal manufacturing processes you may have “flashing” (small fibers of plastic) around the pod holes. Once the gauge(s) are installed in the pod you will not be able to see the “flashing.”
1. Position Gauge Pod on A-pillar in desired location. Slight modifications (trimming) may be required for a perfect fit in some applications.
2. Mark this location on A-pillar.
3. Remove A-pillar.
4. Create an opening in the A-pillar for gauge lines to pass through.
5. Test fit Gauge Pod with gauge(s) installed on A-pillar to insure sufficient clearance for gauge lines and housing.
6. Hold the Gauge Pod in its mounting position on the A-pillar and drill a 3/16” hole(s) through 4 corners of both the pod and A-pillar. Insert ratchet fasteners through hole(s) to install Gauge Pod on A-pillar.
7. Install gauges in Gauge Pod. No retaining hardware is needed to hold gauge(s) in place, it is a force fit.
8. Run gauge lines down the back of the A-pillar and out through the fire wall to the engine.
9. Install the Gauge Pod/A-pillar, making sure lines are not pinched.
10. Connect gauge(s) to vehicle. Follow instructions included with gauge(s) for proper installation and operation.


