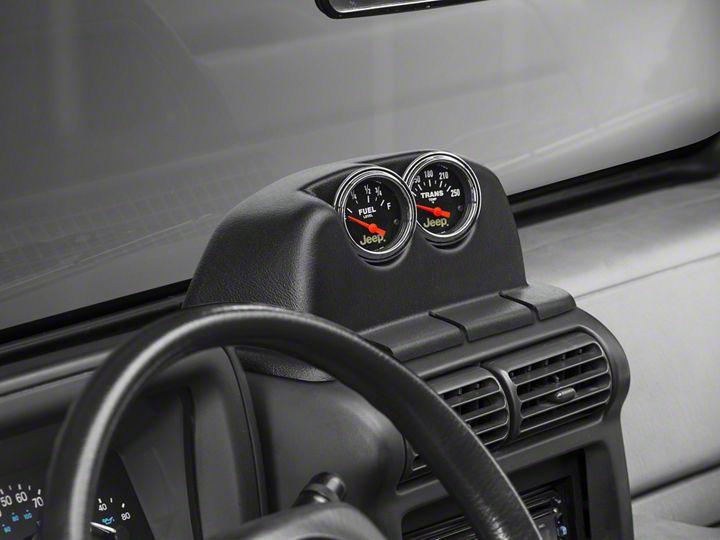

How to Install Auto Meter Dash Top Gauge Pod - Dual 2-1/16 in. (97-06 Wrangler TJ) on your Jeep Wrangler
Shop Parts in this Guide
NOTE: due to normal manufacturing processes you may have “flashing” (small fibers of plastic) around the pod holes. Once the gauge(s) are installed in the pod you will not be able to see the “flashing.”
1. Remove the thin vent trim piece that runs along the bottom of the windshield and across the top of the dash.
2. Remove the two screws located under the trim and the screw located behind the ashtray that holds the center console to the dash.
3. Remove the center console by pulling it forward to release the clips.
4. Remove the coin tray from the console by filing or grinding the plastic welds. (CAUTION: only grind the welds off as far as the ribs are needed to help align the pod)
5. Install the gauges and/or switches.
6. Place leading edge of pod between the AC vents and bezel. The pod should be in the same location as the coin tray.
7. Reinstall the center console using the screws from Step #2 to hold the pod to the dash.
8. Replace vent trim piece.


