

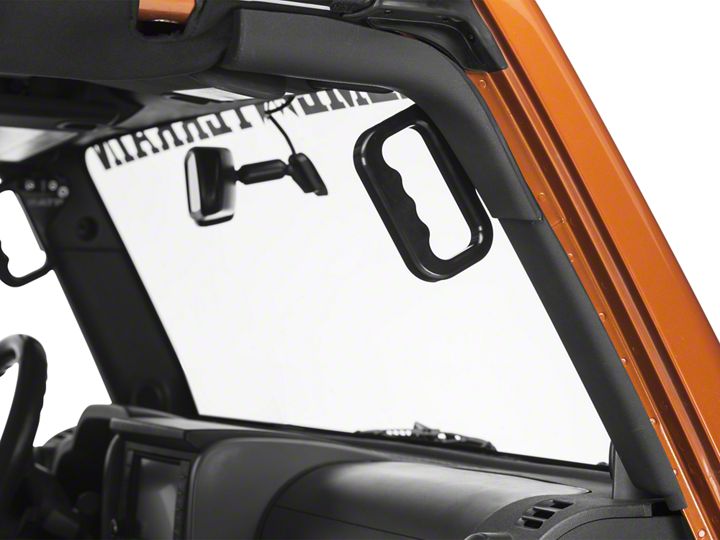
How to Install ATP Front Billet Grab Handles - Black on your 07-18 Jeep Wrangler JK; 2018 Jeep Wrangler JL
Tools Required
- 13mm deep socket or 13mm shallow socket plus extension
- H5 socket or 5mm hex key
- H6 socket or 6mm hex key
- Ratchet
Shop Parts in this Guide
Installation Instructions:
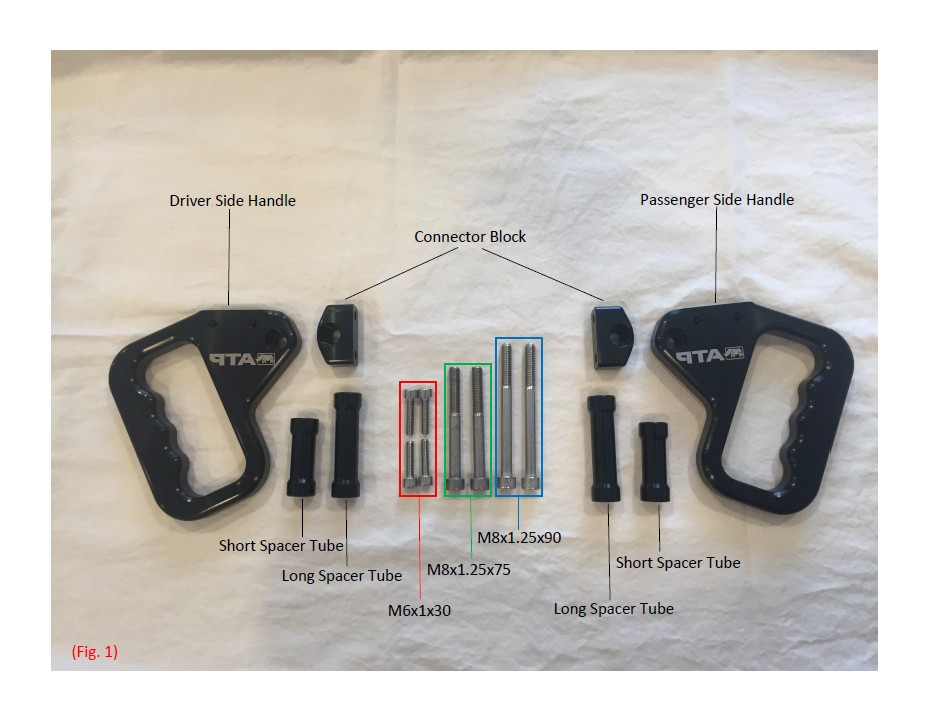
Identify all parts needed for installation in (Fig. 1)
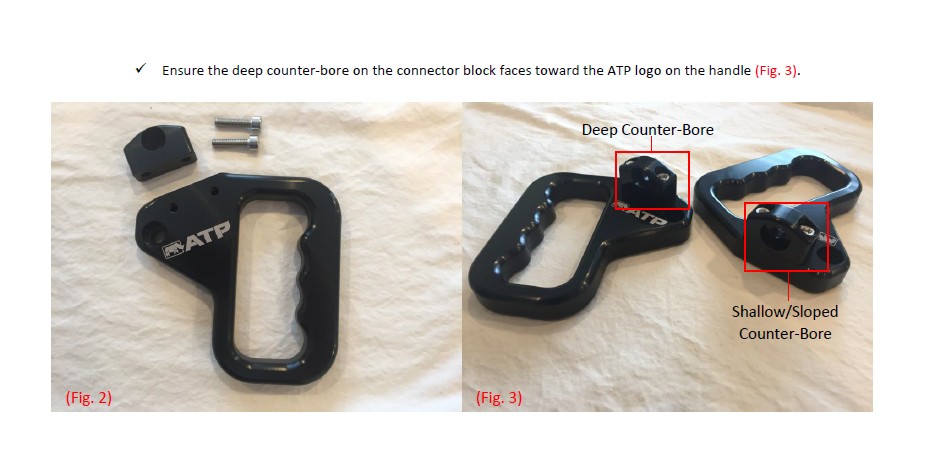
1. Preassemble both handles using the driver/passenger handles, connecter blocks and the M6x1x30 bolts with an H5 socket or 5mm hex key.
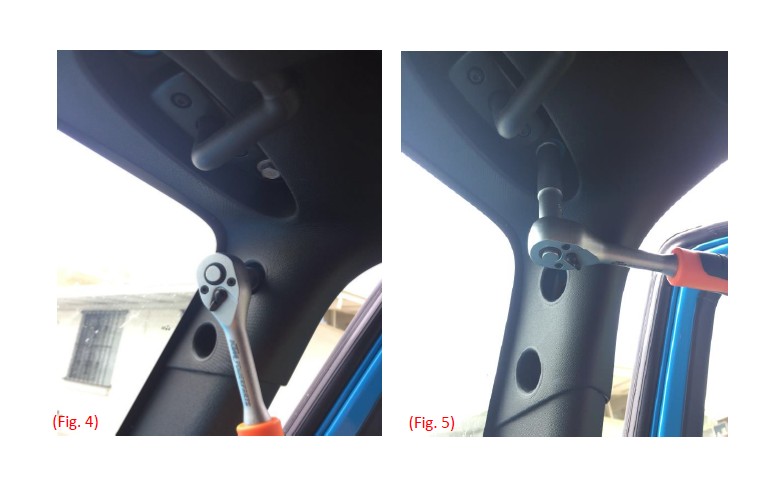
2. Remove the two factory 13mm bolts from the upper A-pillar with a 13mm socket and ratchet.
✓ Be careful not to drop the bolt shown in (Fig. 4) as it is very difficult to remove from inside the plastic panel.
NOTE: DO NOT OVER TIGHTEN OR CROSS THREAD HOLES DURING THE REMAINING STEPS
Tip: One way to help avoid cross threading is to practice inserting and tightening the bolt into the hole without the handle or spacer. This will allow you to see how the bolt should line up with the hole and clear debris from the threads.
3. Begin installing the handle using the M8x1.25x75 bolt, the short spacer tube, and the corresponding assembled handle (the ATP logo should face toward the center of the vehicle) with an H6 socket or 6mm hex key (Fig. 6).
✓ Be sure to leave the bolt loose at this time to allow for the upper spacer (long spacer tube) to be installed.
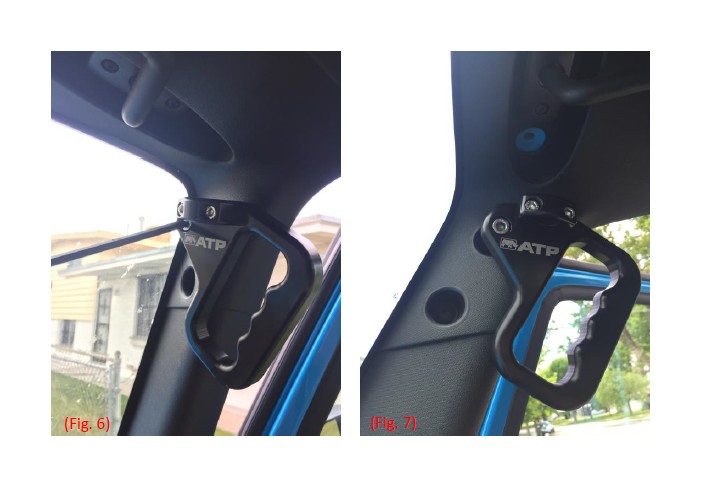
4. Install the upper spacer (long spacer tube) using the M8x1.25x90 bolt with an H6 socket or 6mm hex key.
✓ The upper spacer should seat flat in the shallow/sloped counter bore and will be at an angle to the handle (Fig. 9).
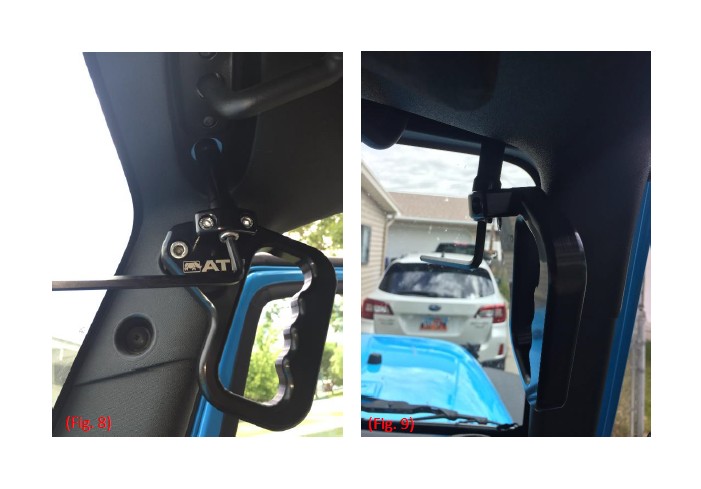
5. Tighten both spacer bolts starting with the upper spacer shown in (Fig. 8) then tighten the short spacer shown in (Fig. 6).
✓ Do not use an impact gun or drill to tighten the spacer bolts as you may over tighten and damage the threads, use hand tools only such as a ratchet or hex key.
Enjoy your new ATP Front Billet Grab Handles
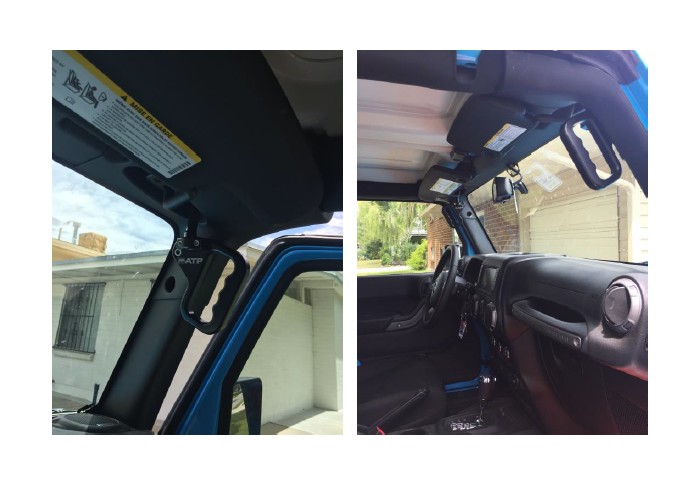
Installation Instructions Written by ExtremeTerrain Customer Marshall Williams 06/15/2017

