

Top Sellers for Grand Cherokee
How to Install AFE Silver Bullet Throttle Body Spacer on your 12-18 3.6L Jeep Wrangler JK; 2018 3.6L Jeep Wrangler JL
Installation Time
30 minutes
Tools Required
- Sockets: 8mm, 10mm
- Socket wrench
- Socket extension
- Torque wrench
- Needle nose pliers
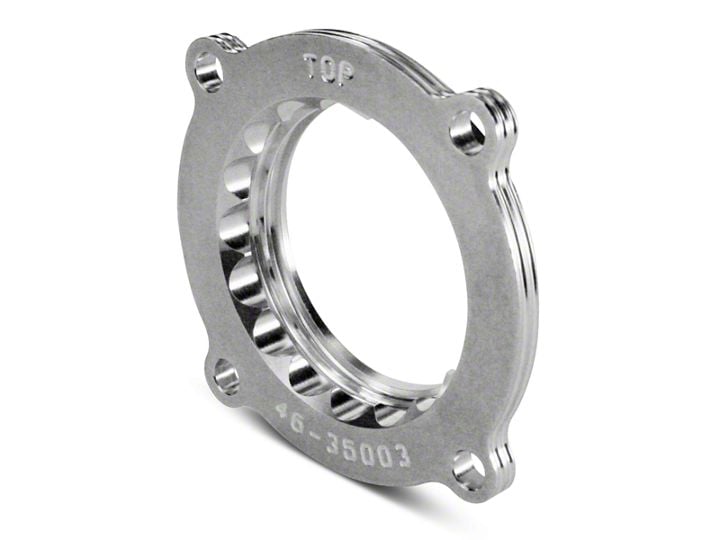
Shop Parts in this Guide
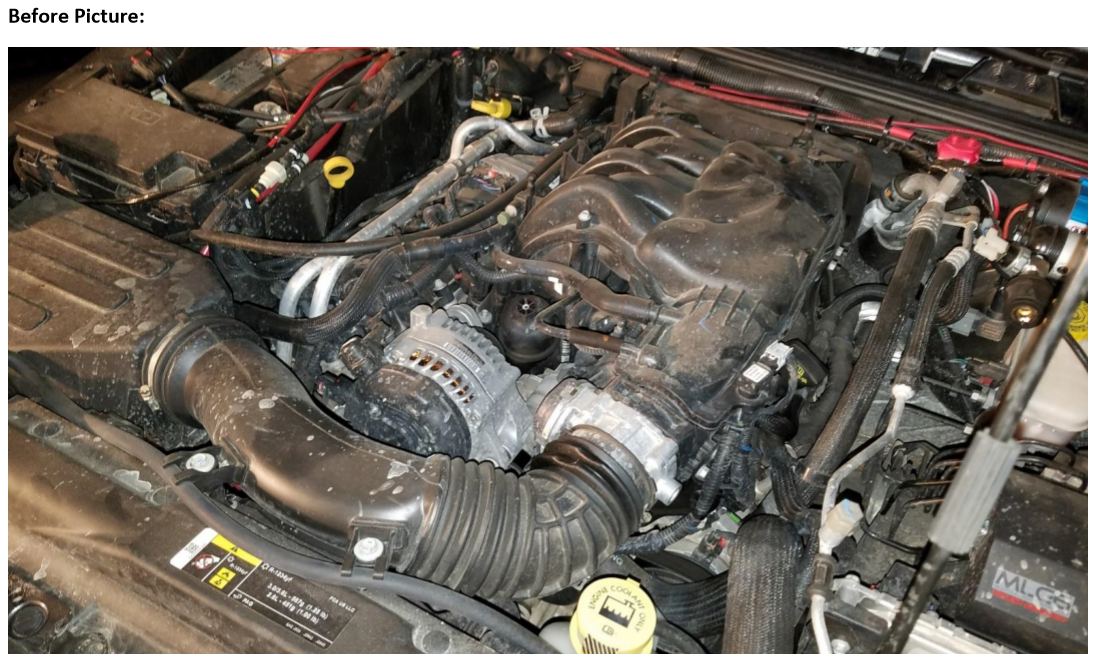
Installation Instructions:
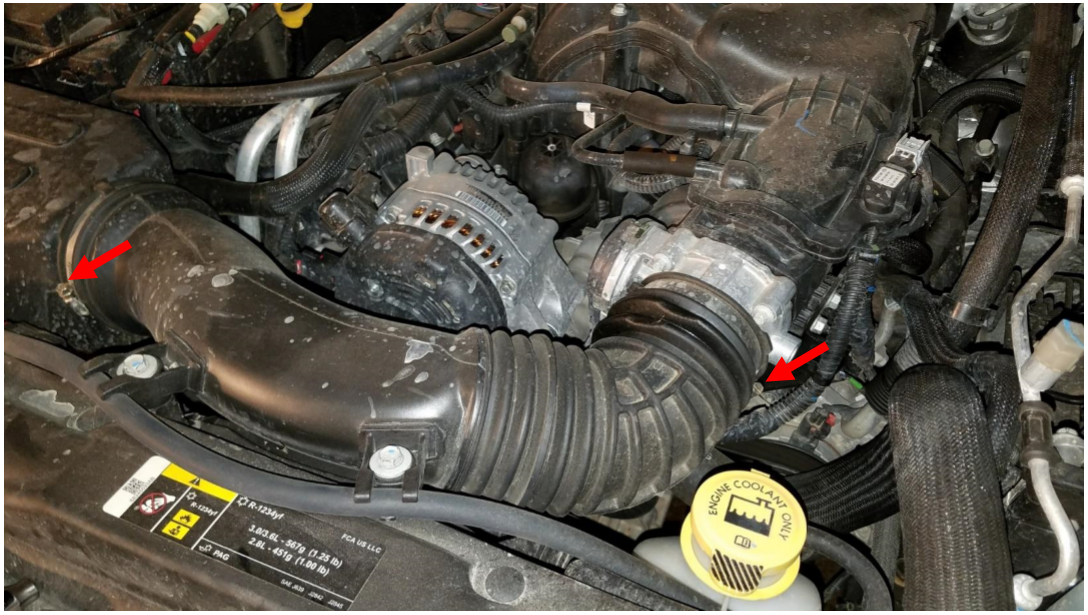
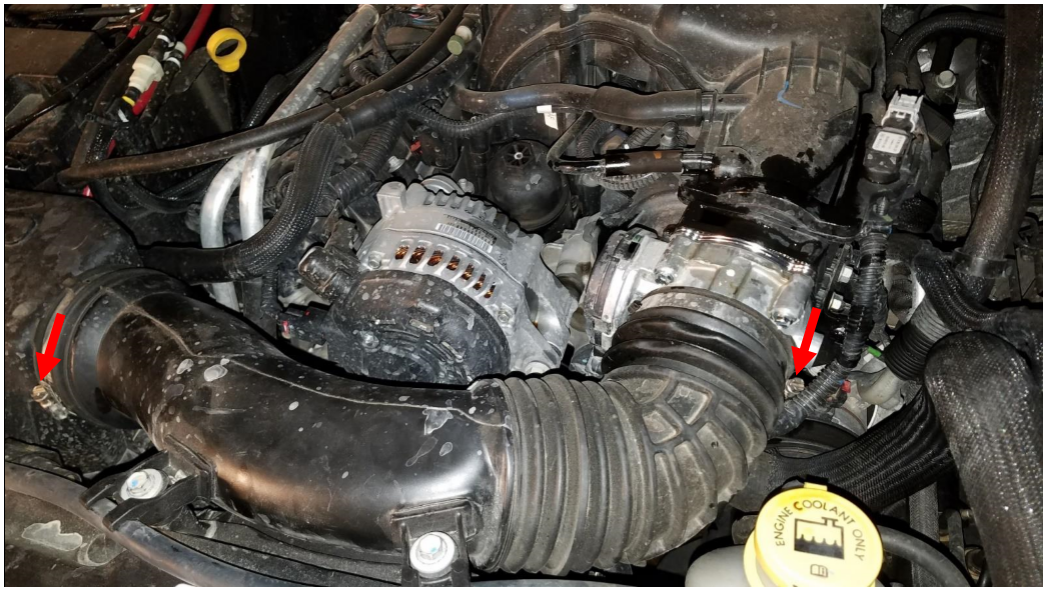
1. First, remove the plastic engine cover if installed, just pull up on it and it will pop off. Using an 8mm socket, loosen the clamps on both ends of the intake tube.
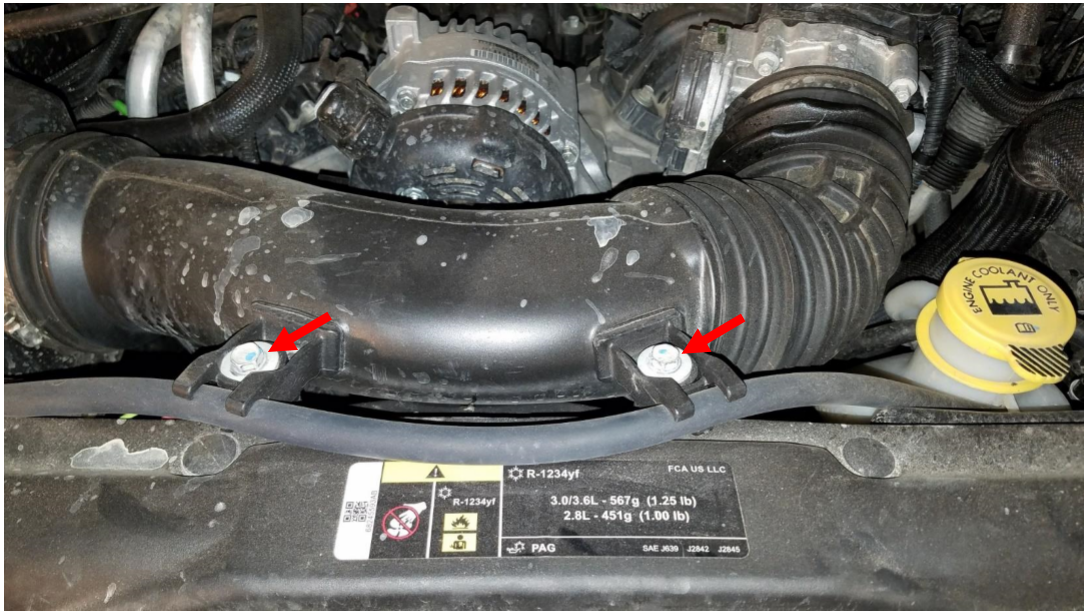
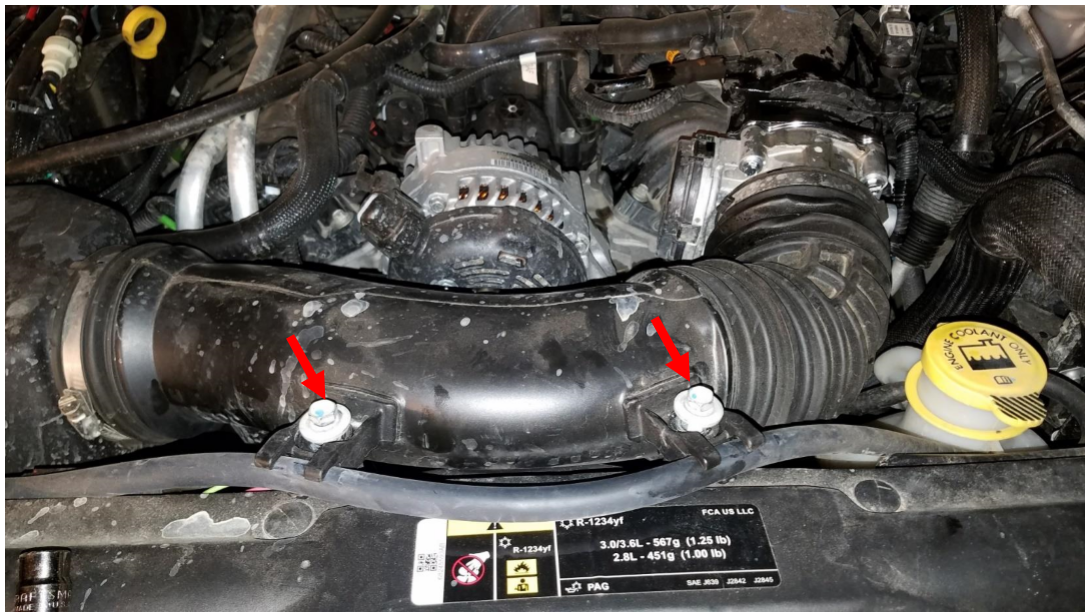
2. Using a 10mm socket, remove the 2 bolts on the front of the intake tube.
3. Lift up the intake tube, and use needle nose pliers to unclip and remove the temperature sensor from the underside of the intake tube. Then place the intake tube to the side out of the way.
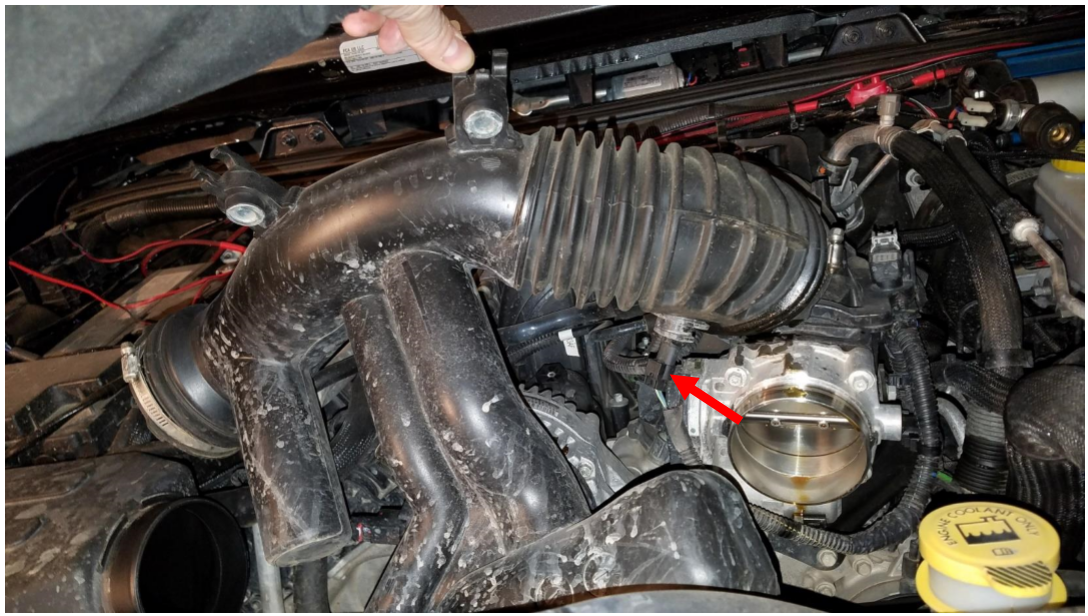
4. Using an 8mm socket and socket extension, remove the 4 bolts holding on the throttle body.
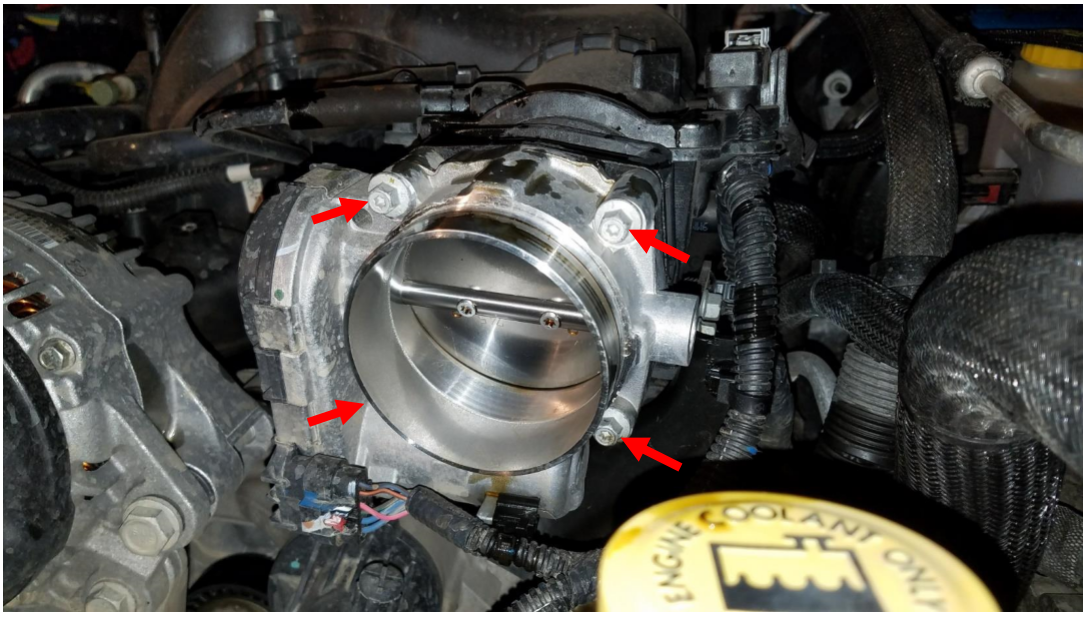
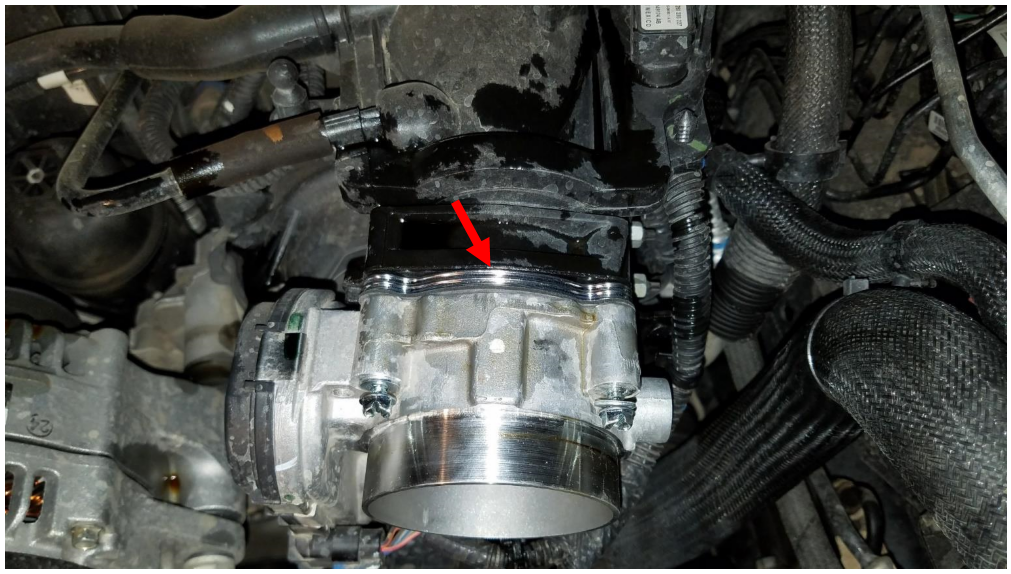
5. Insert your new throttle body spacer and gasket between the throttle body and the intake manifold. Make sure the spacer is oriented with inset portion facing toward the engine and away from the throttle body. The gasket should be placed between the spacer and the throttle body. Hand tighten the bolts and washers. Note: For 2012-2013 Models, use the supplied M6x1x50mm bolts and washers. For 2014-2017 Models, use the supplied #12x2”L screws and washers. If you are unsure which is which, just make sure the ones you choose have the same threading as the ones you removed in step #4.
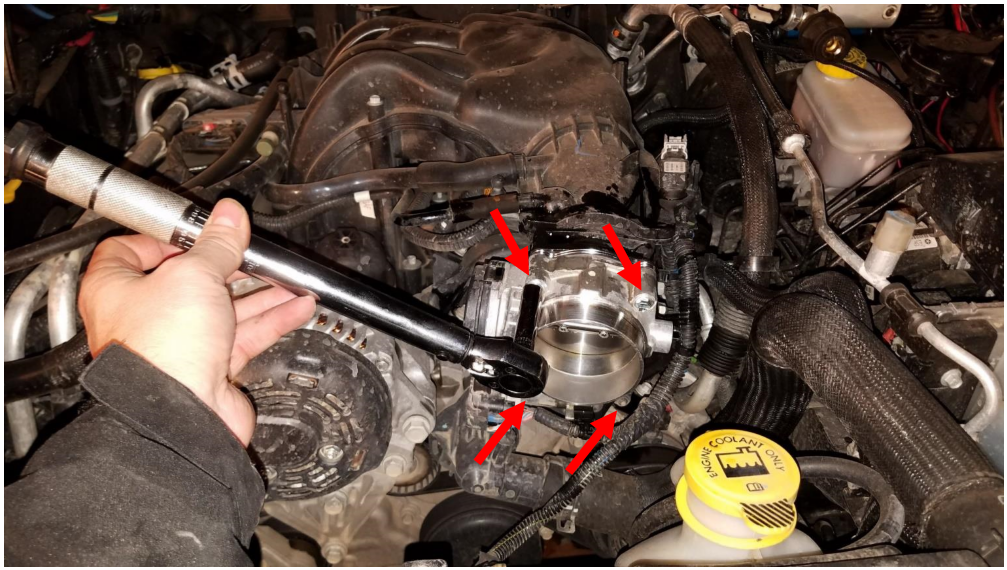
6. Using torque wrench and 8mm socket, tighten the 4 throttle body bolts removed in step 4. For 2012-2013 Models tighten to 89 lb/in. For 2014-2017 Models tighten to 44 lb/in.
7. Reinstall the temperature sensor on the underside of the intake tube.
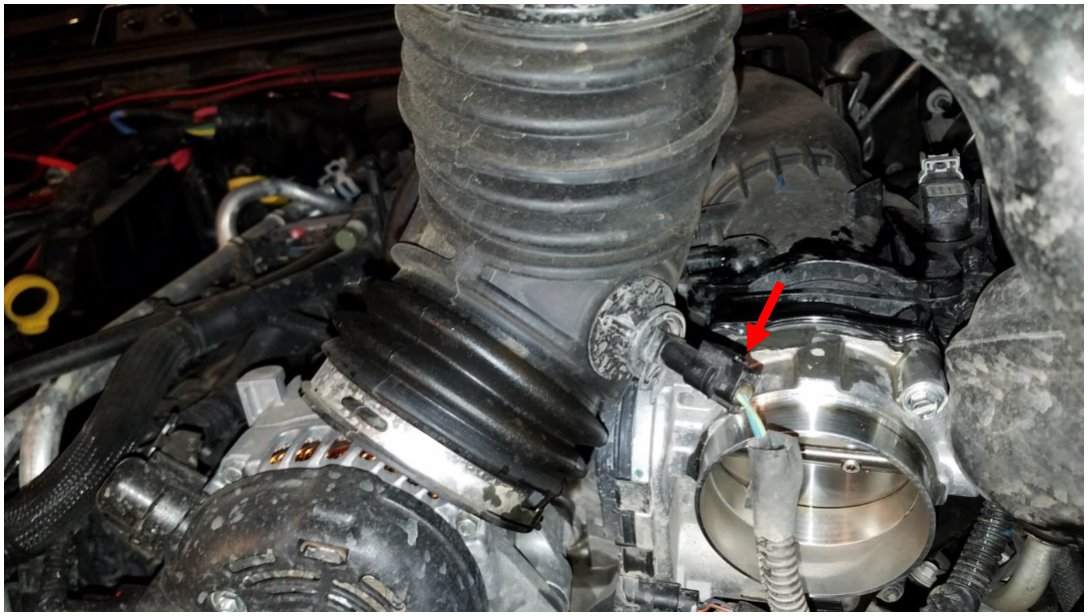
8. Reinstall the intake tube and use a 10mm socket to tighten the front 2 bolts.
9. Make sure both ends of the intake tube are fully seated on the throttle body and the air box, then tighten the clamps using an 8mm socket. Be careful not to overtighten the clamps.
10. Reinstall the plastic engine cover if desired.
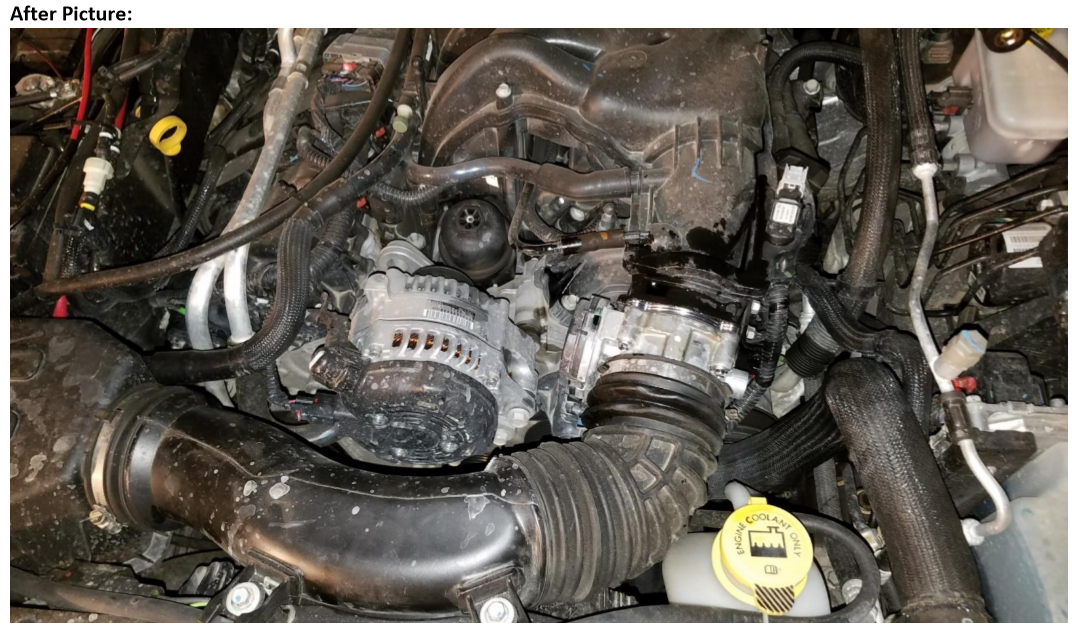
Installation Instructions Written by ExtremeTerrain Customer John Parker 10/10/2017


