

How To Install a MORryde Spare Tire Jerry Can Holder On Your 1987-2017 Jeep Wrangler YJ, TJ & JK
Installation Time
20 minutes
Tools Required
- Phillips screw driver
- 13 mm wrench or socket
- Your Jeep's Lug Wrench
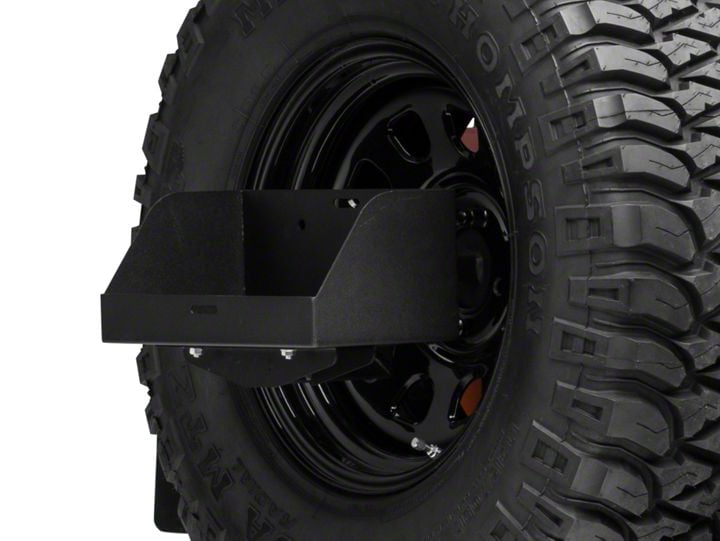
Shop Parts in this Guide
Installation Notes, Pre-Installation notes
Take apart all the components in the box and familiarize yourself with how it will come together. You will also notice there is a foam padding with adhesive backing for cushion on the bottom of the tray. This is optional and will be destroyed if you try to disassemble the tray. You may also want to pre-assemble it as the coating may give a little friction to fitting the components. A rubber mallet will be useful.
Installation Instructions:
1. First remove the lugs from your spare tire and remove the wheel.
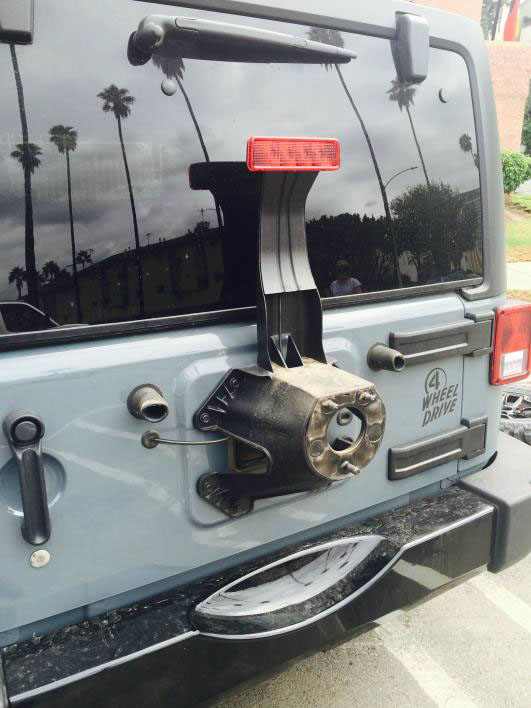
2. Place the mounting plate on the tire carrier. You will need to match the openings 2 on top 1 on the bottom. Ensure that the surface of the U channel steel is facing up.
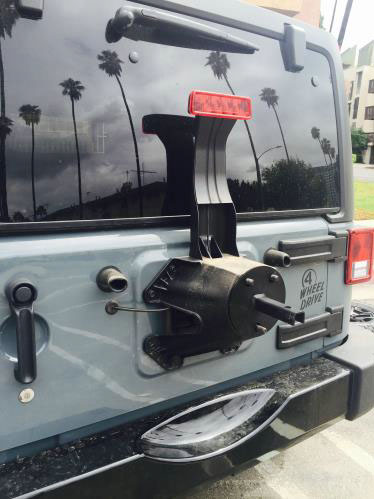
3. Remove the center cap from your rim and place the wheel back on the tire carrier. Firmly tighten the three lug bolts without over-tightening so as not to strip the threads.
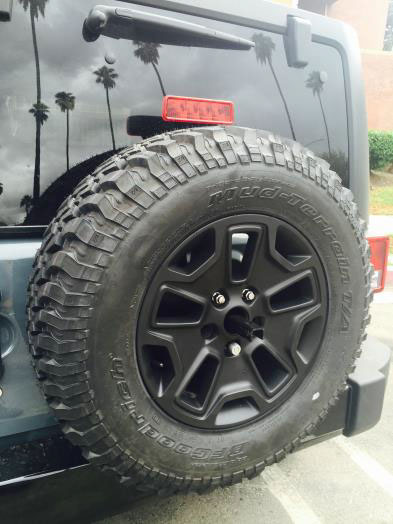
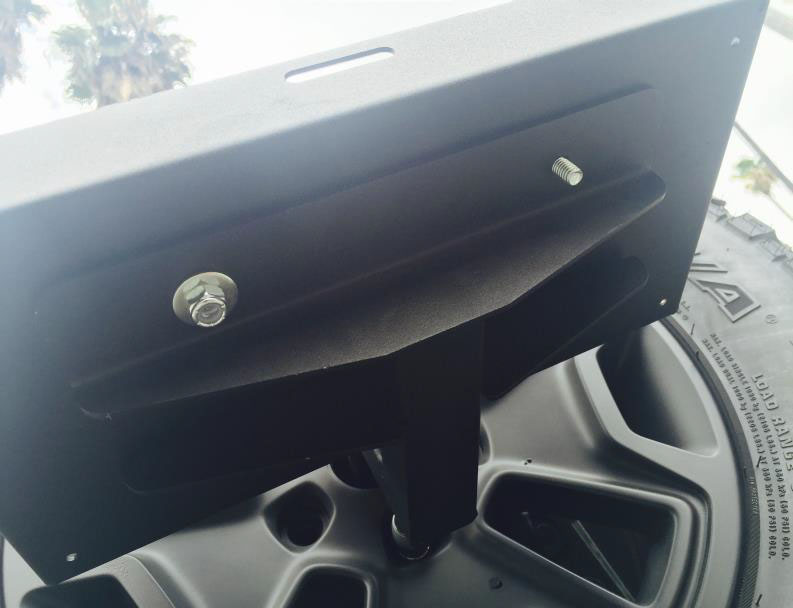
4. Slide the mounting bracket over the mount. Due to coating and heating it may not want to slide in. A little tough love with a rubber mallet should work (I used the lug wrench from the Jeep, a little spray paint will do the trick). Once in desired position, use the large washer and spring washer with the 1/2" inch bolt. Use the Lug wrench to tighten it firmly.
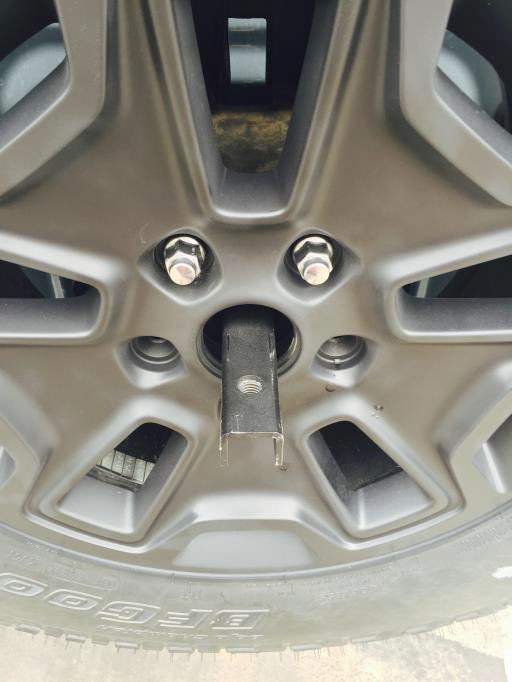
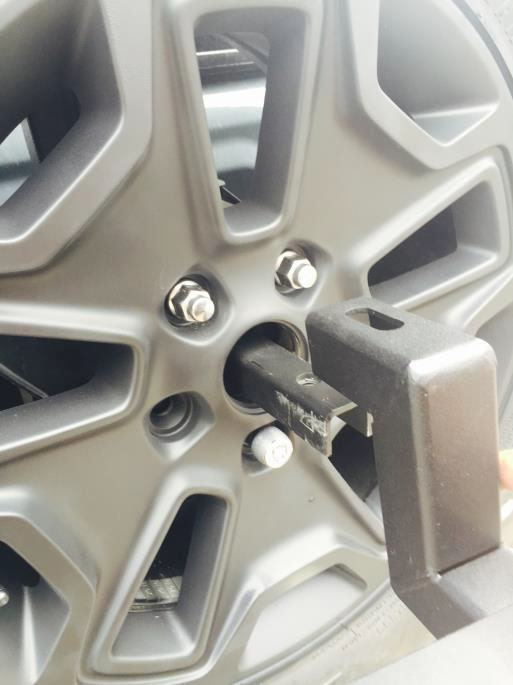
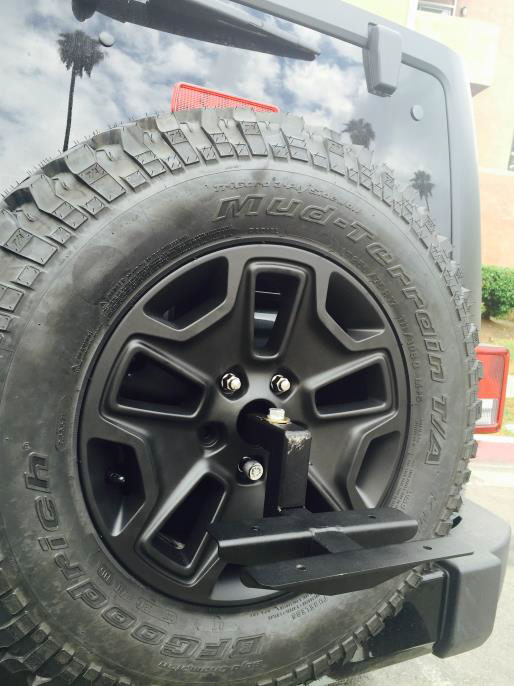
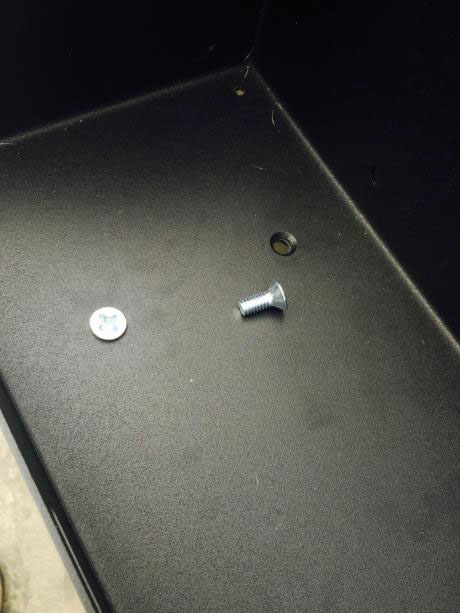
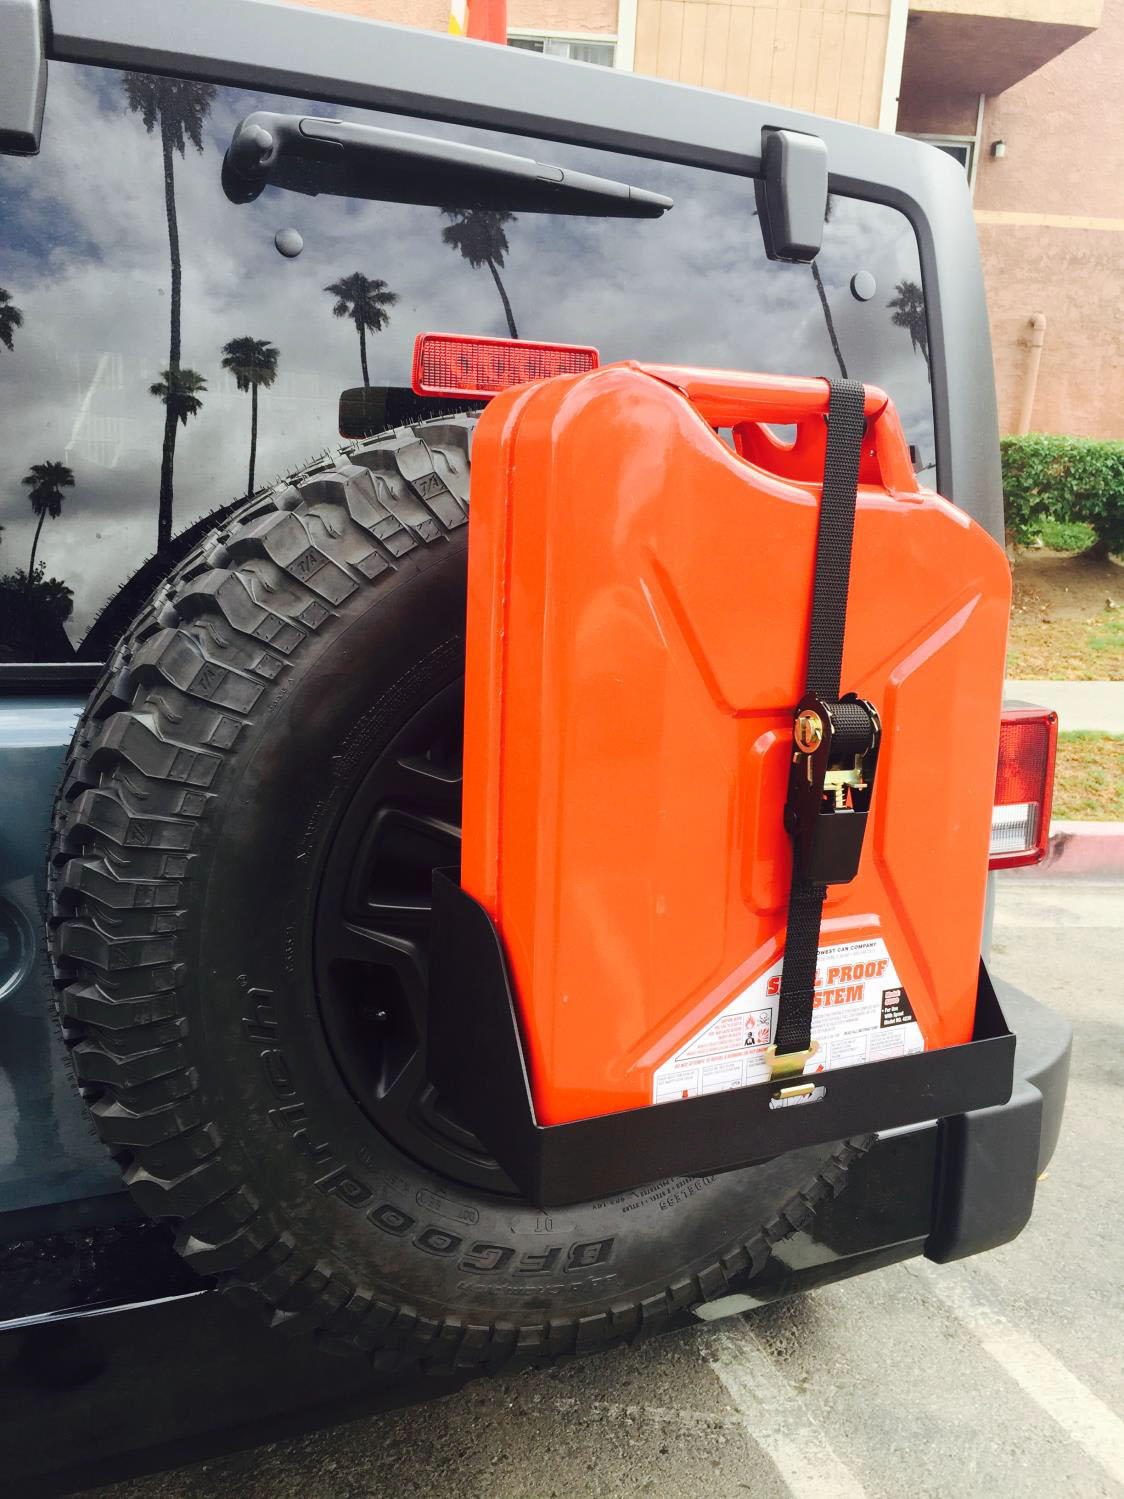
5. Place the tray on the bracket aligning the 4 bottom holes on the tray with the bracket. Using the Philips head bolts, washers and lock nuts; secure the tray to the bracket.
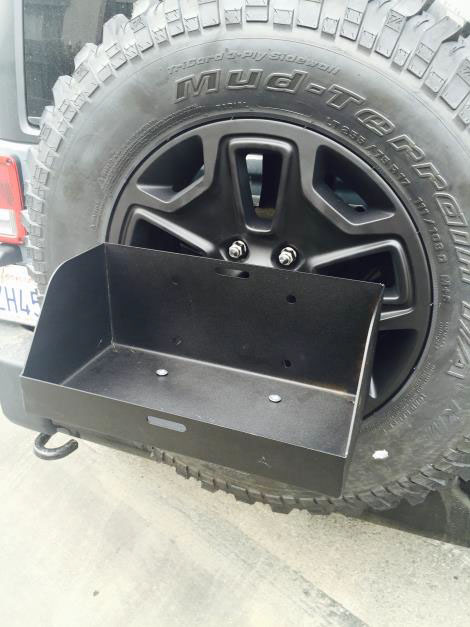
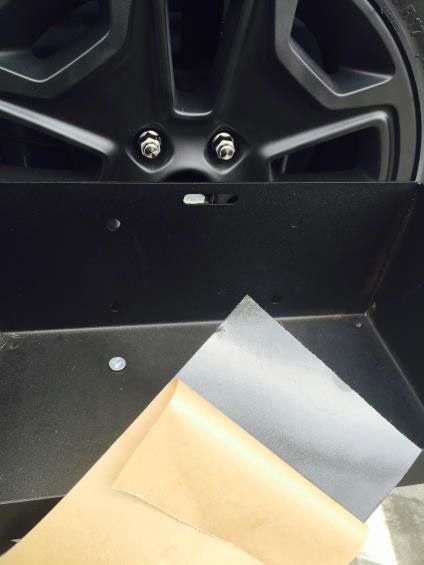
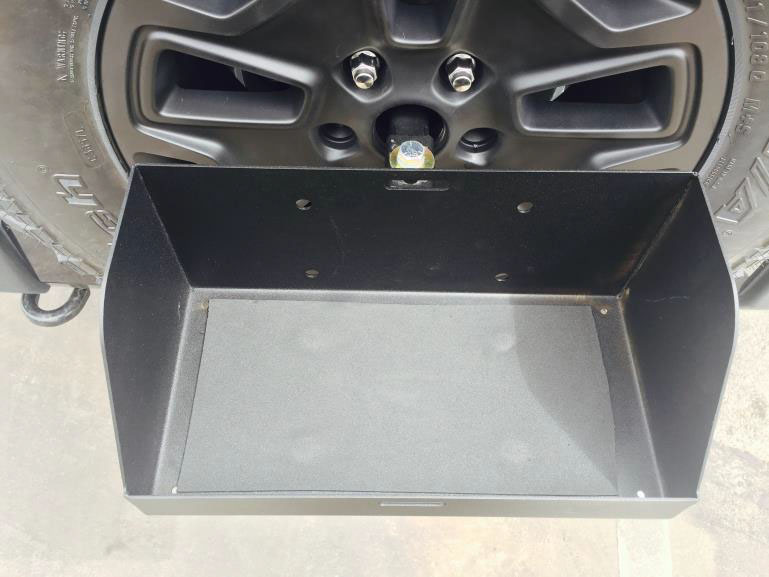
6. The assembly of the Jerry Can Holder is now complete. You can apply the optional cushion by peeling back the paper from the adhesive backing and firmly pressing it on to the bottom of the tray. You can now mount most Jerry and NATO cans. Use the ratchet strap to secure the can down. Enjoy and be safe!
Installation Instructions Written by ExtremeTerrain Customer Carlos Martin 09/15/2015

